These hand decorated Easter eggs have a unique design that will make beautiful Easter baskets. They make great gifts and fun Easter decorations.
Having holiday cheer all year is one of my goals in life. Life is way too short not to enjoy it, so why not go all out? Of course, I love the holiday season of Halloween, Thanksgiving, and Christmas, but there are so many others to celebrate.
I love baking all sorts of holiday treats, but I also love decorating my home. Decorations create that holiday atmosphere, which helps get you into the season. That is why I love these hand decorated Easter eggs.
When it comes to helping you with baby Easter basket ideas, Easter basket ideas for adults or Easter basket ideas for teens, these eggs are sure to make a great addition.
You can add them to Easter baskets for teens, adults, and babies. I think they take an Easter basket to the next level. Plus, they will be picture-perfect for your Instagram.
These eggs make incredible decorations for a White House Easter party. You can put them in a basket to make a beautiful centerpiece next to these delicious gluten-free Easter foods.
If you need some Easter charcuterie board ideas, or deviled eggs ideas for Easter, we have those as well. And don't forget to enjoy some of these Mexican desserts for Easter or these Passover appetizers.
Now back to it... Before decorating these adorable Easter eggs, you must prepare the egg. This can be done by hard-boiling the eggs or hollowing them out. It depends on if you want to eat the egg or if it is only for decoration.
How to hard-boil an egg
There are a few ways to hard-boil eggs, but the most common is in a pot on the stove. Put the eggs in a single layer on the bottom of the pot and cover them with cool water. The water should be an inch higher than the eggs.
Take a lid to cover the pot and allow the water to come to a boil. Remove the pot off of the heat and let the eggs sit for 10-12 minutes.
After the time is up, drain the water and run cold water over the eggs until completely cool. Once the eggs are done, they are ready to decorate.
You can hard-boil the eggs the same day or cook them a day or two before. They will last up to 7 days in the fridge.
How to hollow an egg
Hollowing eggs is a popular way to prepare eggs when planning to decorate them for Easter. They can last for years and will not make a huge mess if broken. It can be hard to do and takes time and patience.
Before doing anything, make sure you wash the eggs. That way, you will have a clean base when decorating the eggs.
Then, carefully use a large needle to pierce both ends of the shell. It needs to be deep enough to break the yolk. Open the hole at one end of the egg by wiggling the needle in a circular motion.
Hold the egg over a bowl to make sure there is no mess, and blow into one end of the egg. Now the egg is hollowed out. Rinse the egg with water and allow it to dry.
Now that your eggs are prepared, you can start decorating. There are some fun and unique Easter egg decoration ideas.
Pastel Easter Eggs
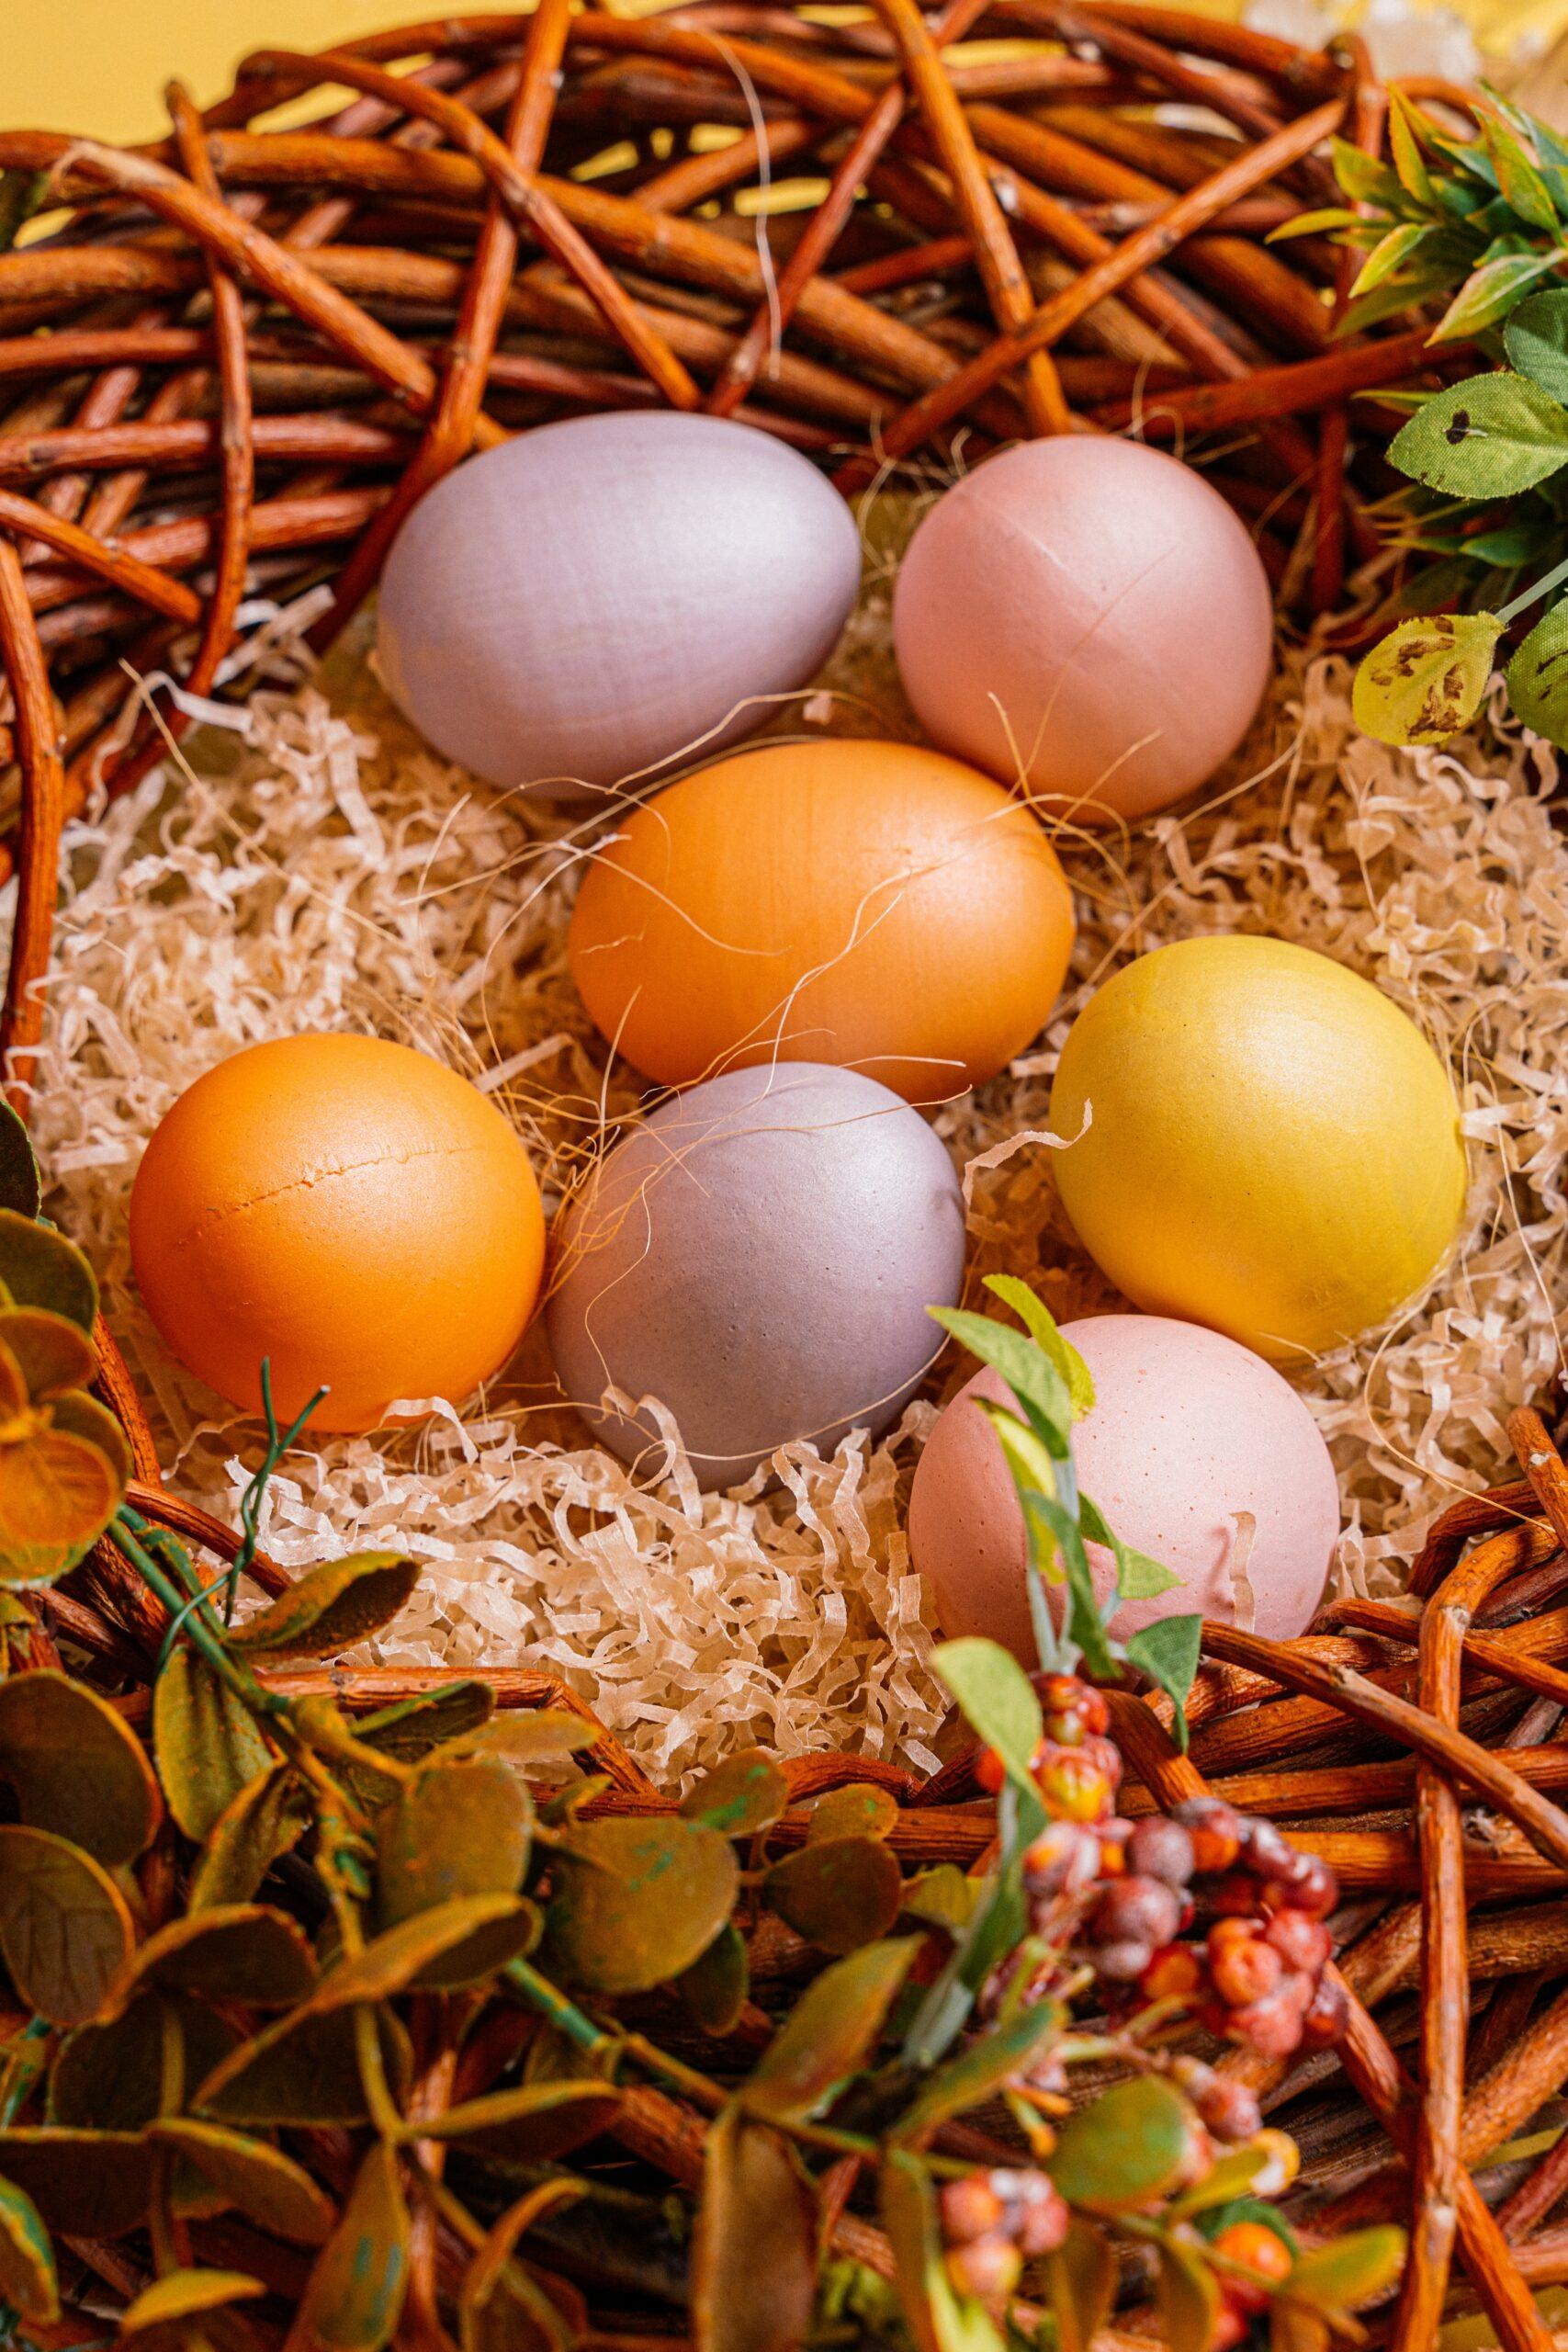
You will need to use orange, pink, purple, and yellow Easter egg dye to make these colorful Easter eggs. You can buy some at the store or you can make your own at home.
Hand-Painted Easter Eggs
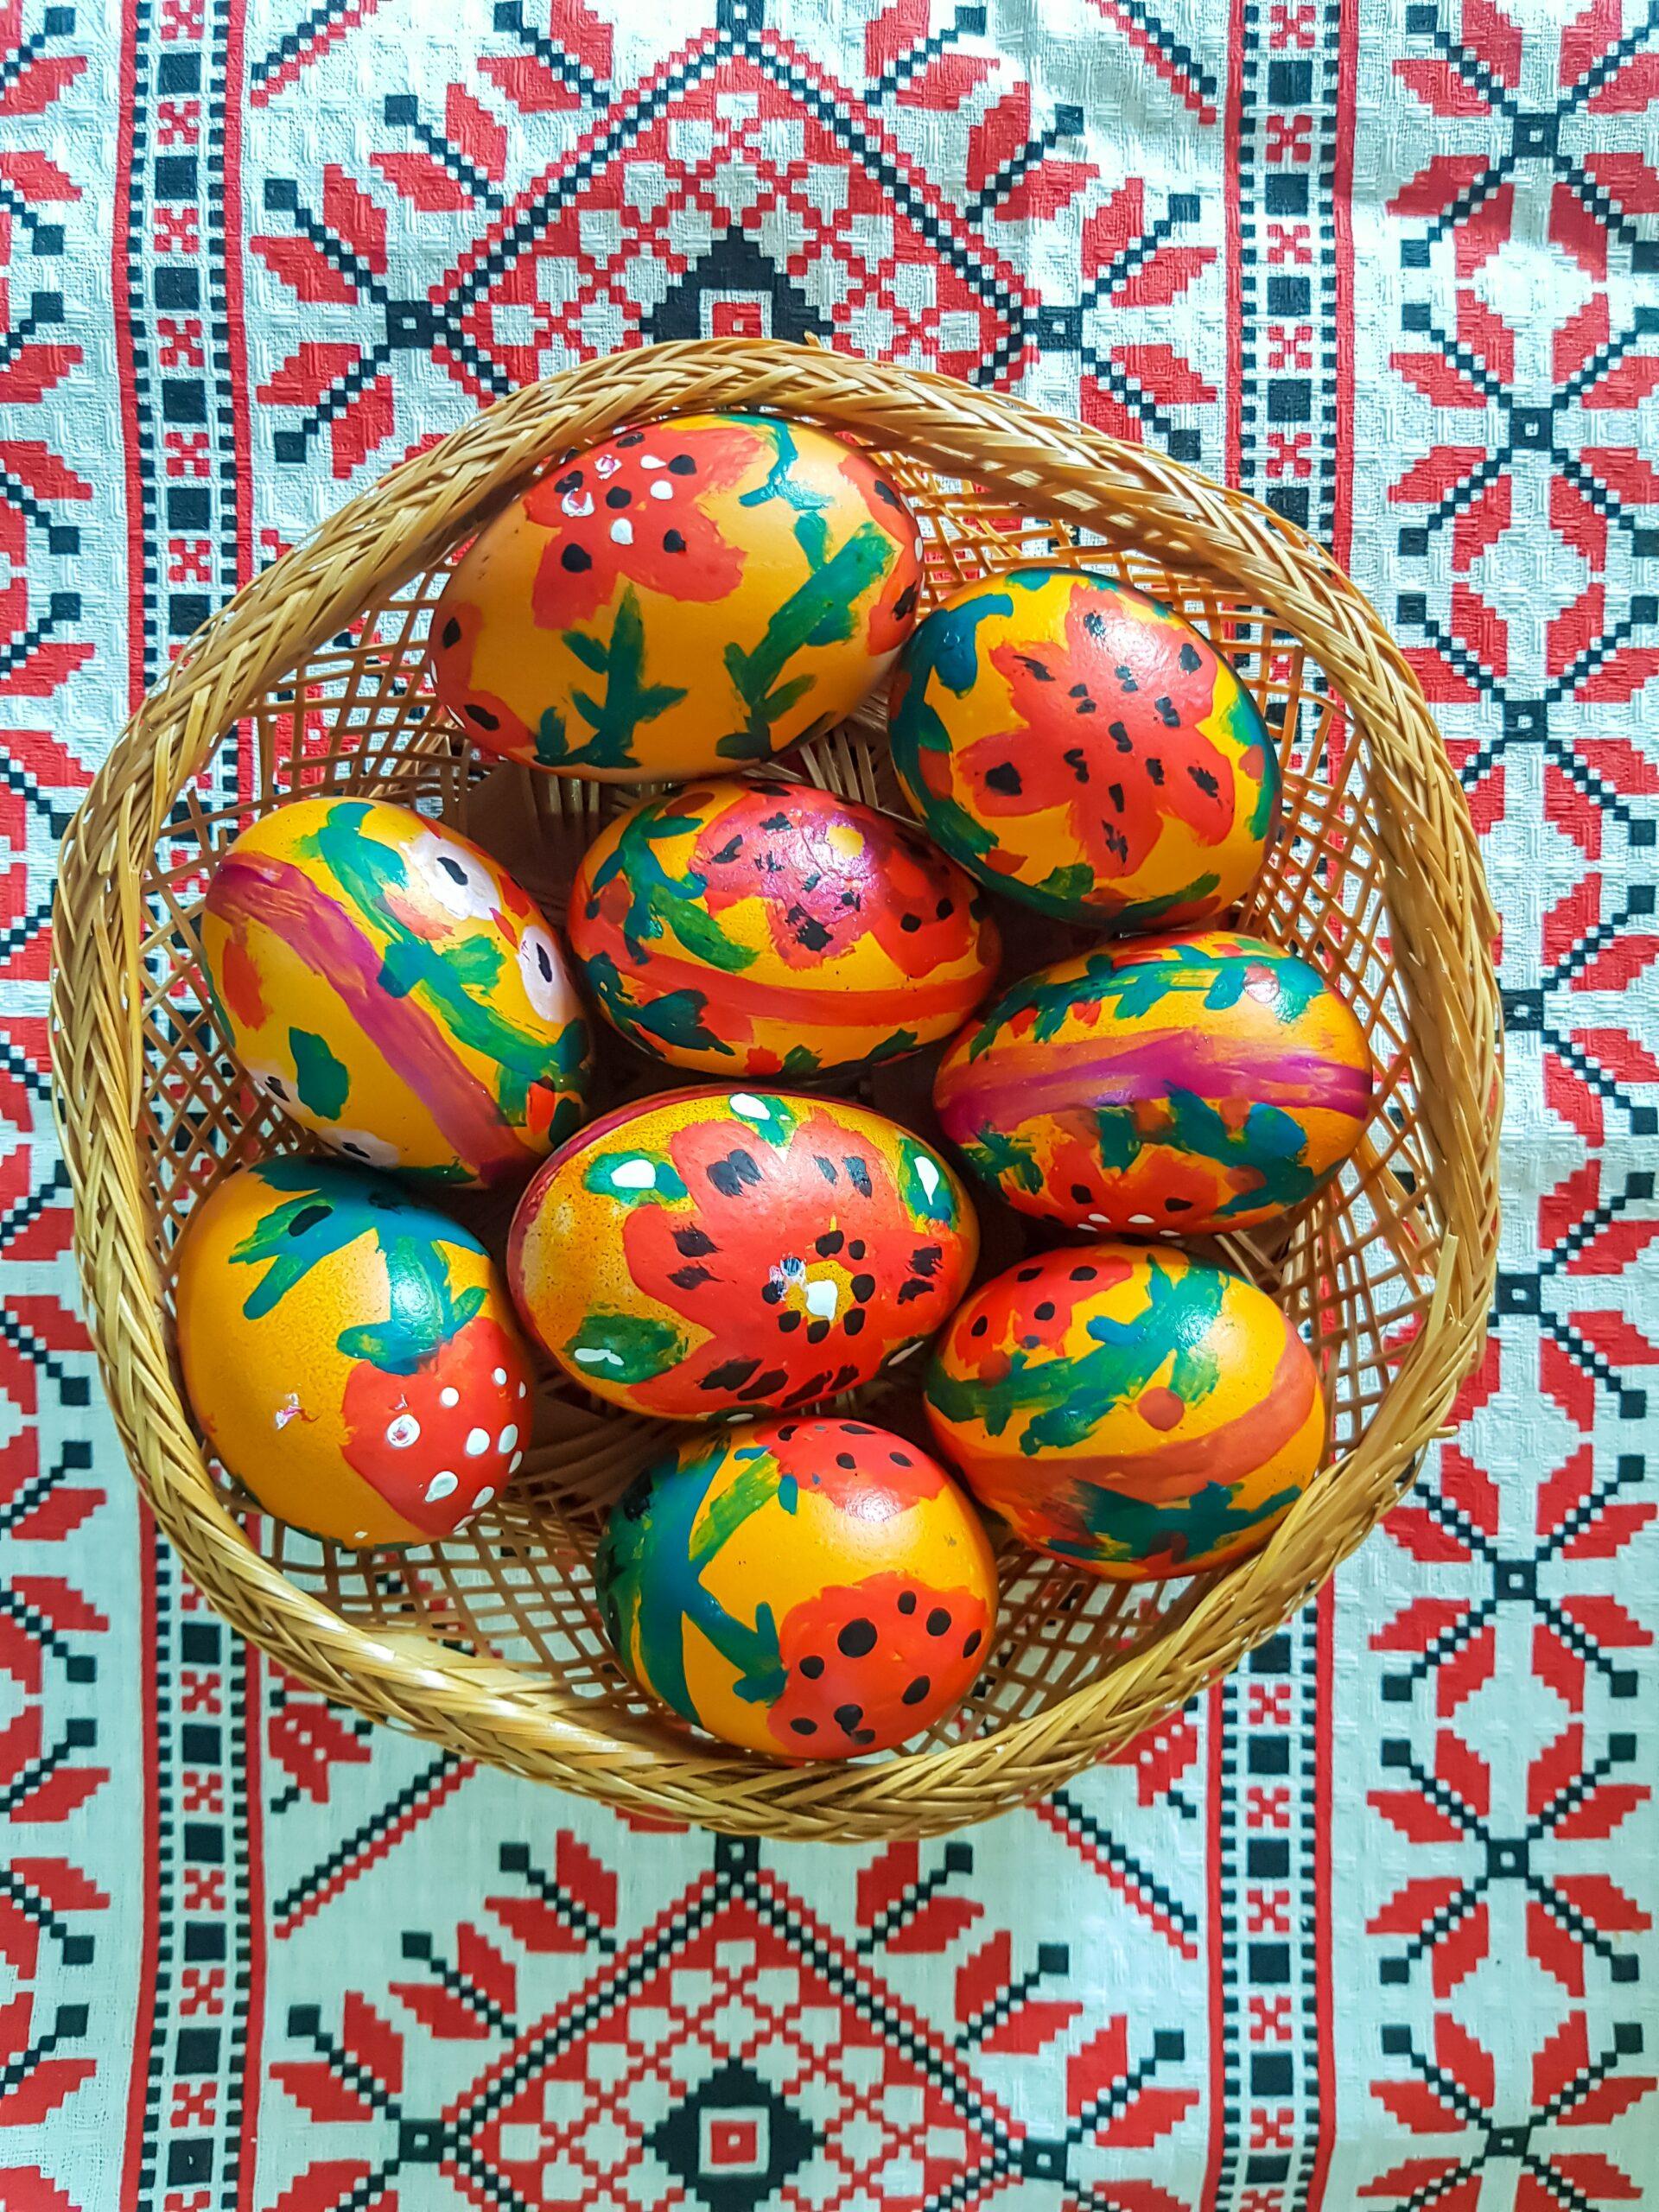
These eggs have various designs, which are hand-painted with acrylic paint. A small paintbrush works well to create small strokes.
Dyed Easter Eggs
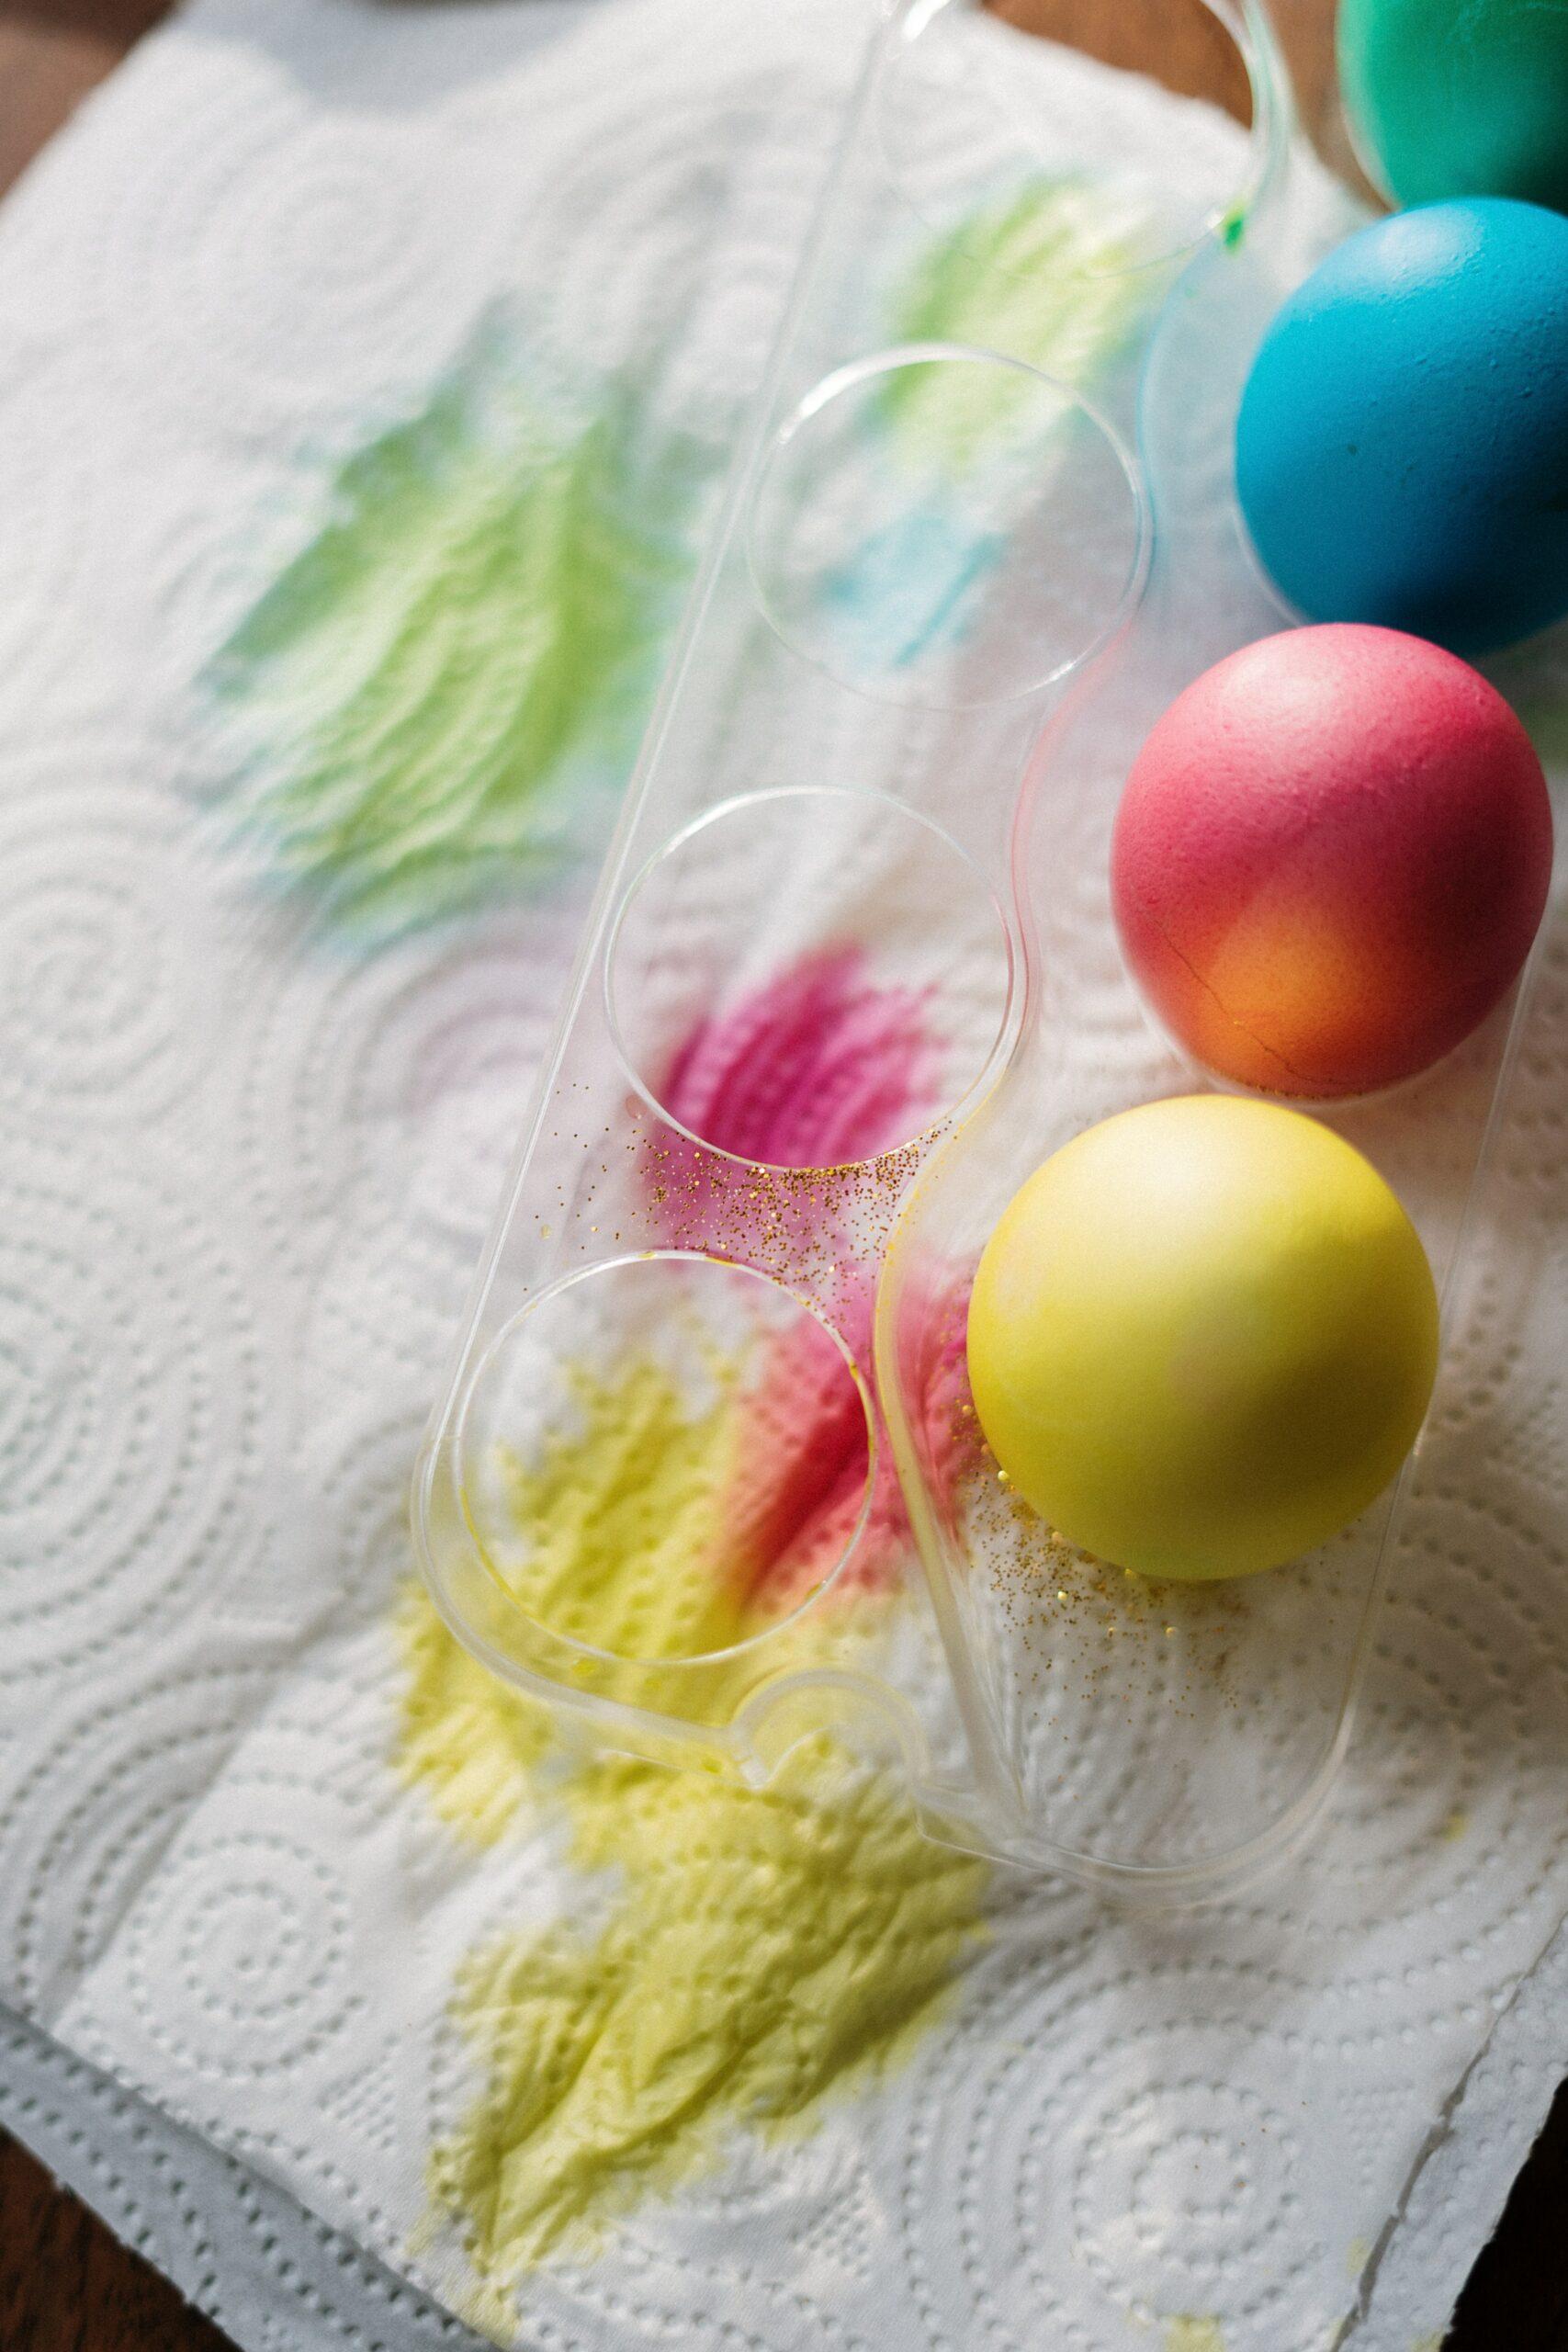
Dyeing eggs with pastel colors is the easiest way to decorate Easter eggs. You can make your own dye at home by mixing 1/2 cup of boiling water, 1 teaspoon of vinegar, and 20 drops of food coloring of the desired color.
Plastic Easter Eggs
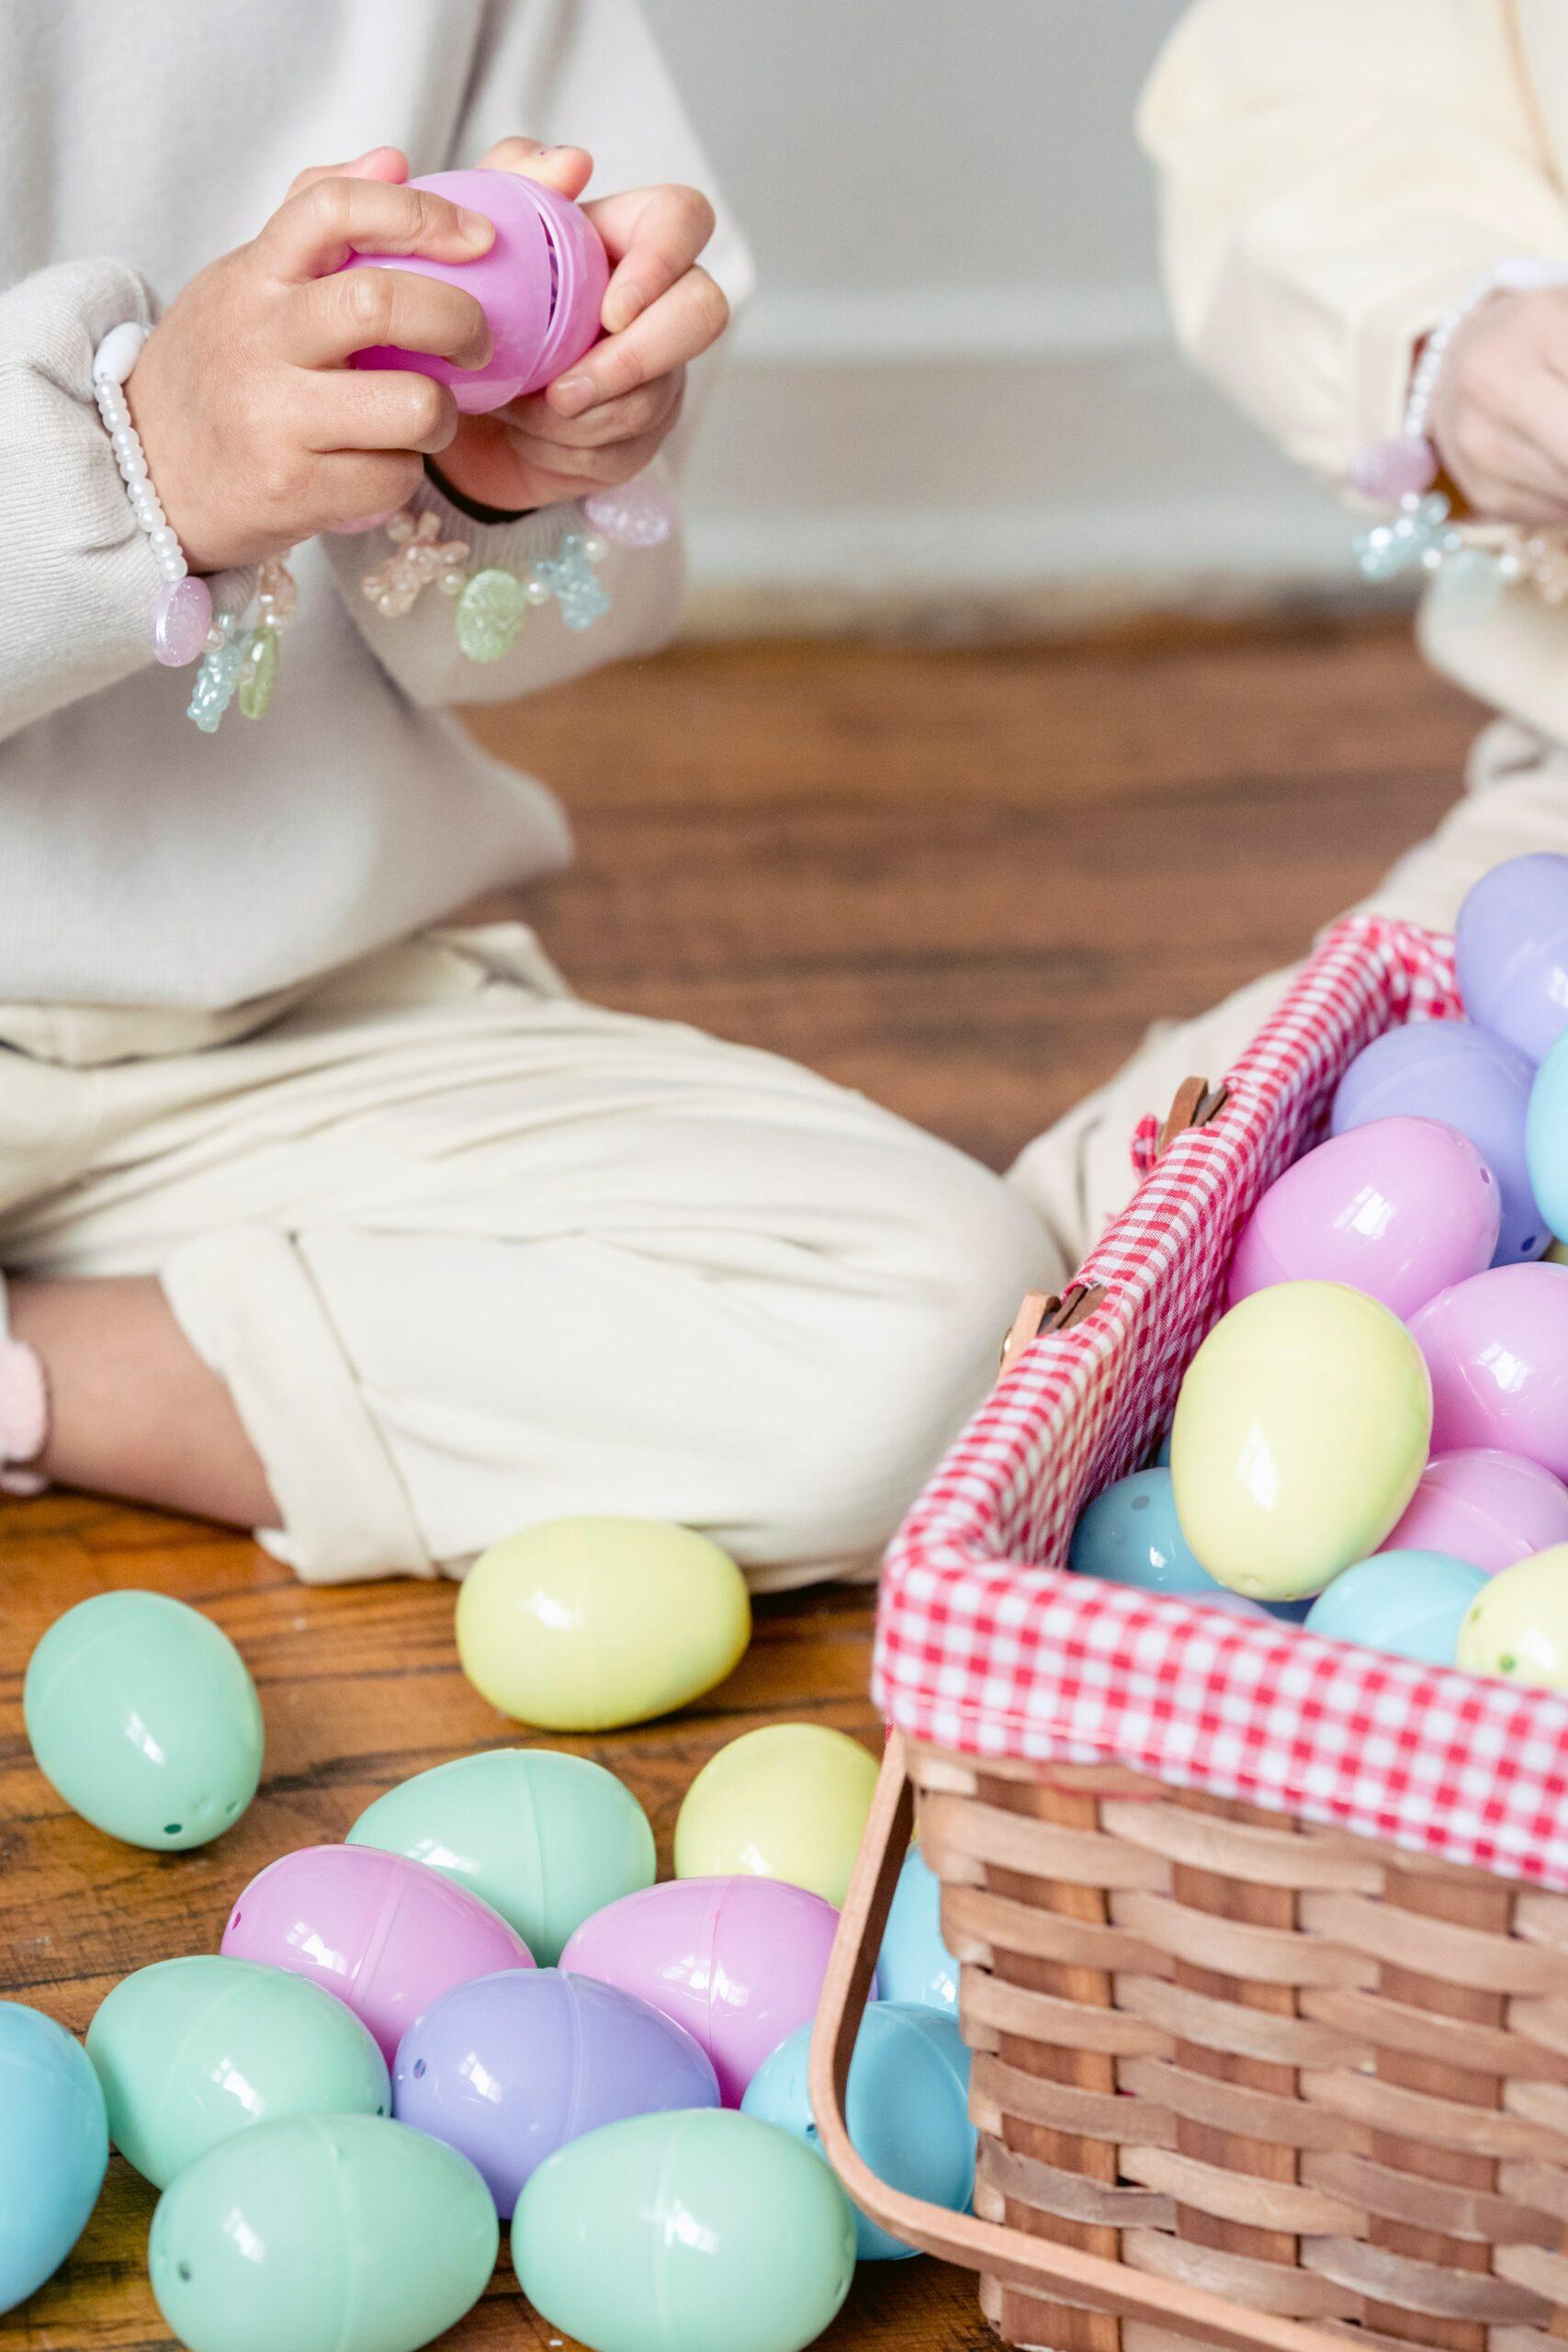
Plastic eggs are an easy way to have an egg hunt without the mess. Fill the colorful eggs with goodies and hide them around your house.
Hand Painted Easter Eggs
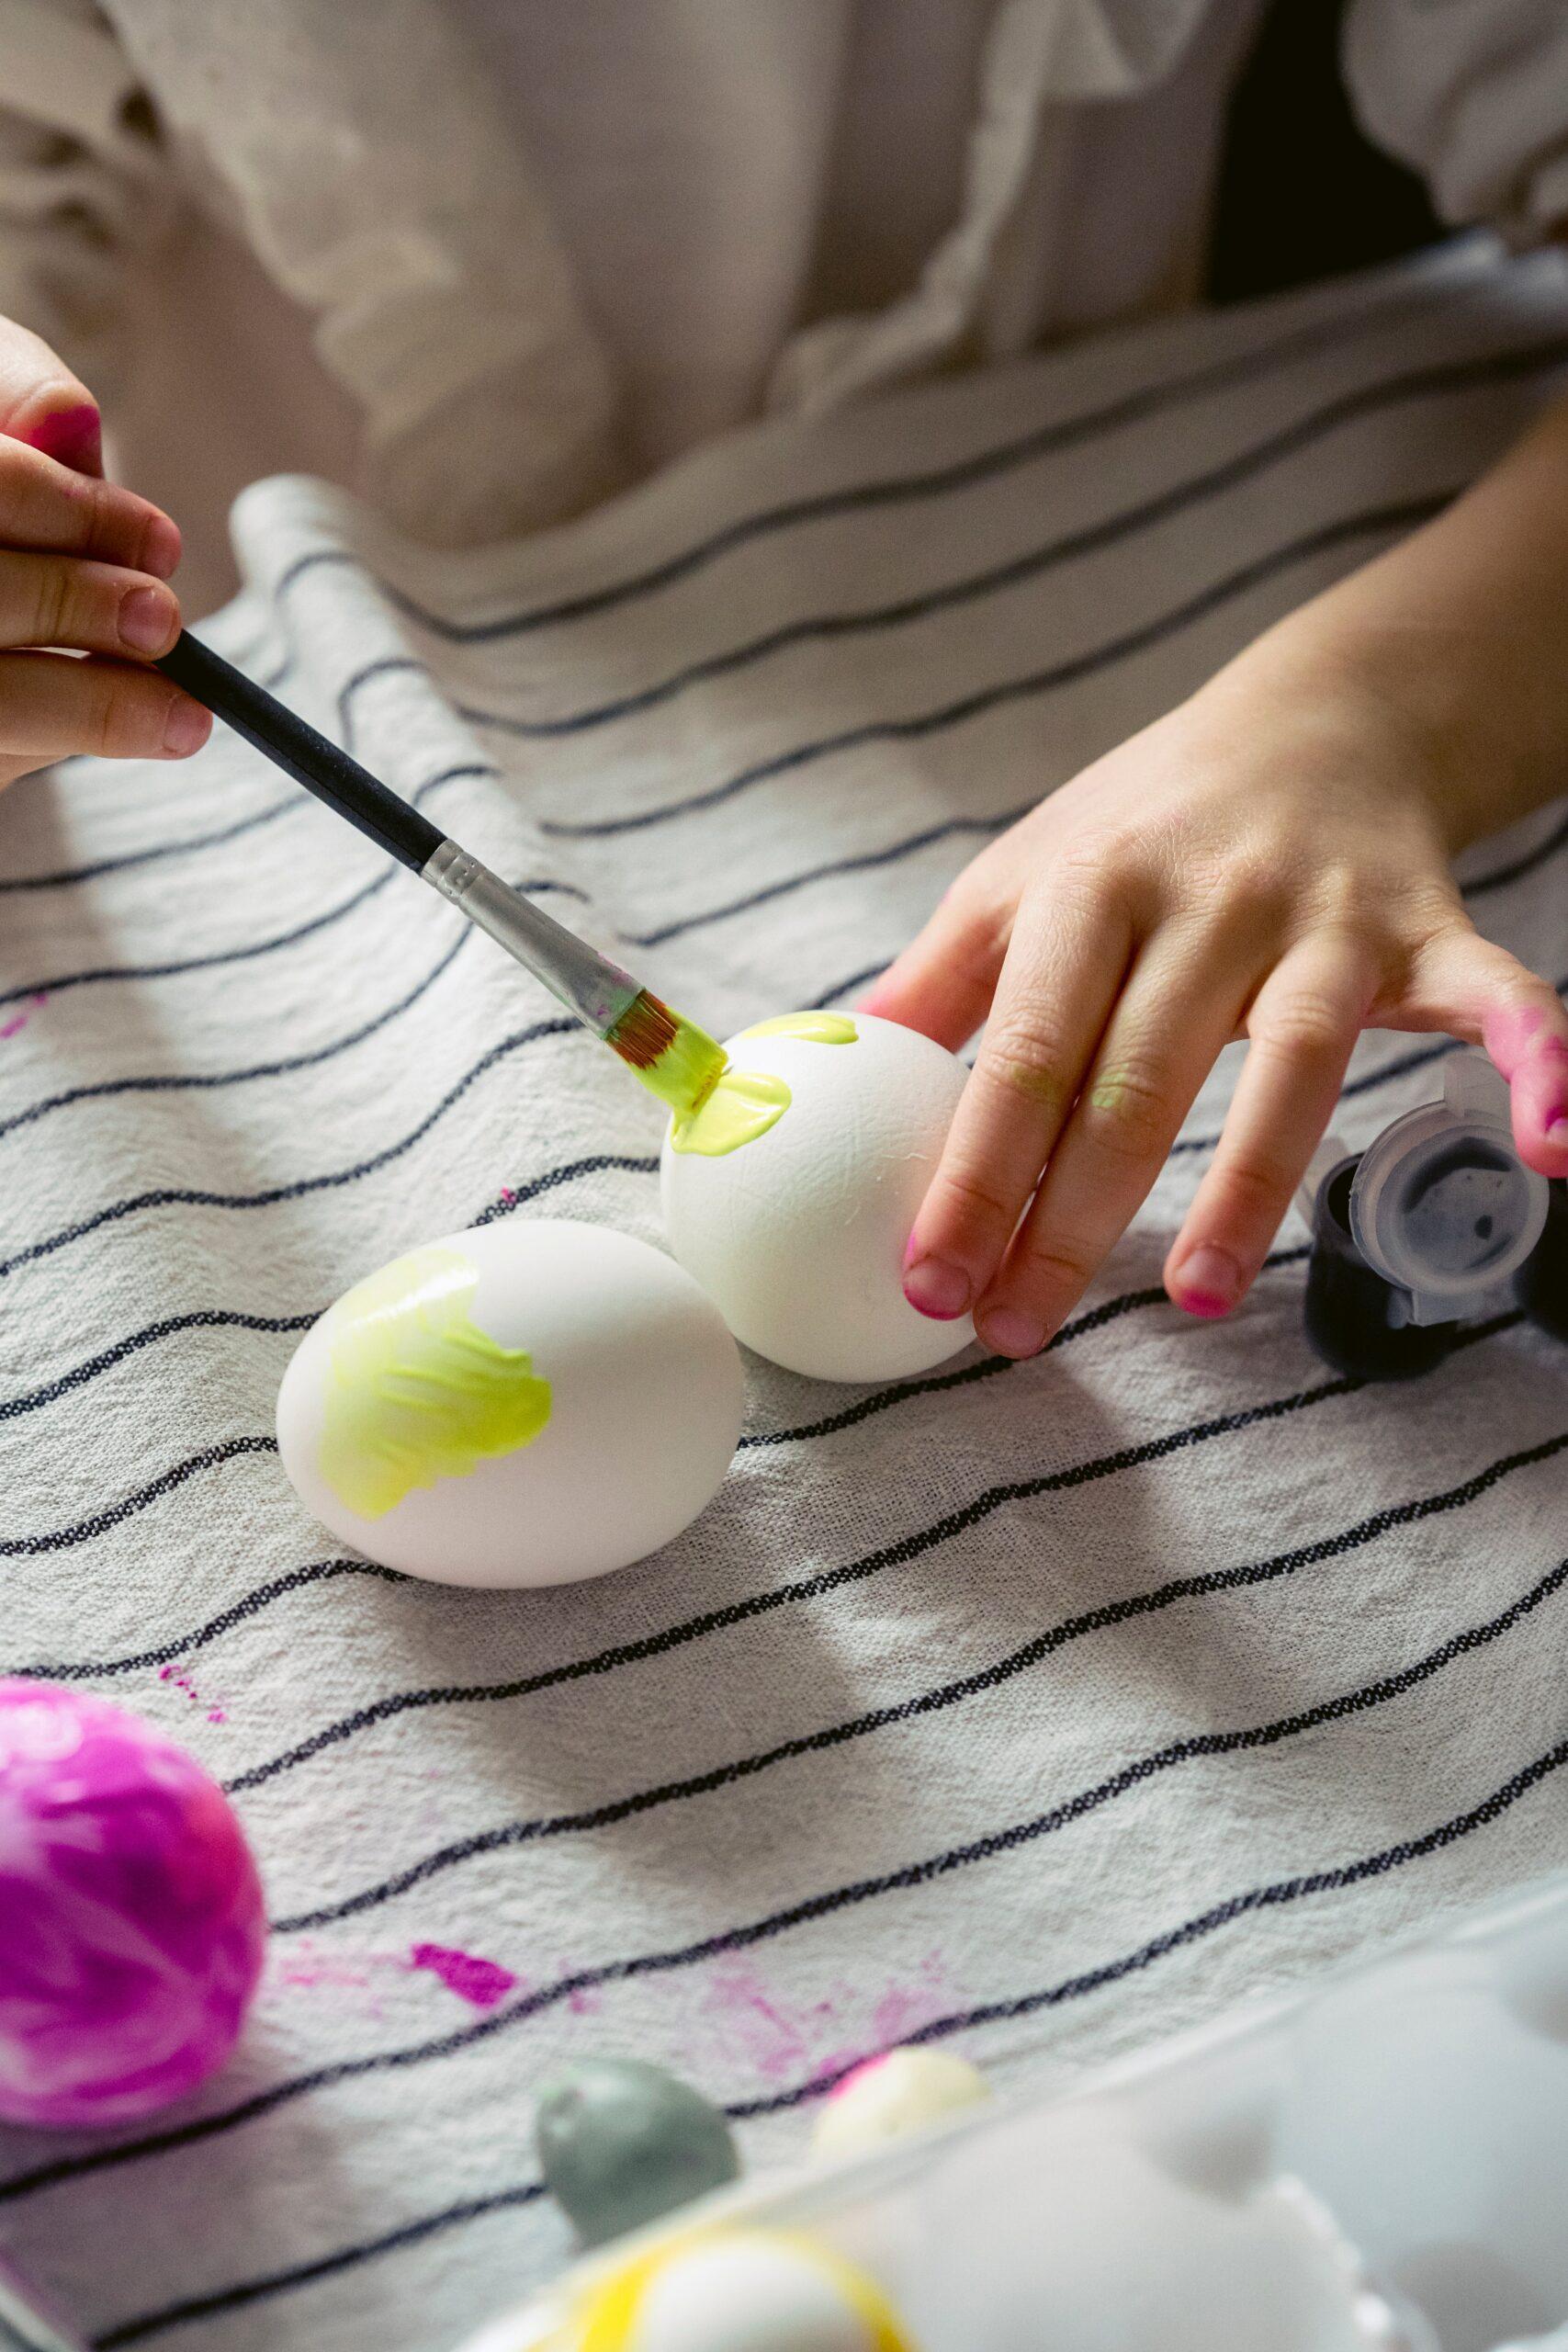
If you want to avoid Easter egg dye or try something new, try painting your hand painting your eggs. Pick out the colors you want and paint away.
Dark Blue Marbled Easter Eggs
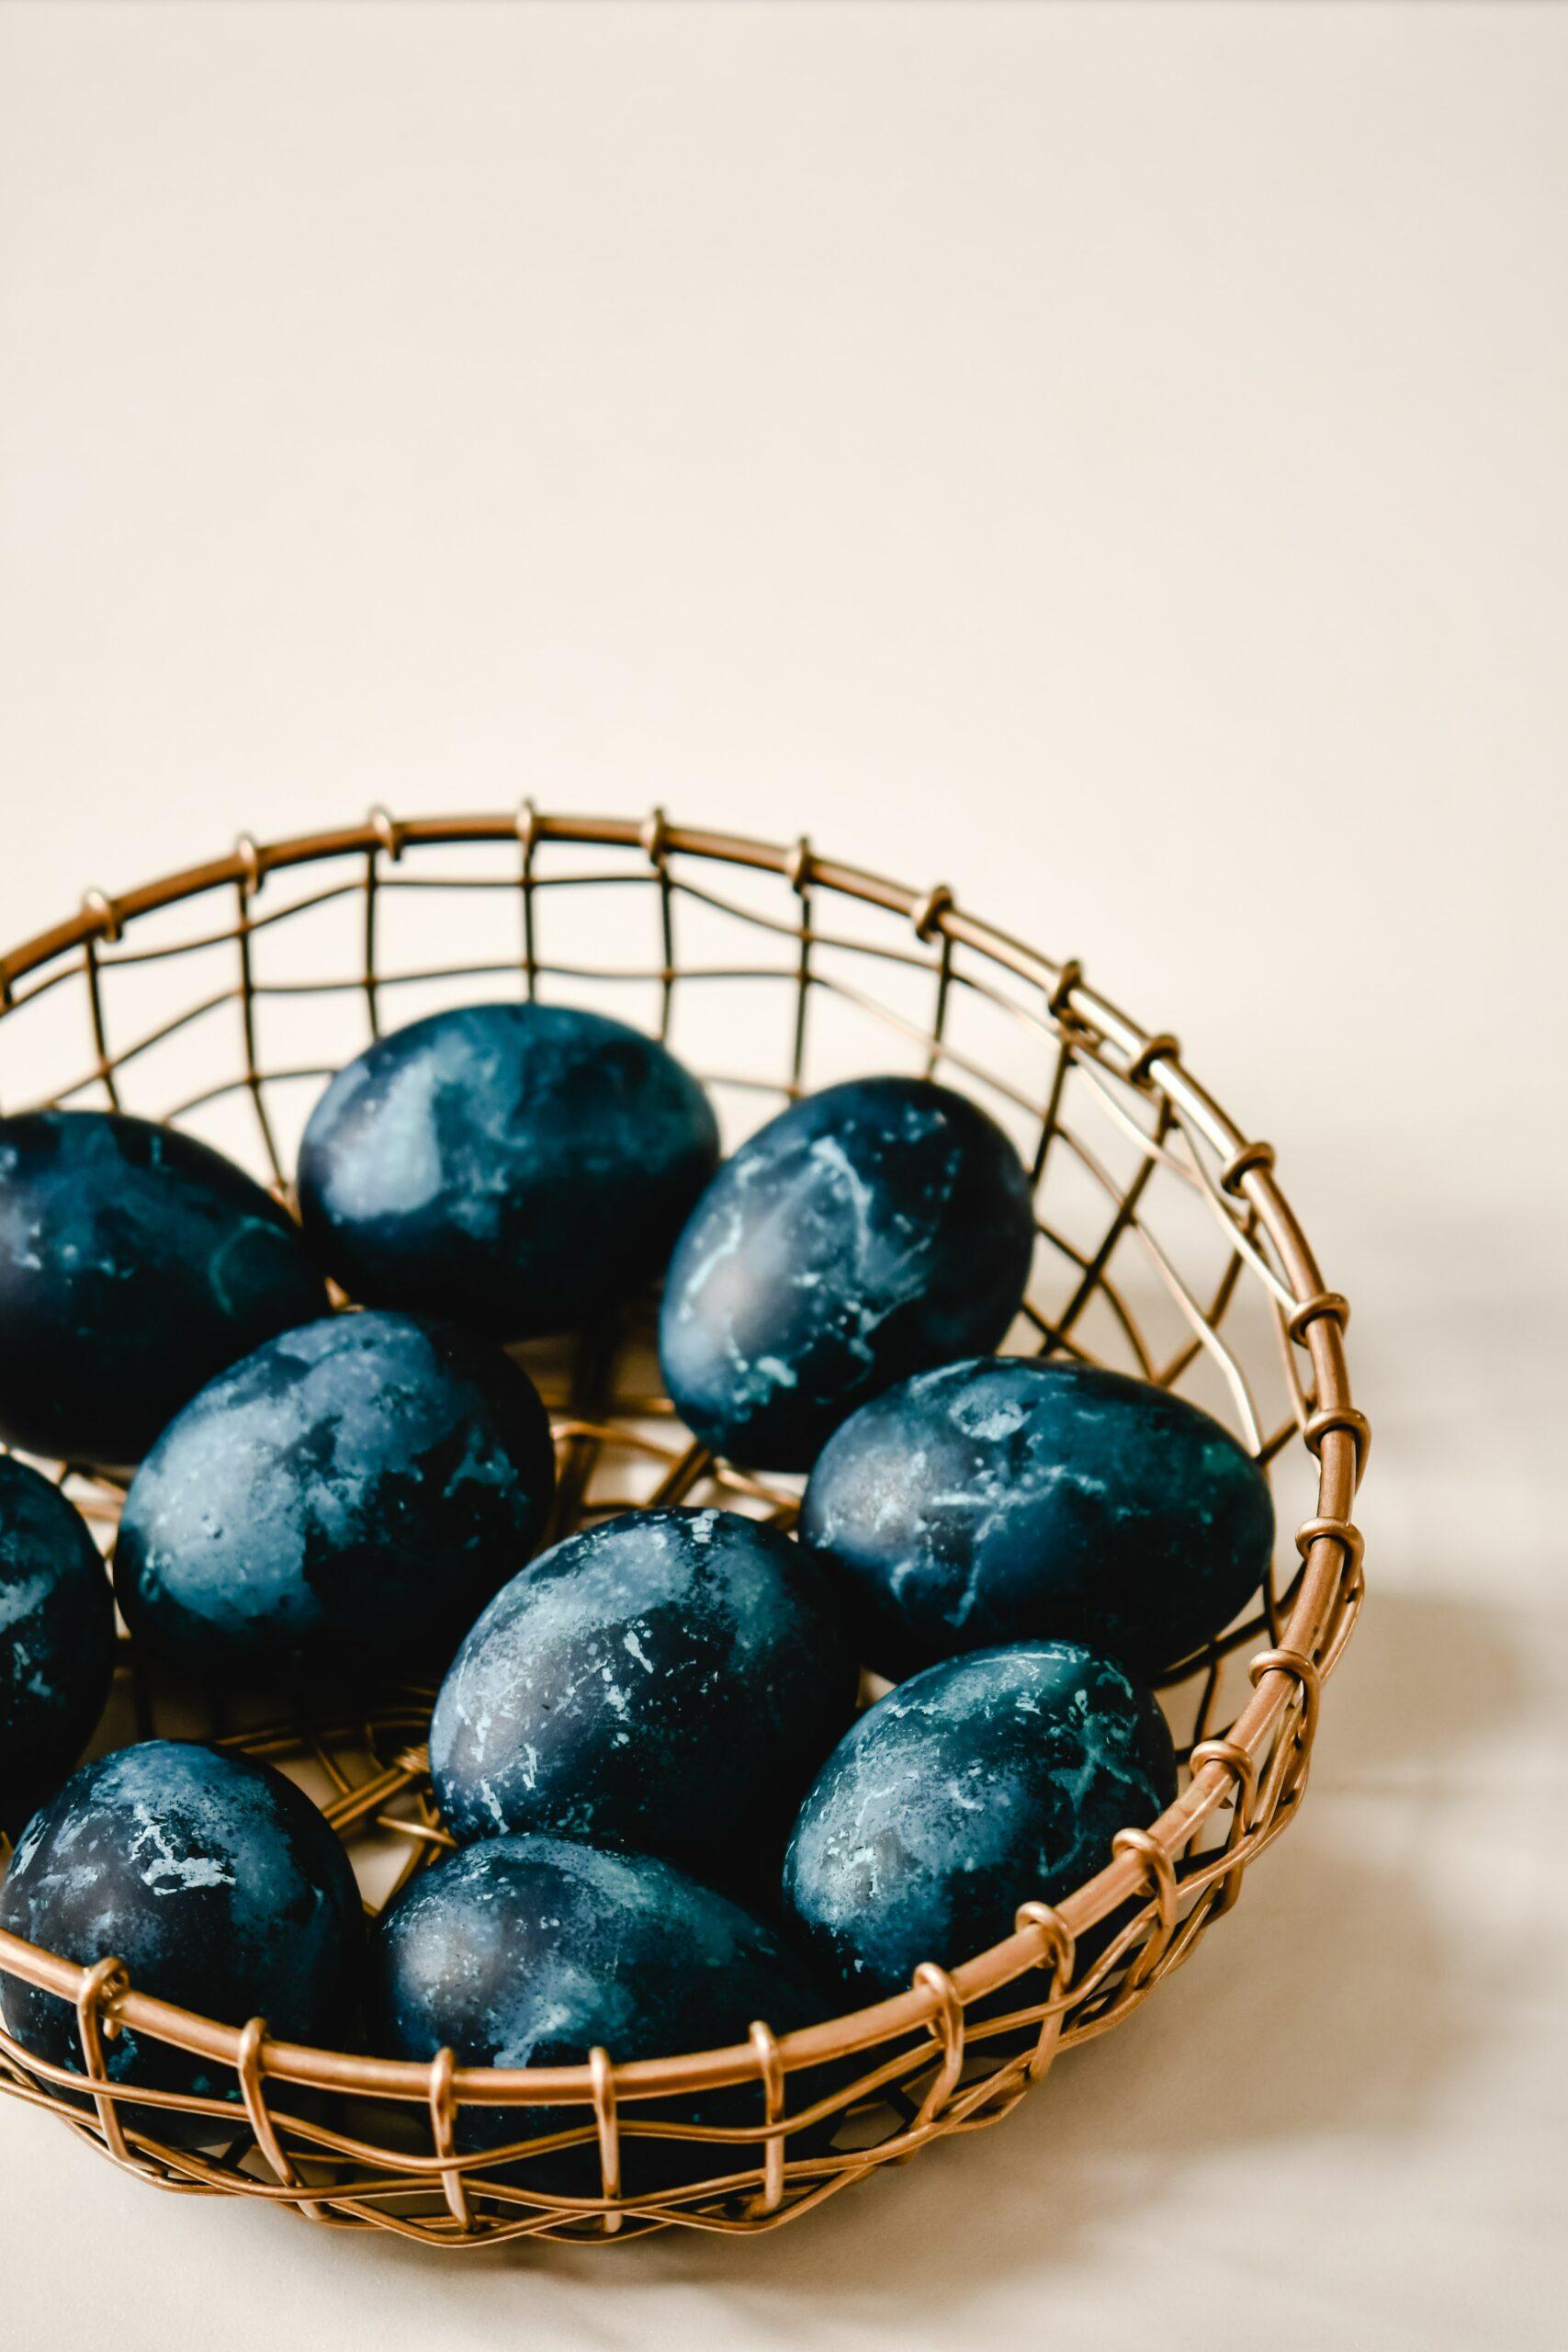
These modern Easter eggs are incredibly easy to make. Draw whatever Easter egg design you want on the egg with a white crayon, then dip it into the dye.
Dyed Easter Eggs
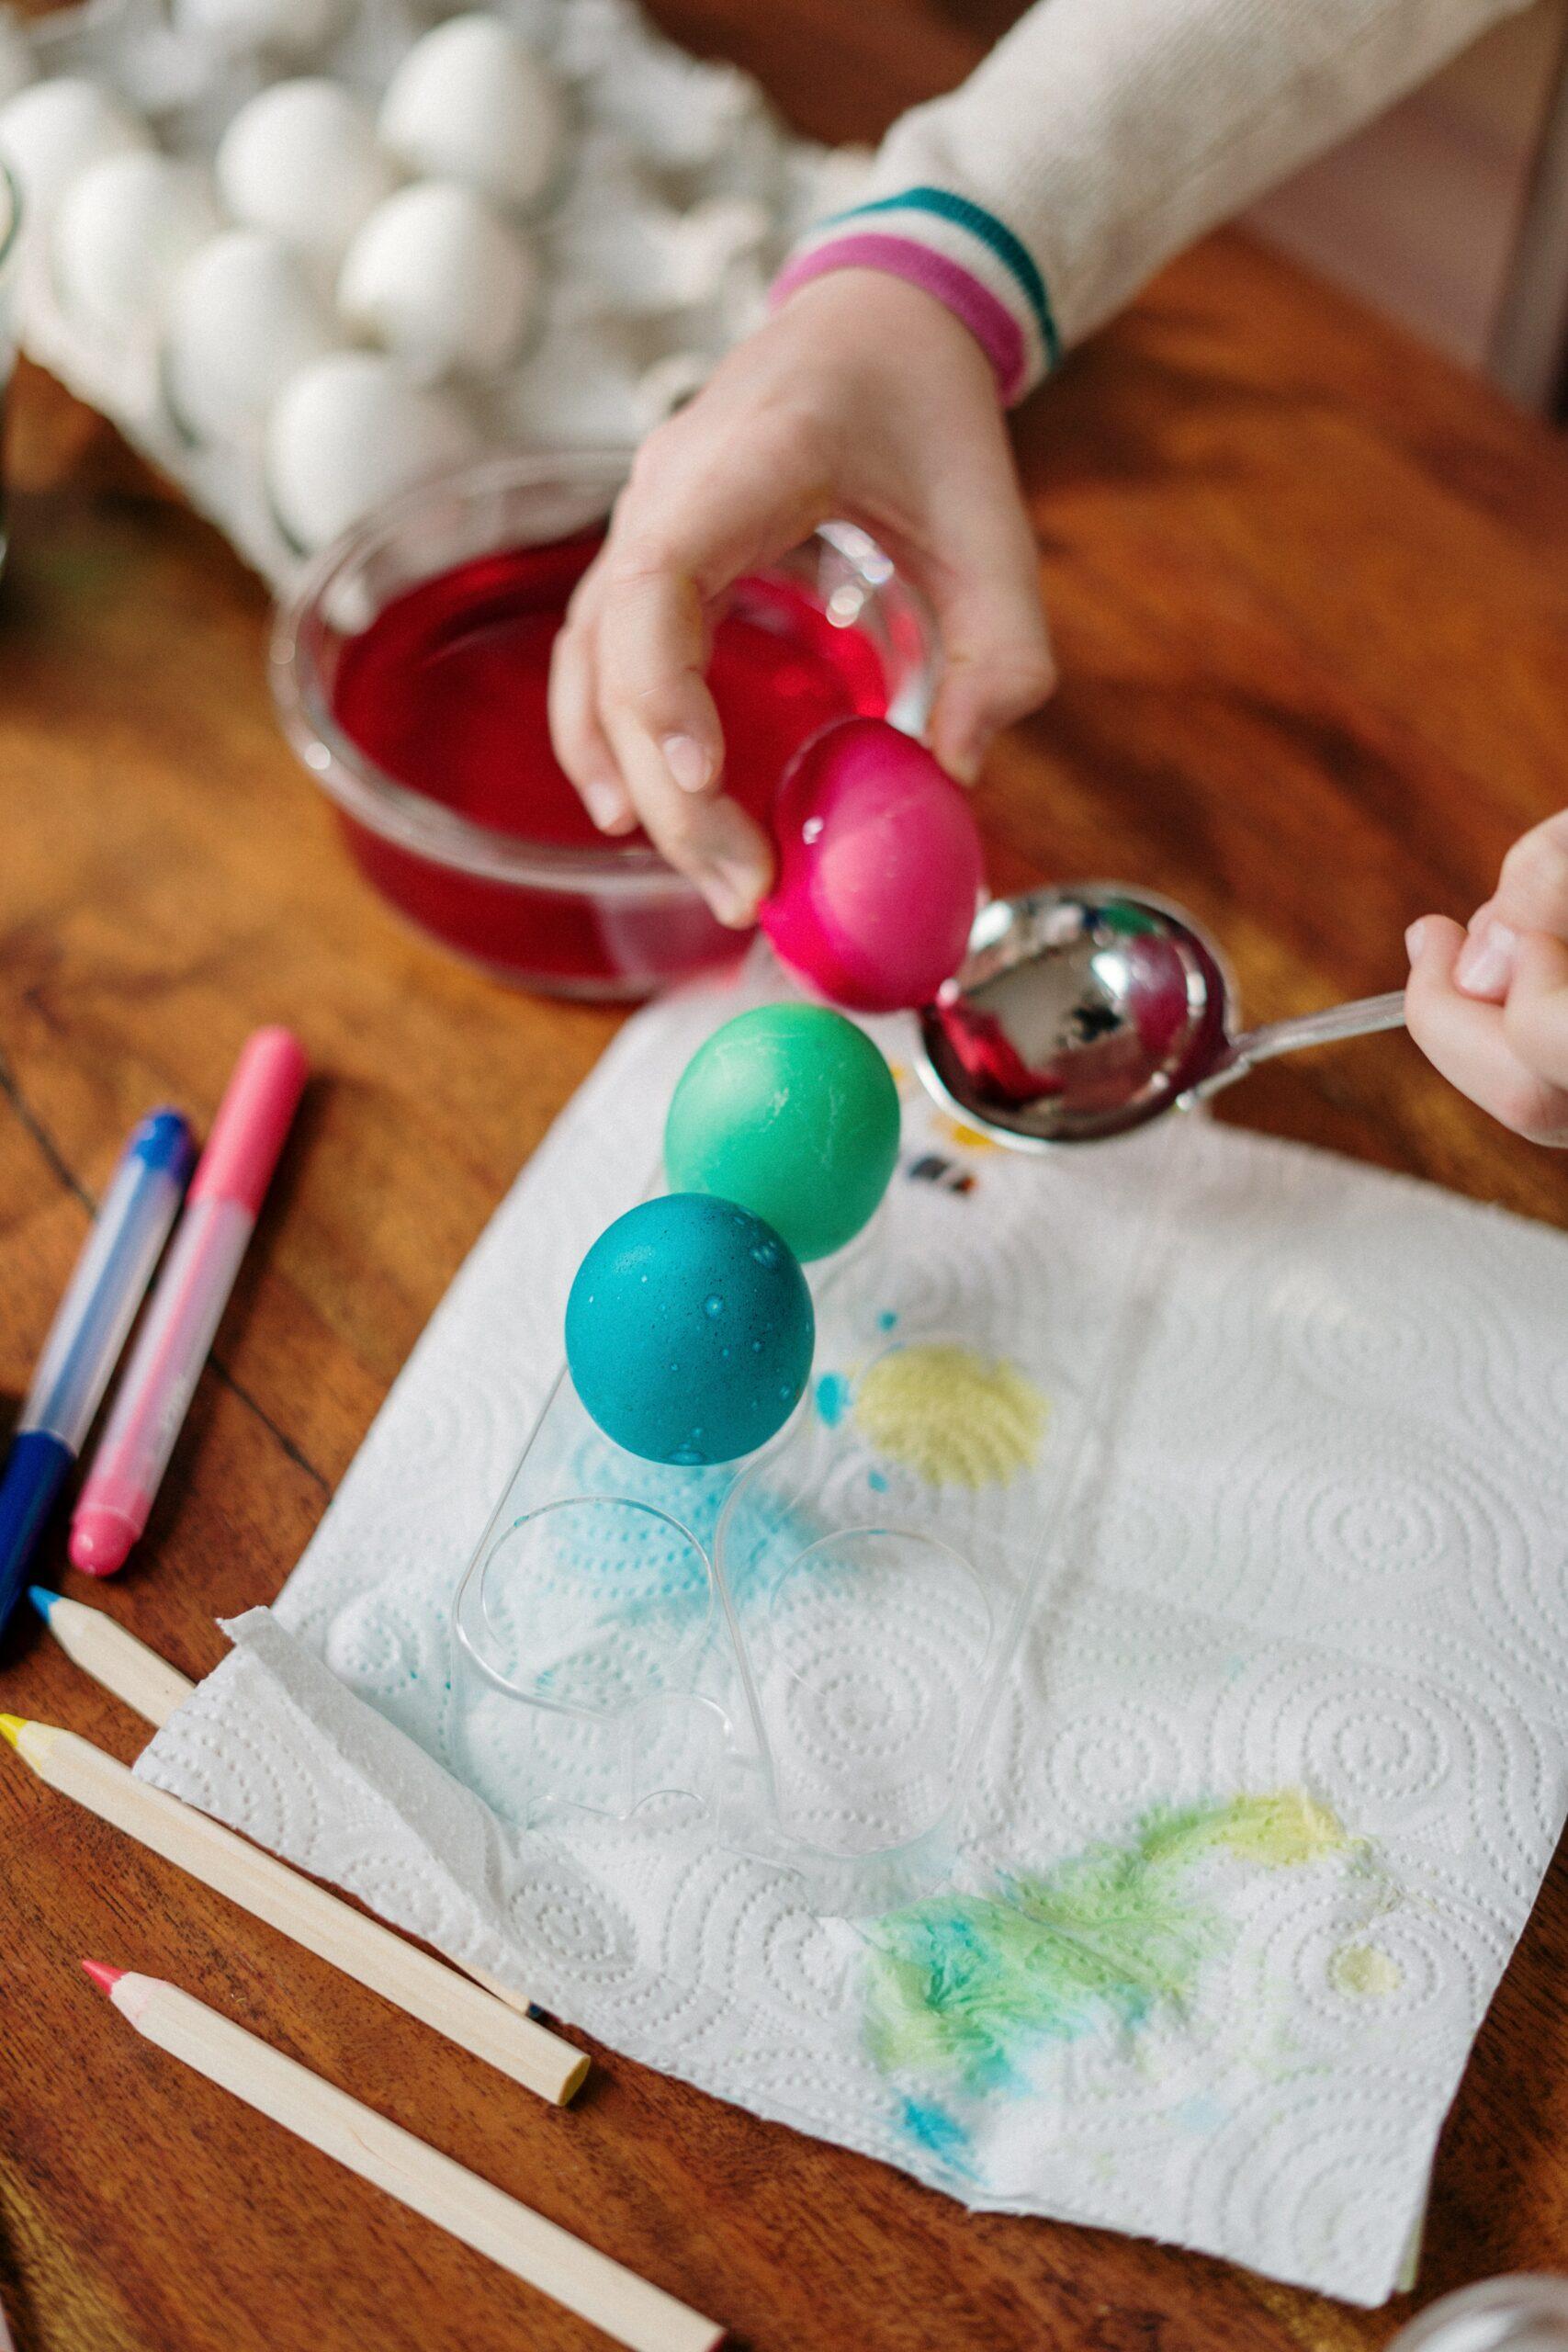
Dyeing Easter eggs can be very messy. Make sure you use a spoon when you are taking the egg out of the dye.
Easter Bunny Egg
Save this post for later!
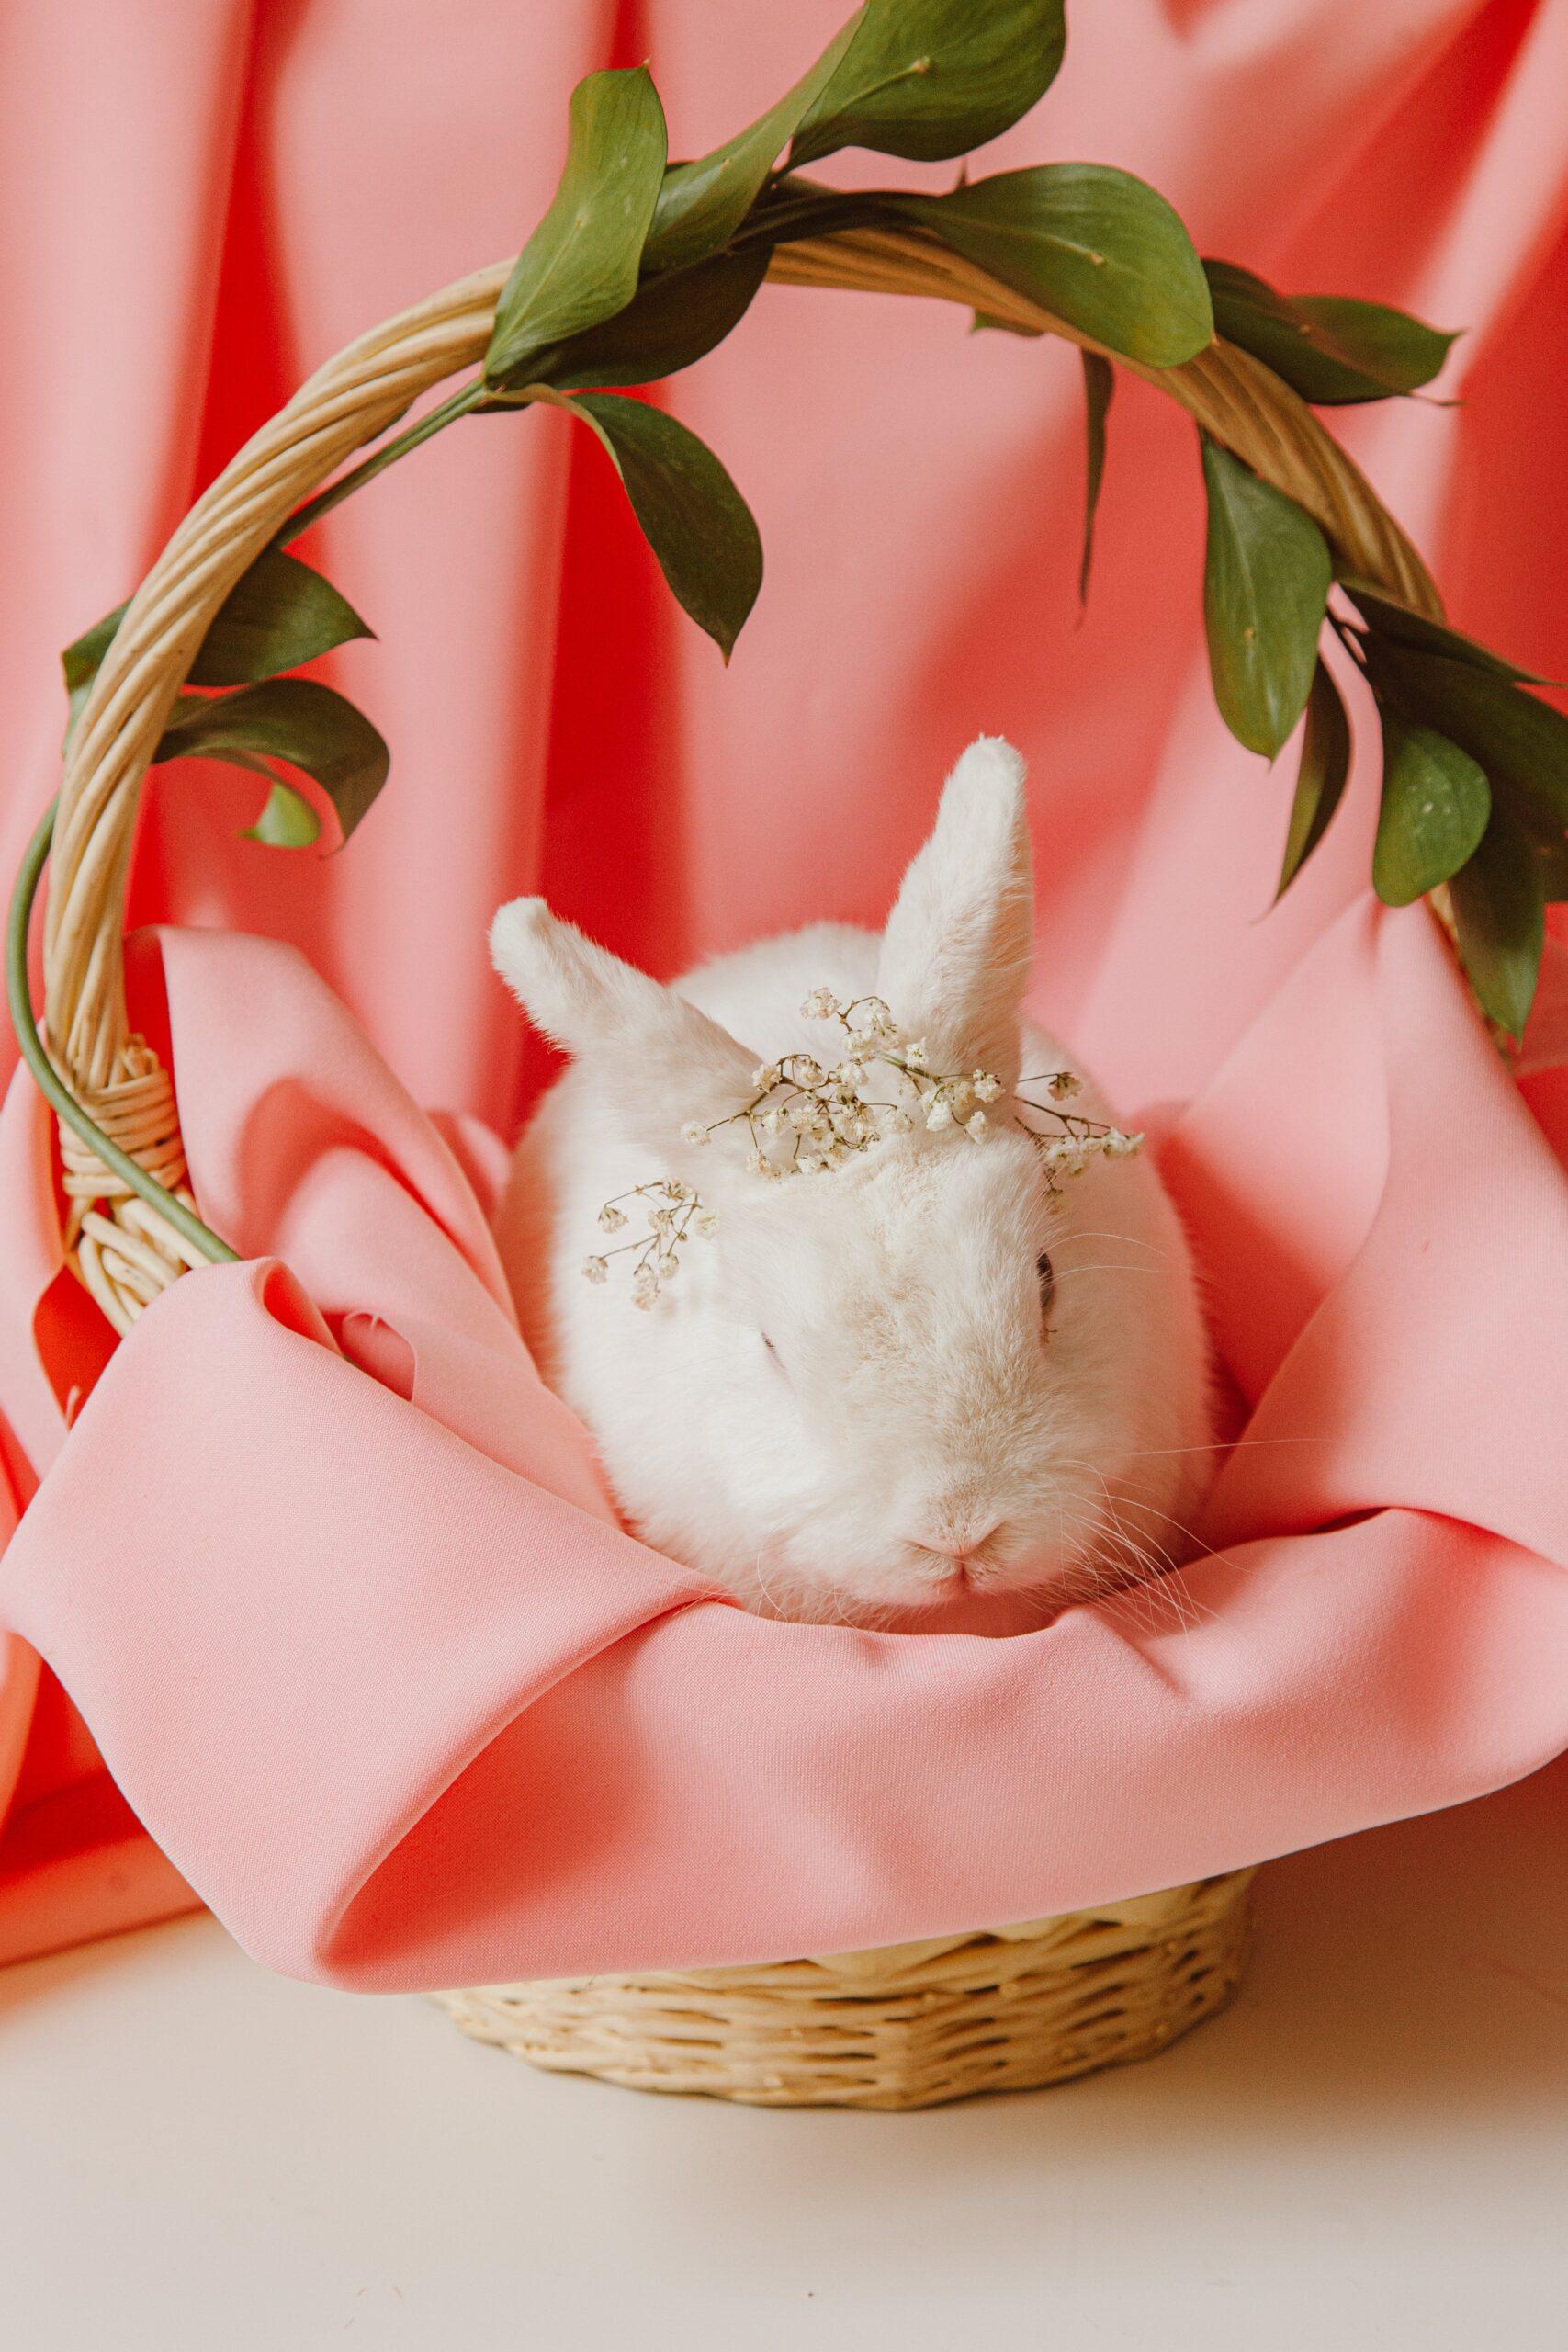
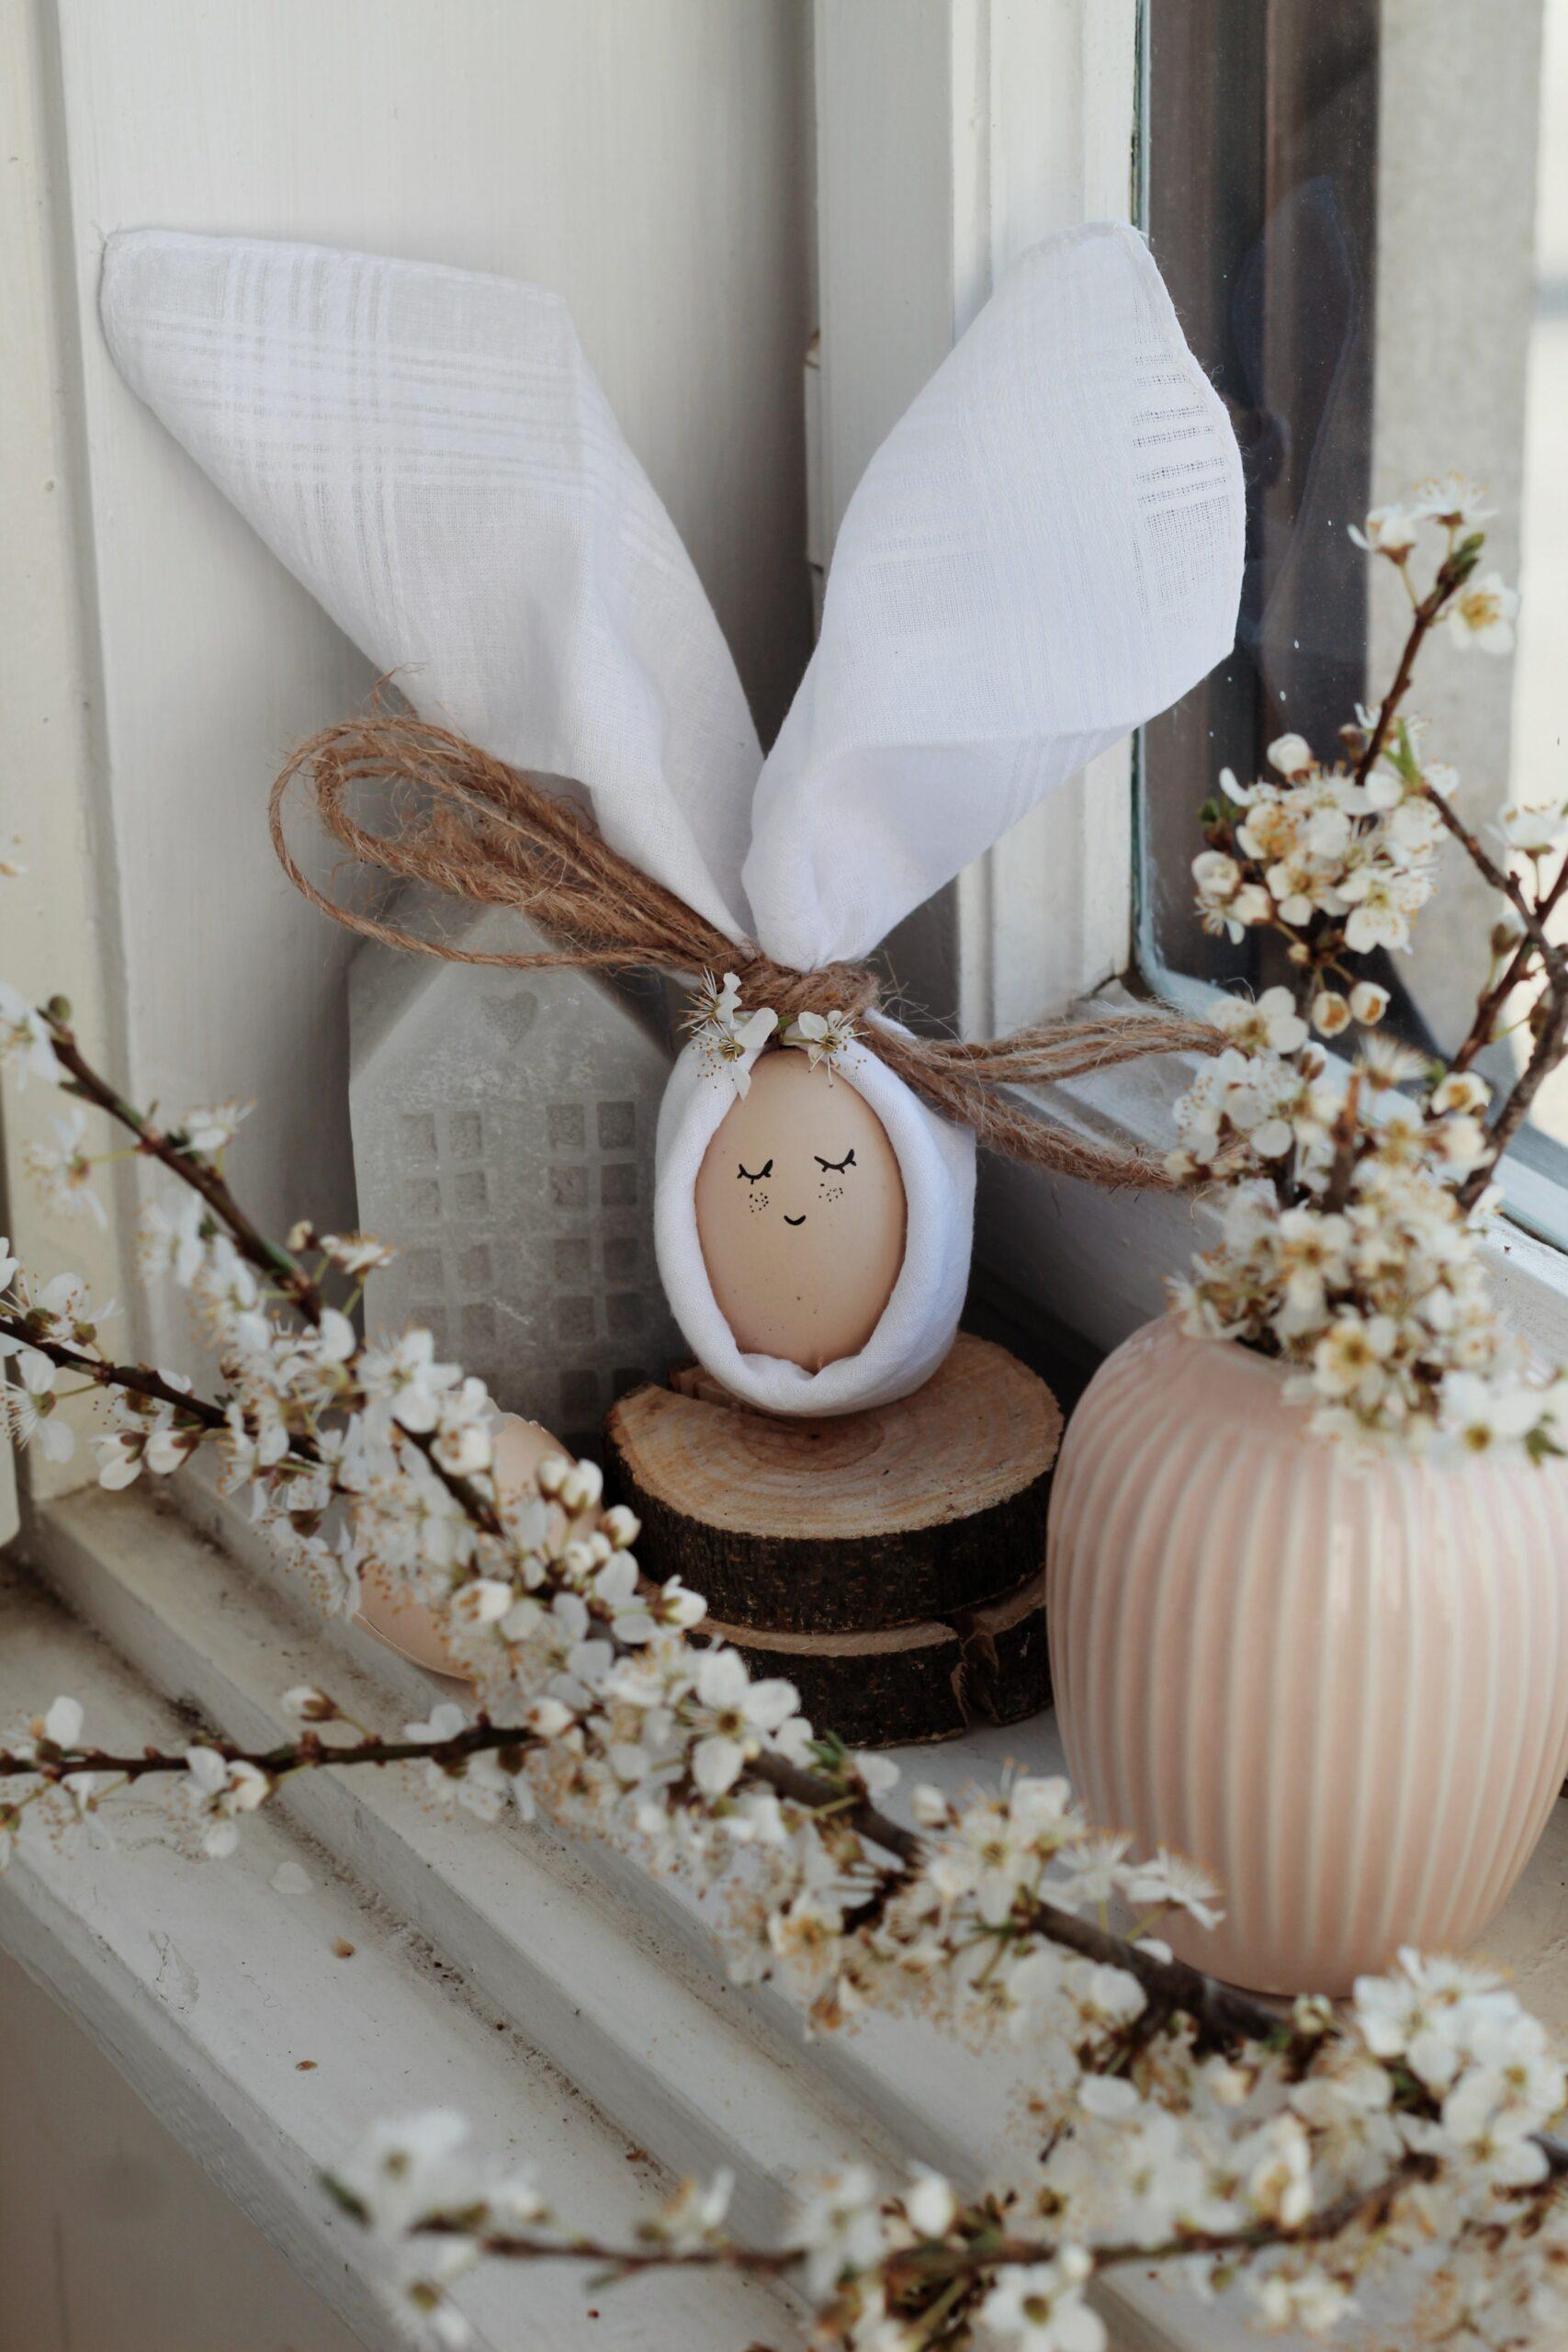
You can use a brown egg or dye a white egg brown for this Easter egg. Wrap a white napkin around the egg and tie it at the top with twine, making the napkin look like bunny ears.
Greenery Easter Eggs
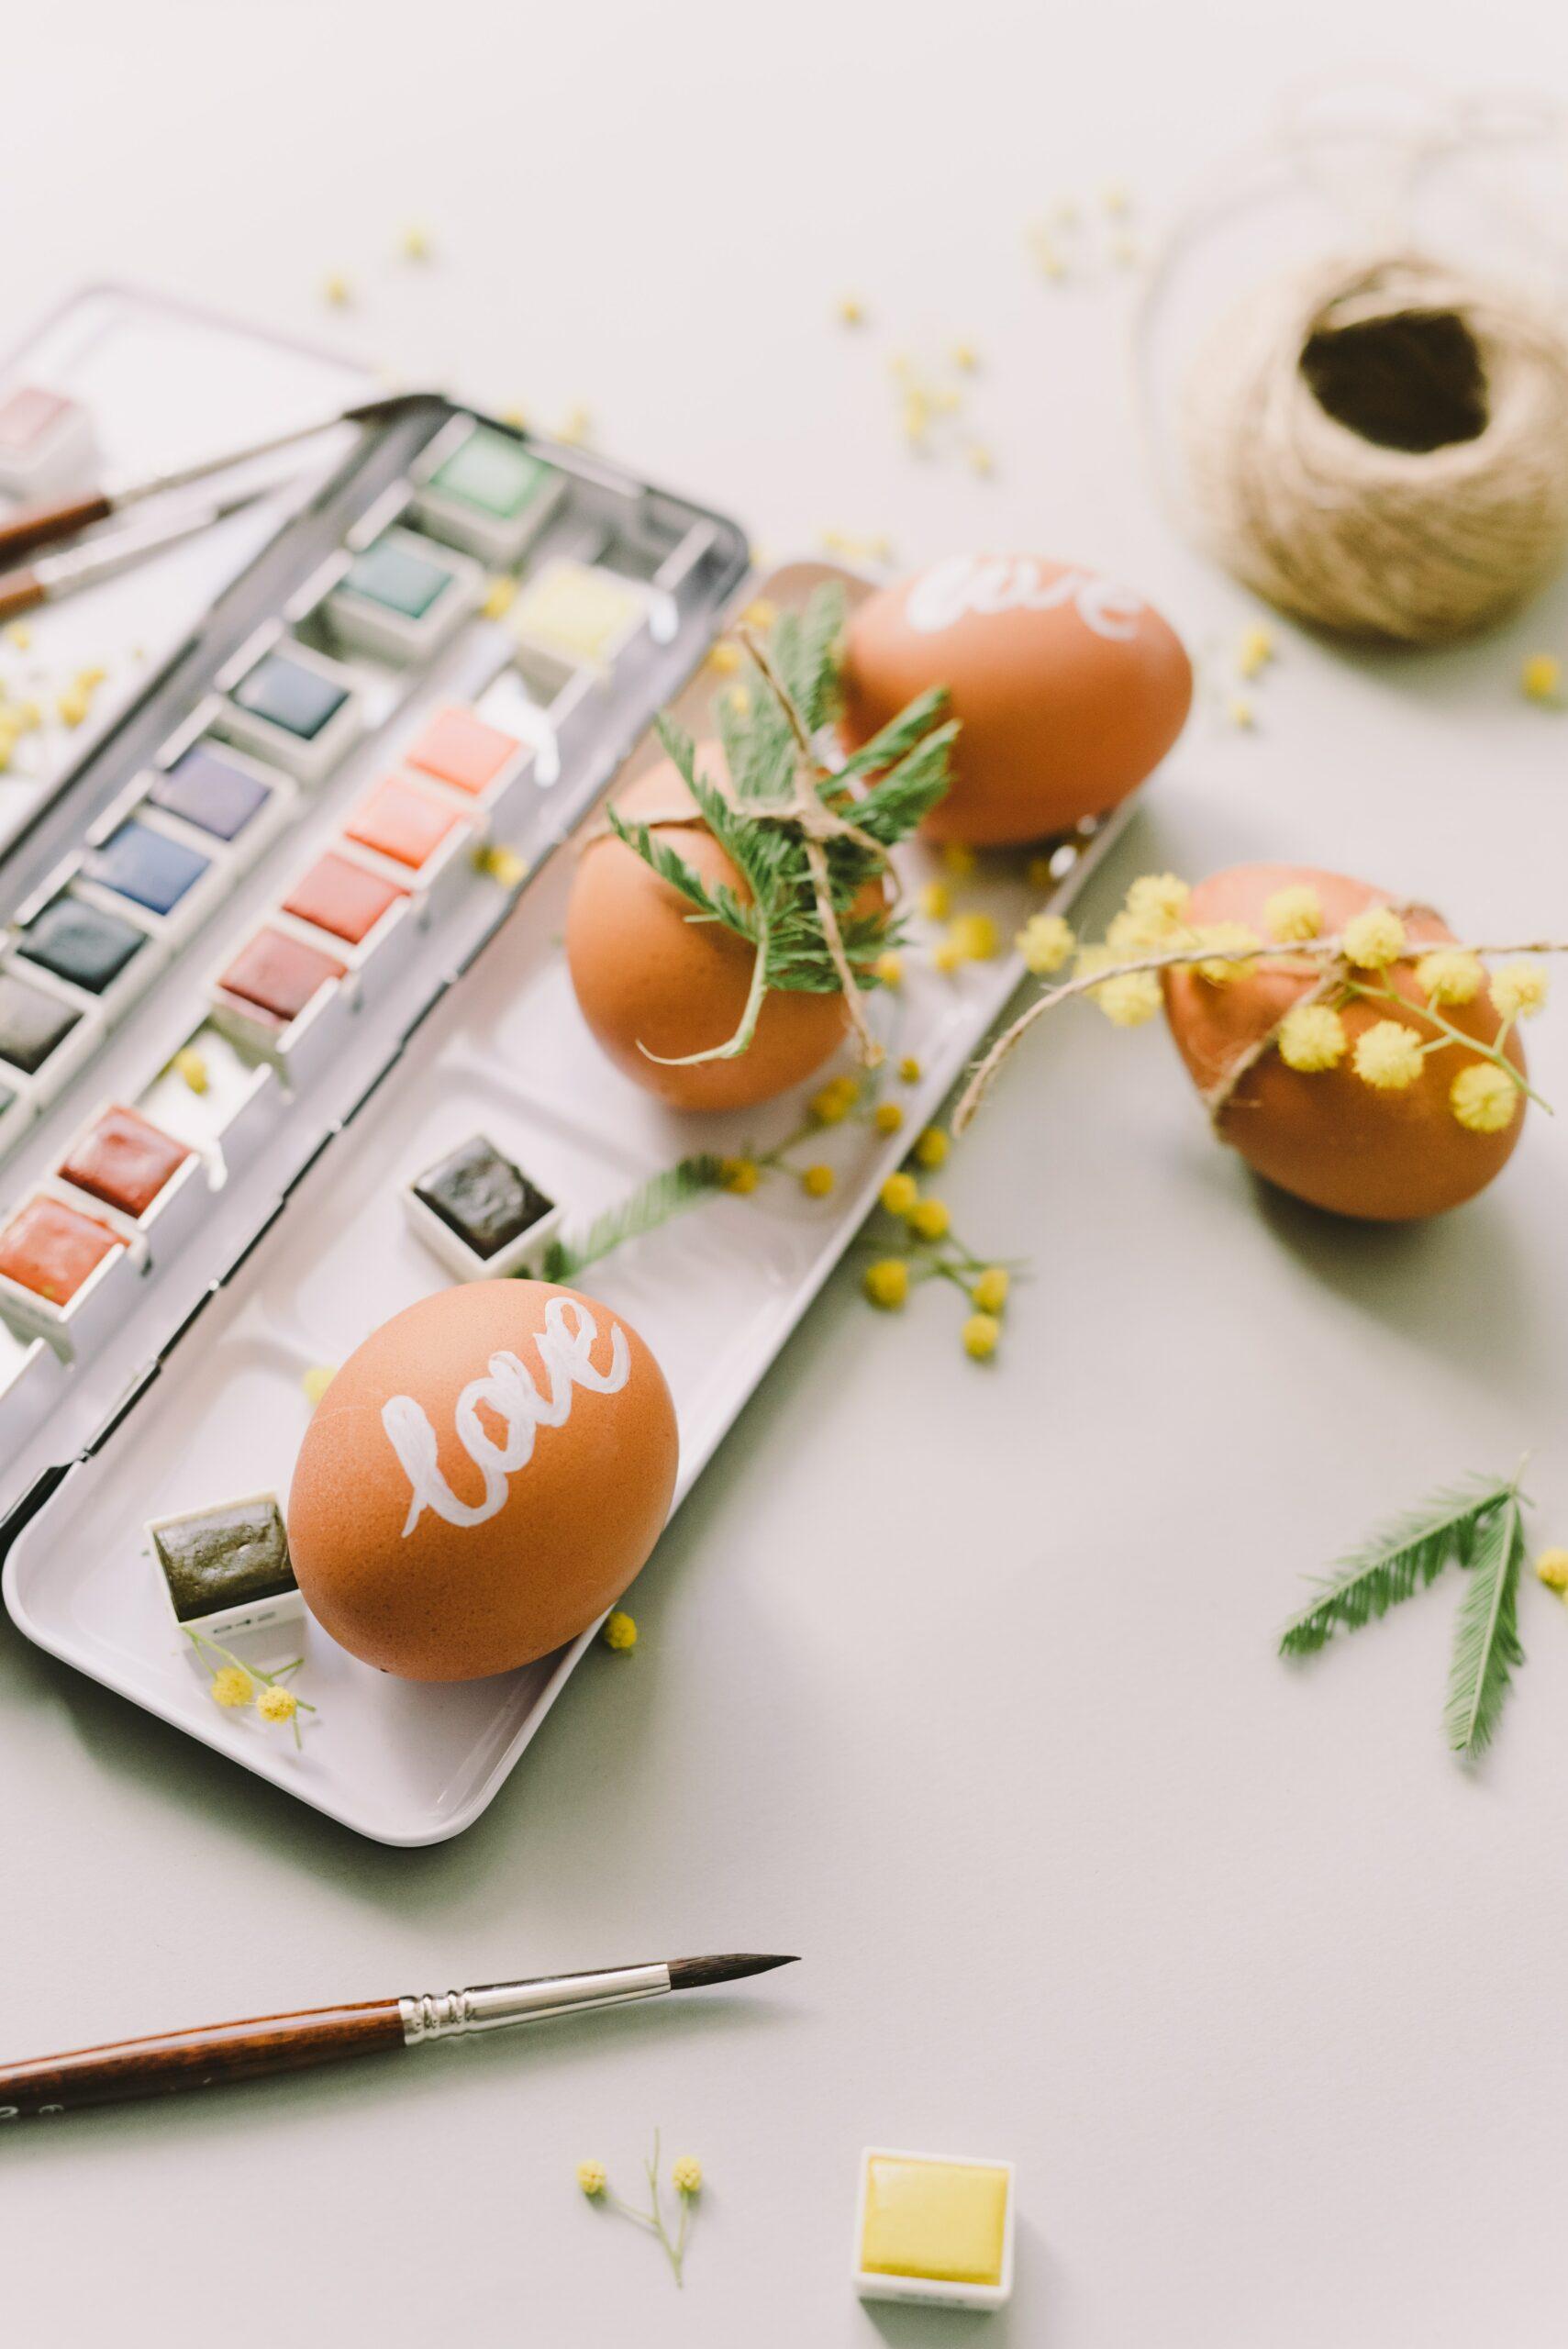
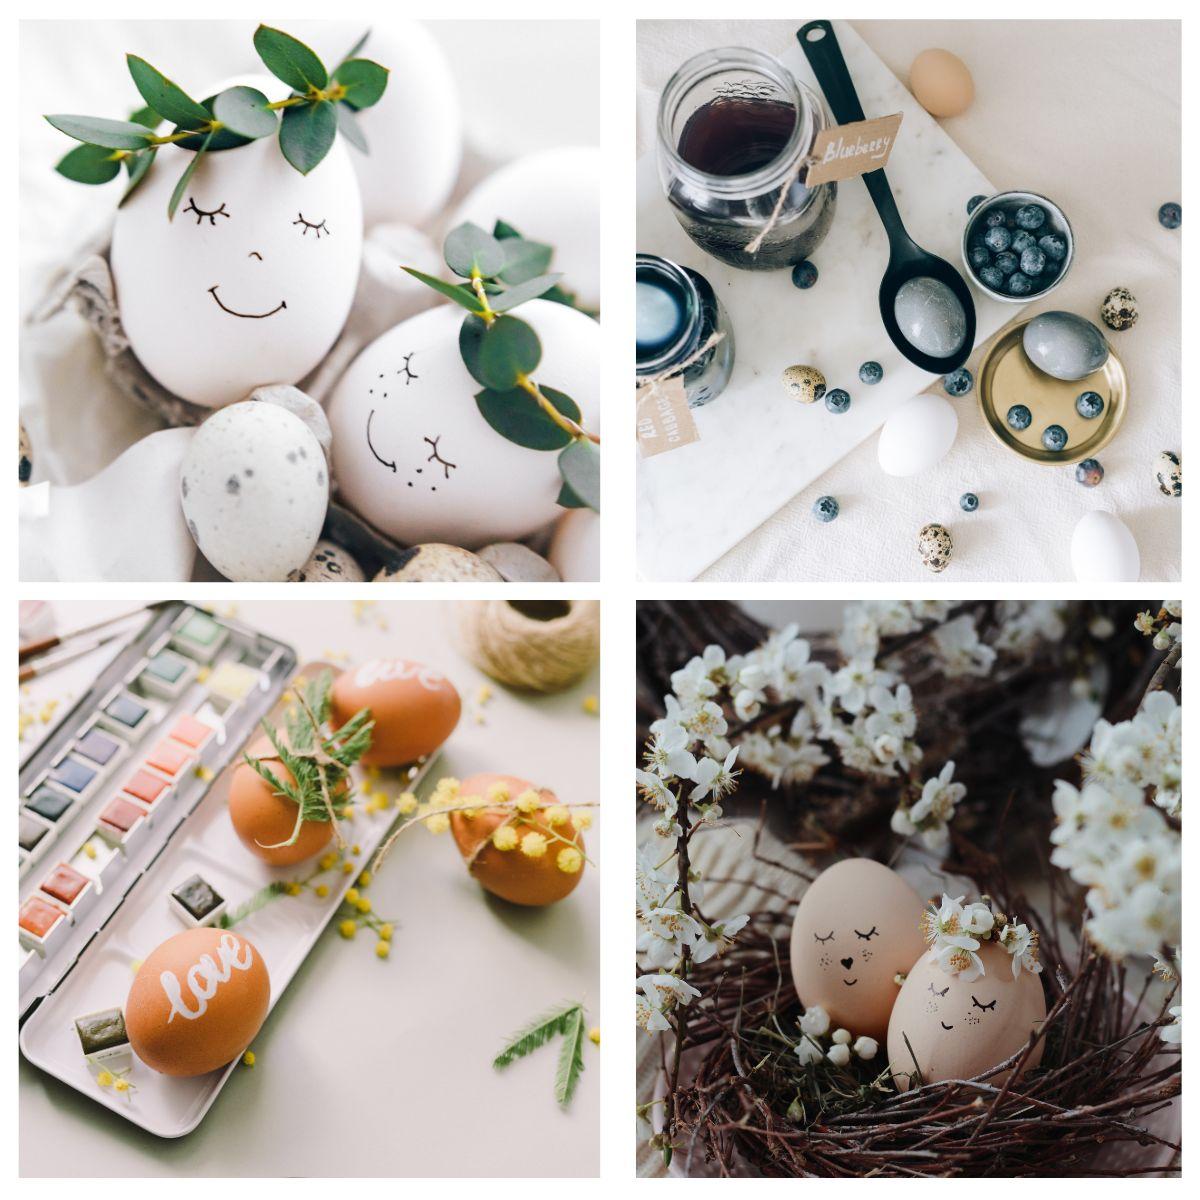
Take a small paintbrush and paint "love" or any other word you would like on a brown egg. You can also take twine and wrap flowers and greenery around the eggs for a fun "outdoorsy" look.
Warm Neutral Easter Eggs
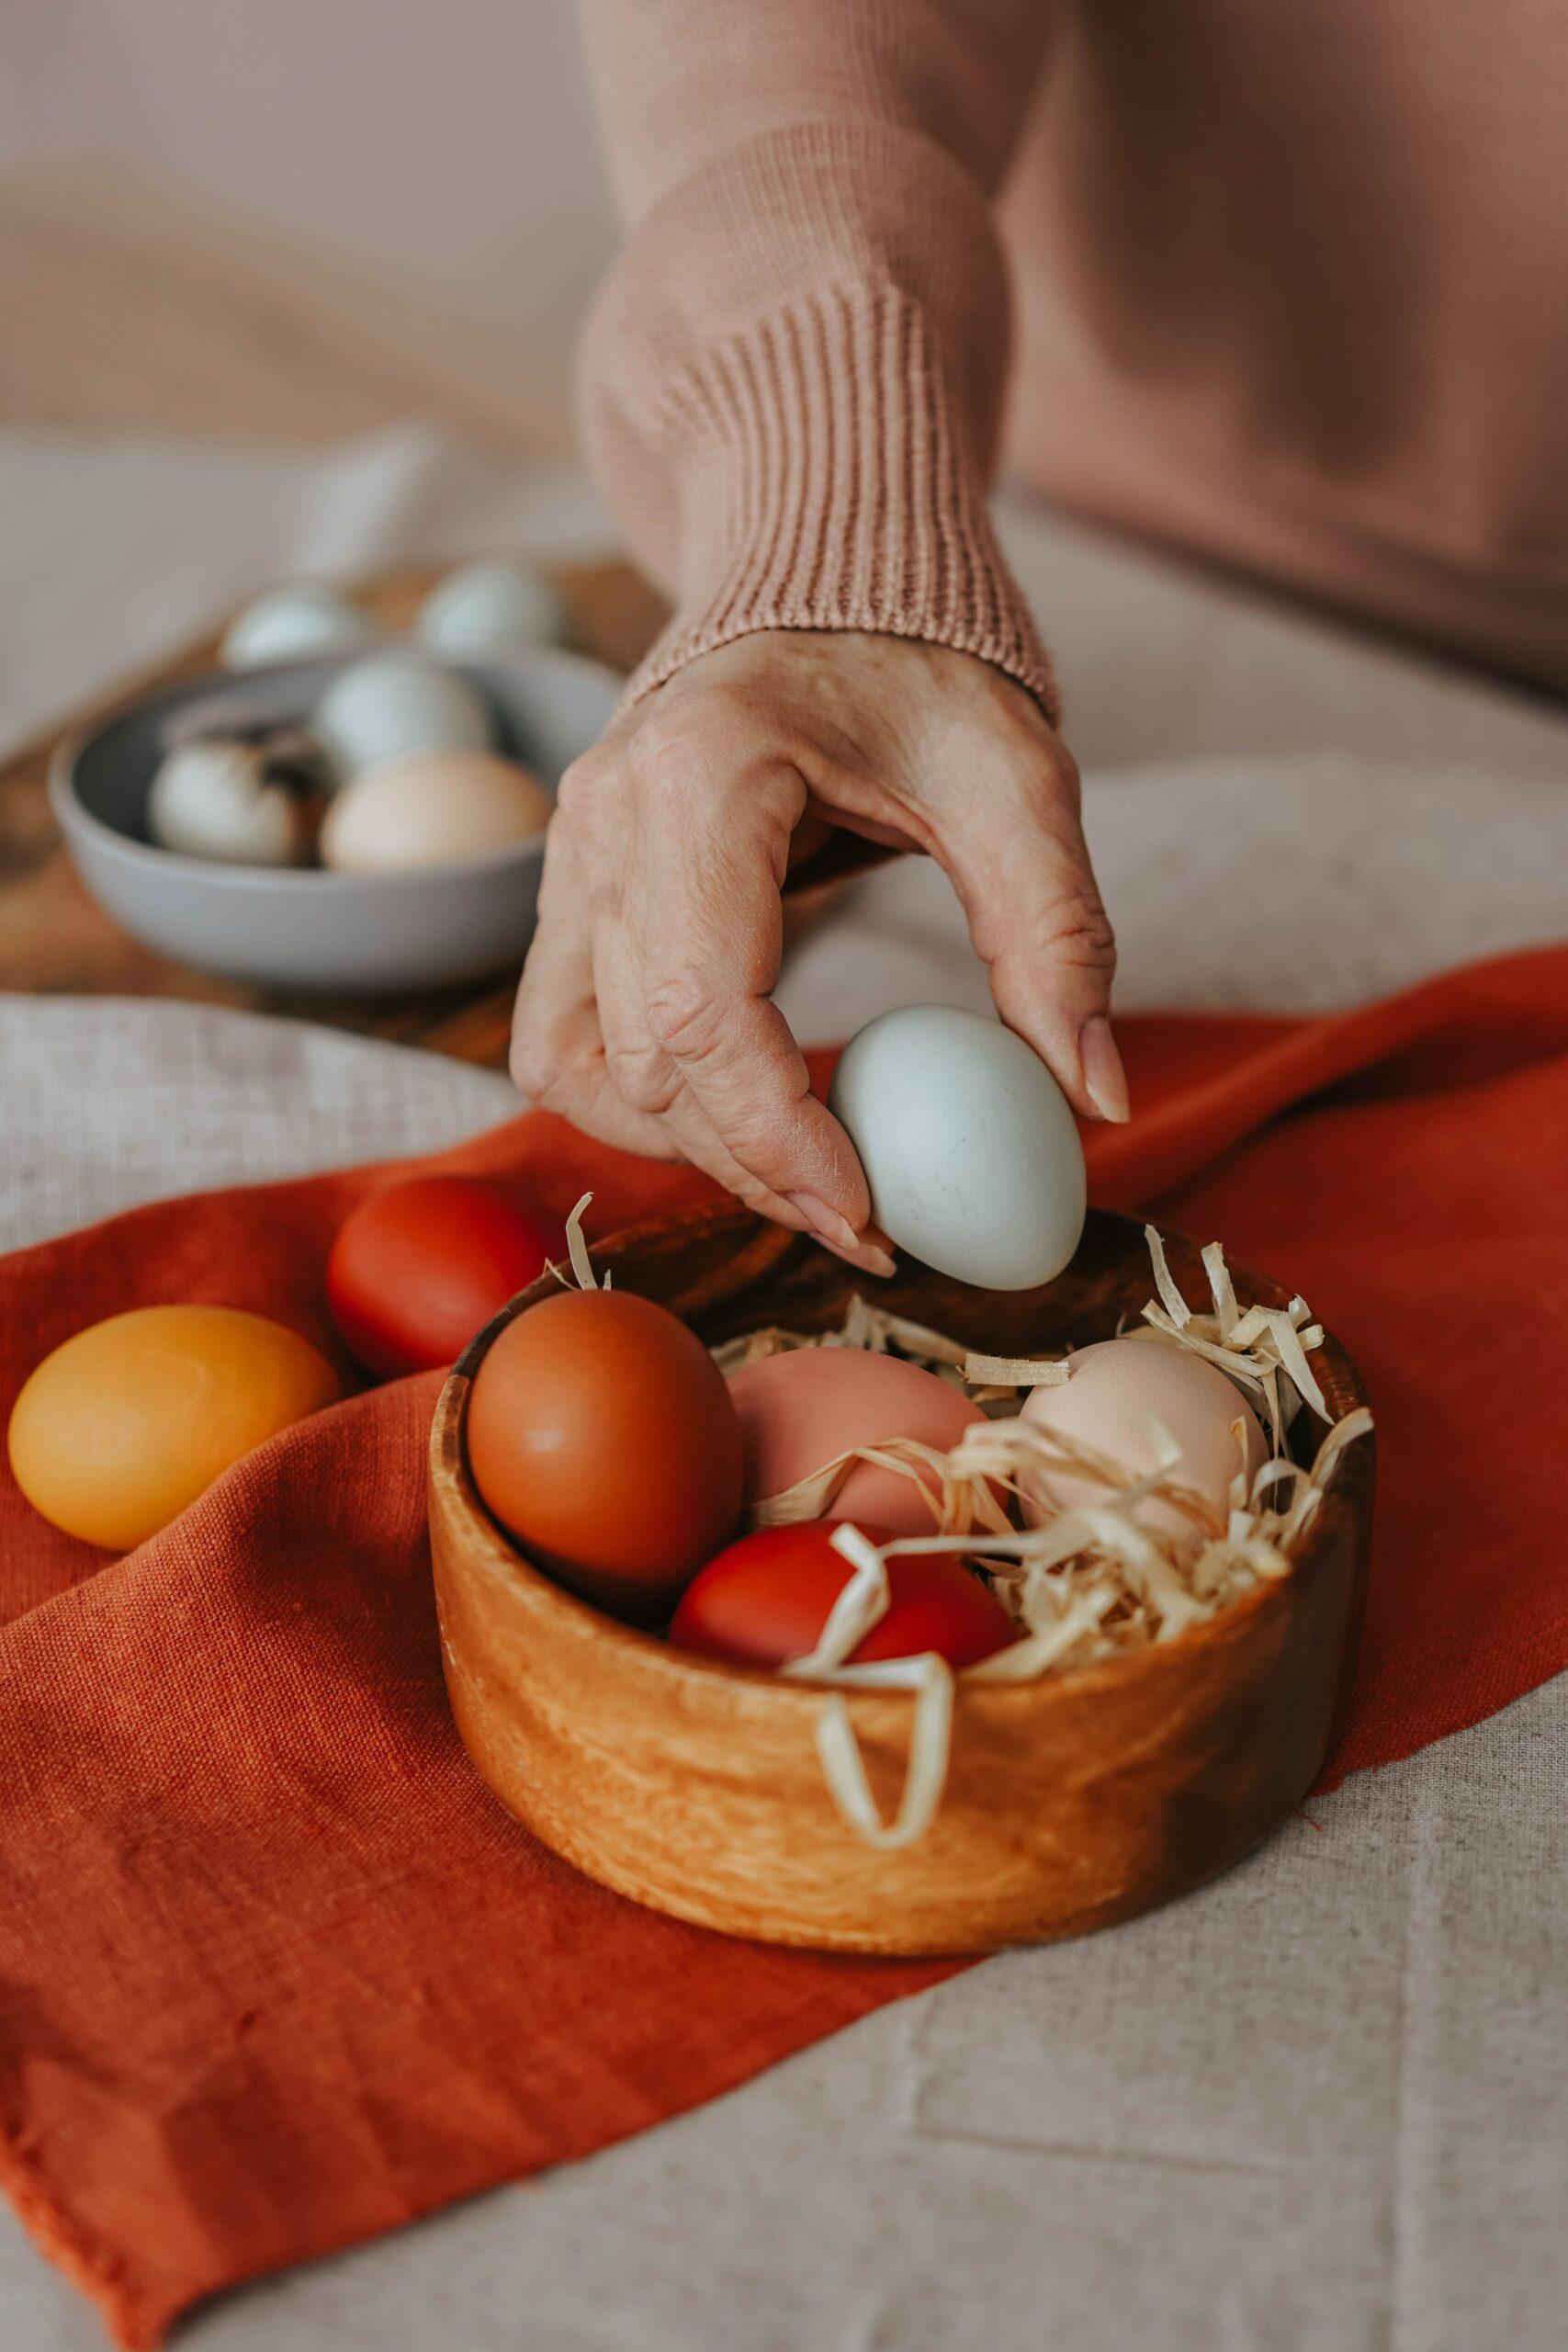
You will usually see Easter eggs dyed with pastel colors, but these eggs use warm natural colors. Look for different color schemes of food dye to find the perfect color for these neutral eggs.
Gold Foil Easter Egg
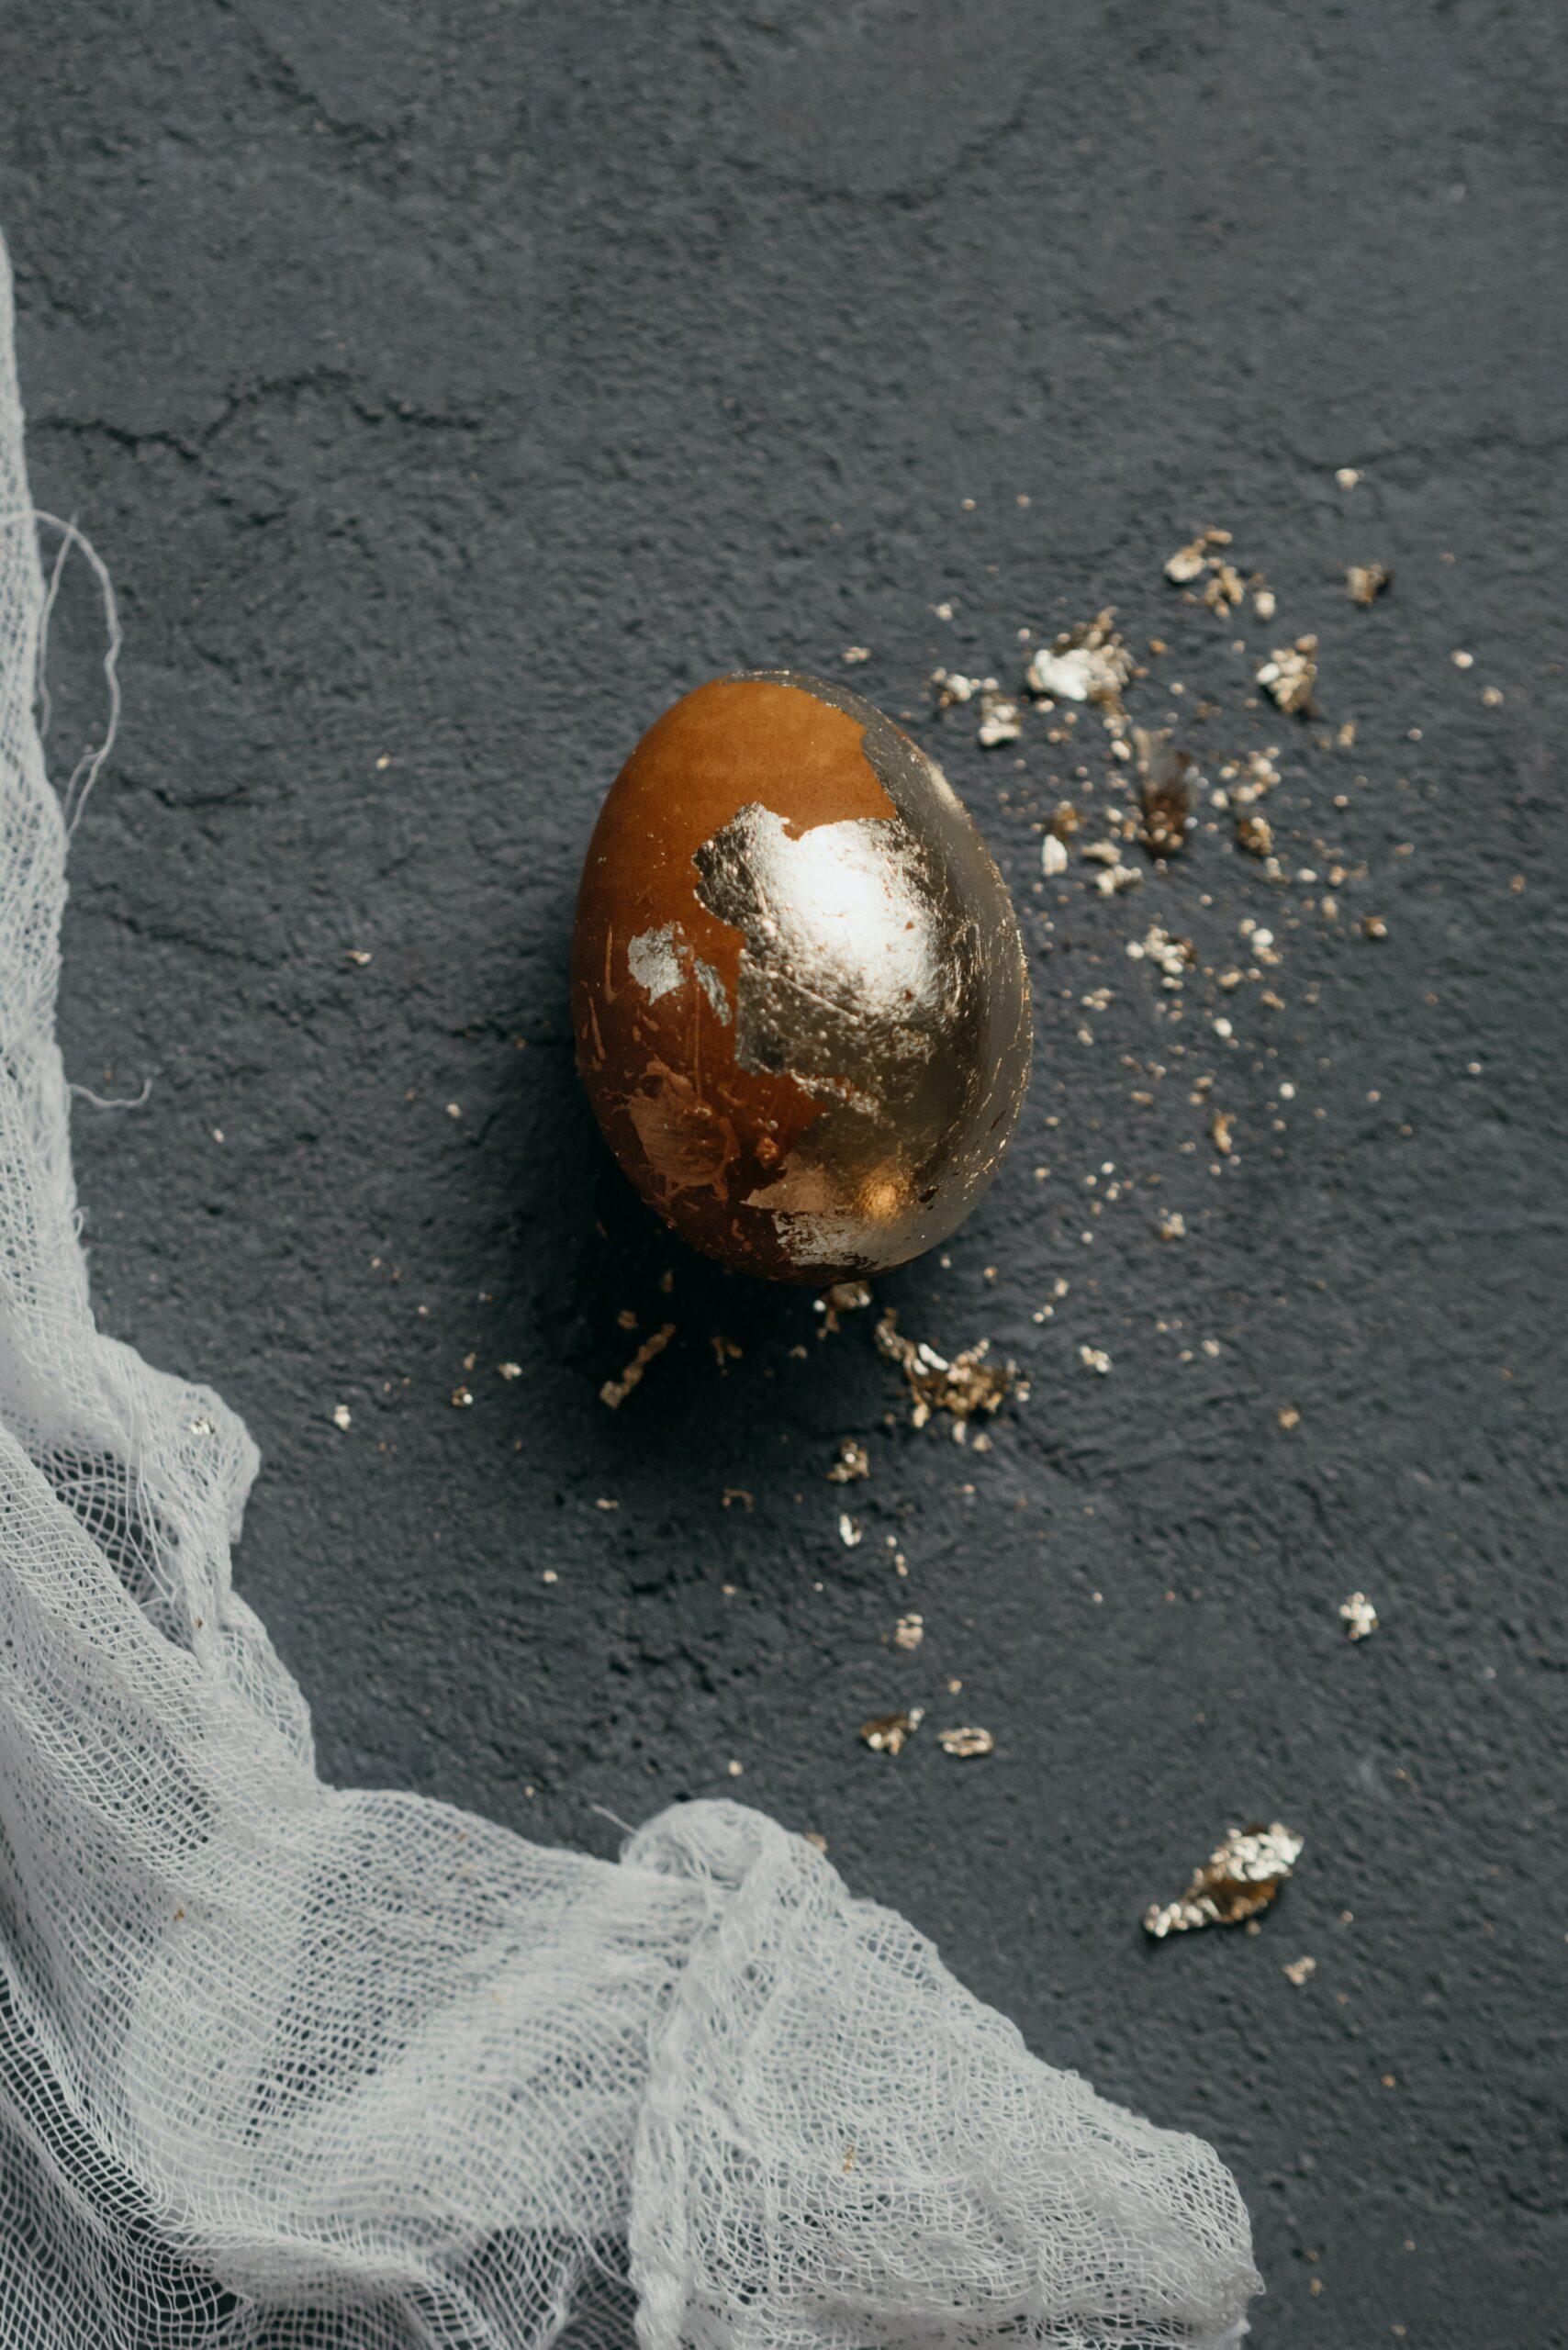
For this gold foil Easter egg, you will need mod podge craft glue and gold foil. Dye your Easter egg in any color you want, and after it dries, apply the glue with a foam brush and gold foil delicately.
Naturally Dyed Easter Eggs
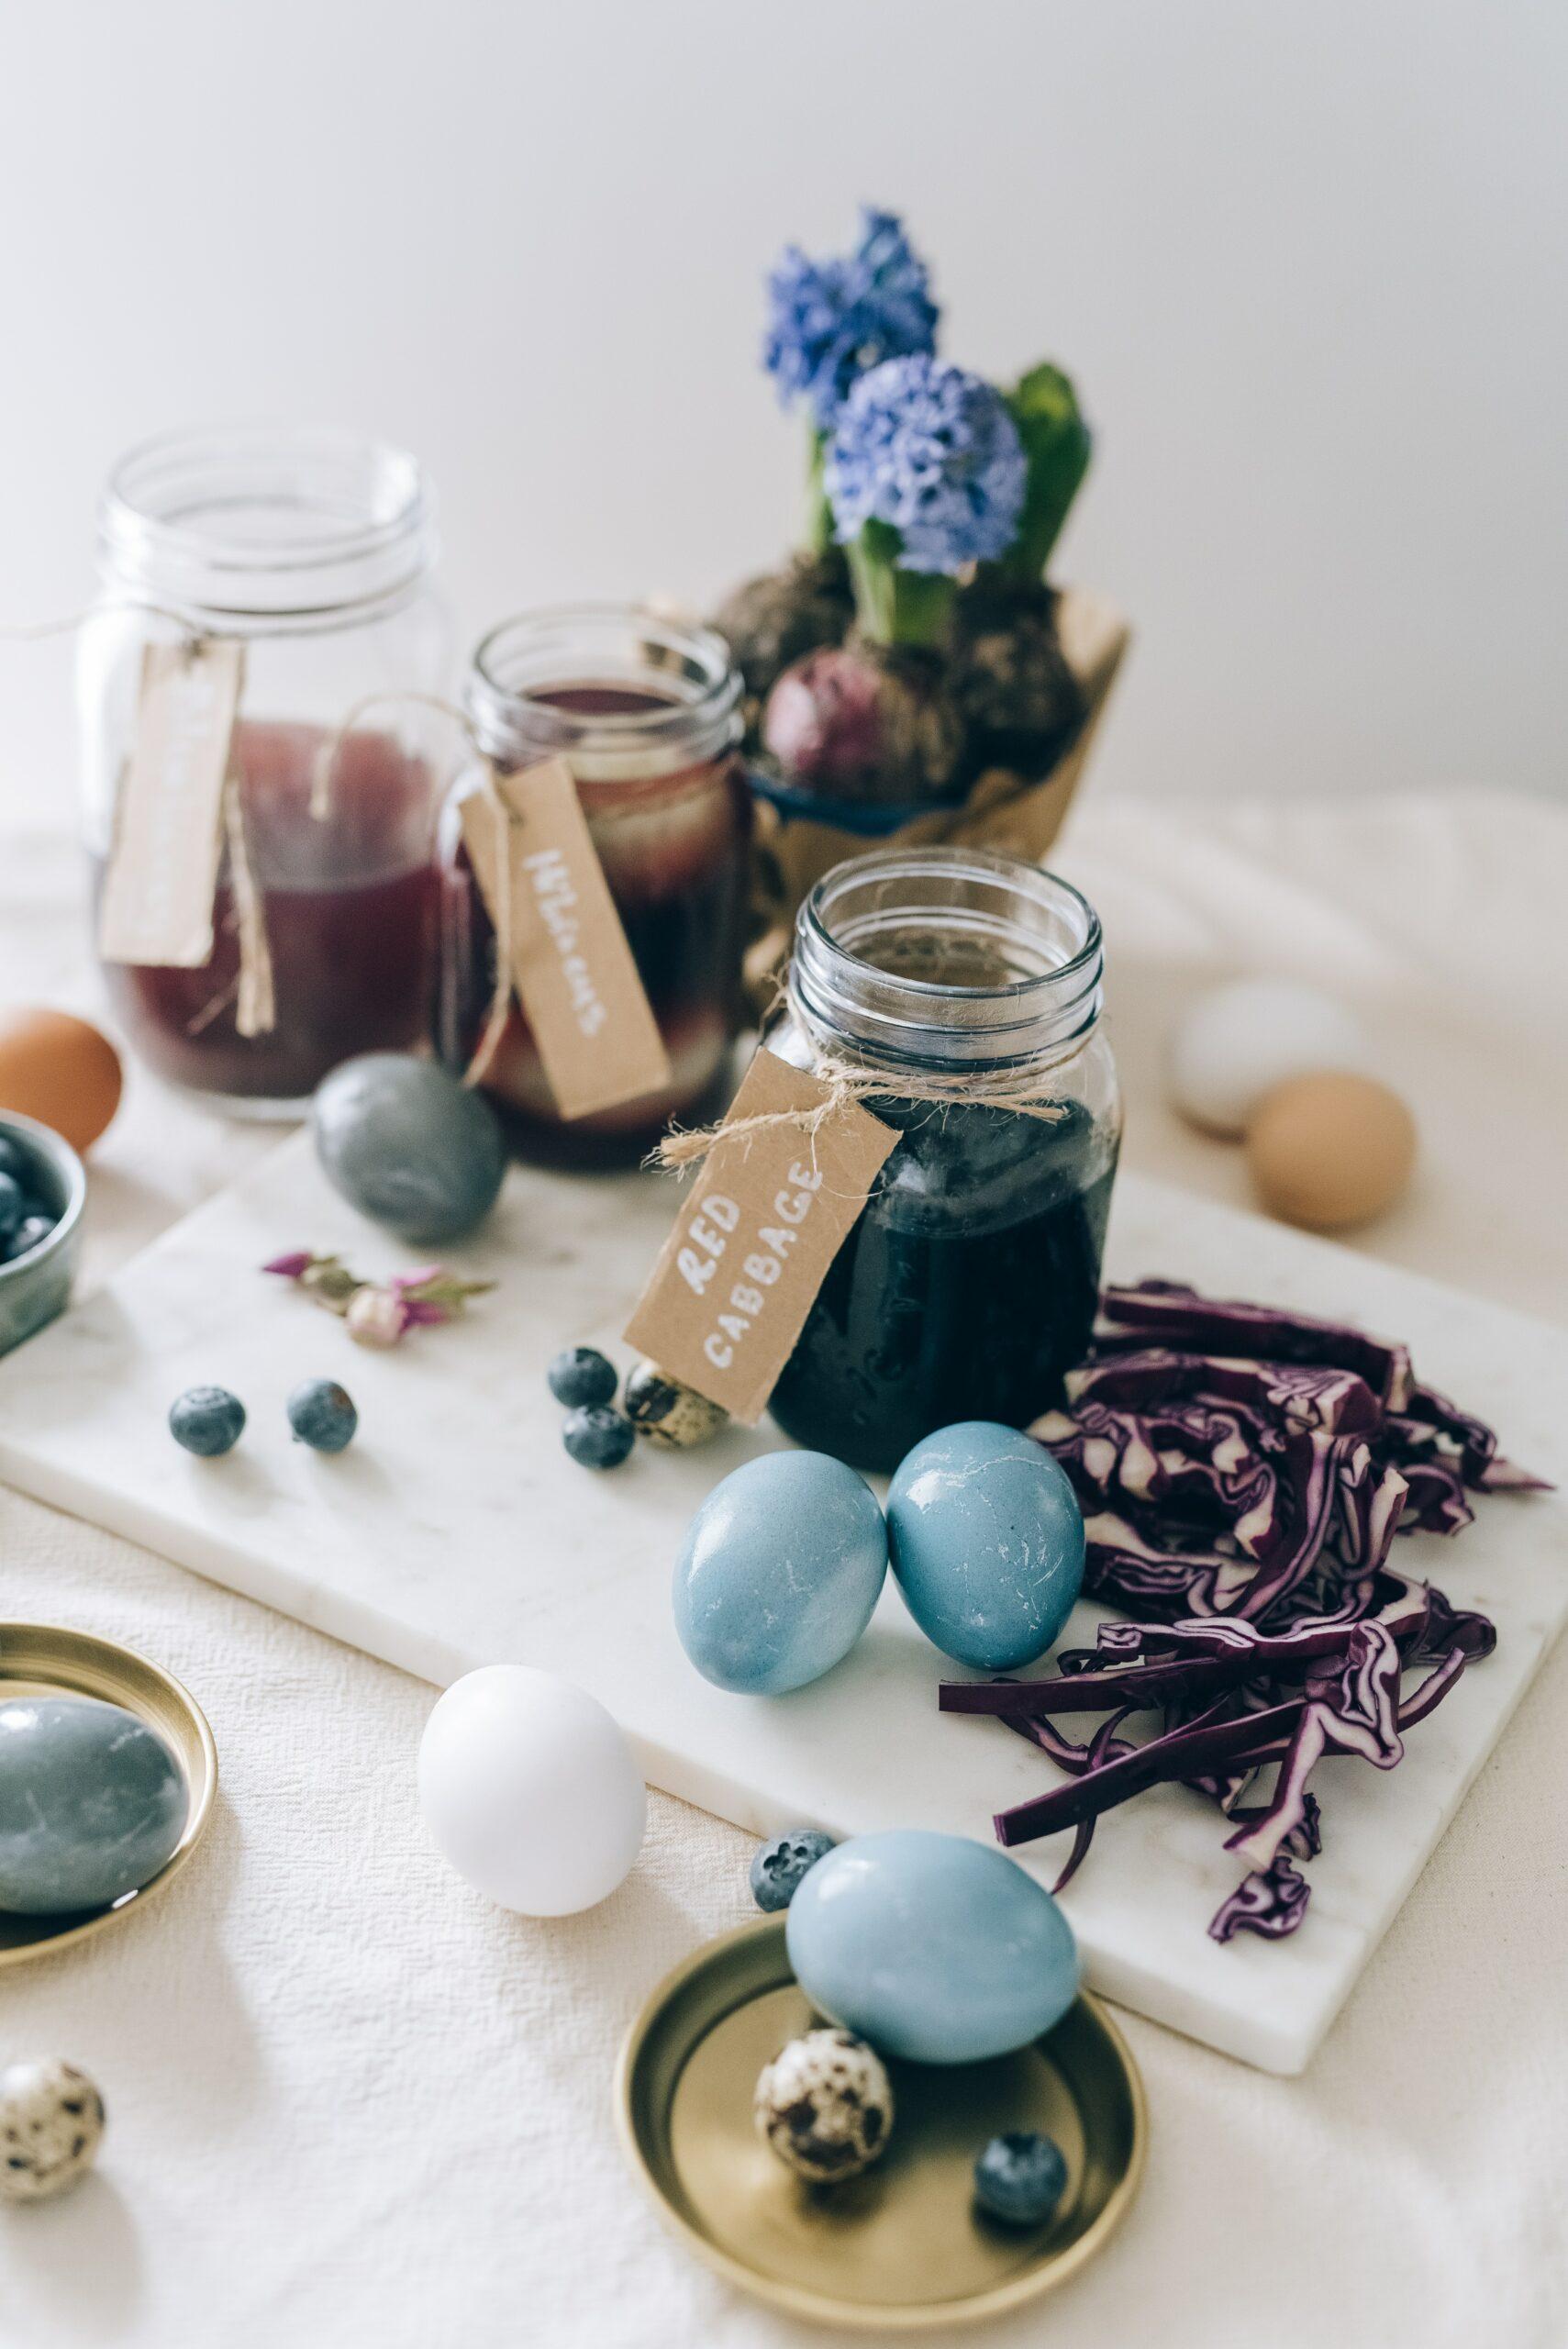
Let cabbage leaves simmer for 30 minutes (then mix with vinegar) to create the perfect blue Easter egg dye. Pour the dye into a jar and allow eggs to soak for 4-6 hours or overnight for a darker blue color.
Natural Neutral Easter Eggs
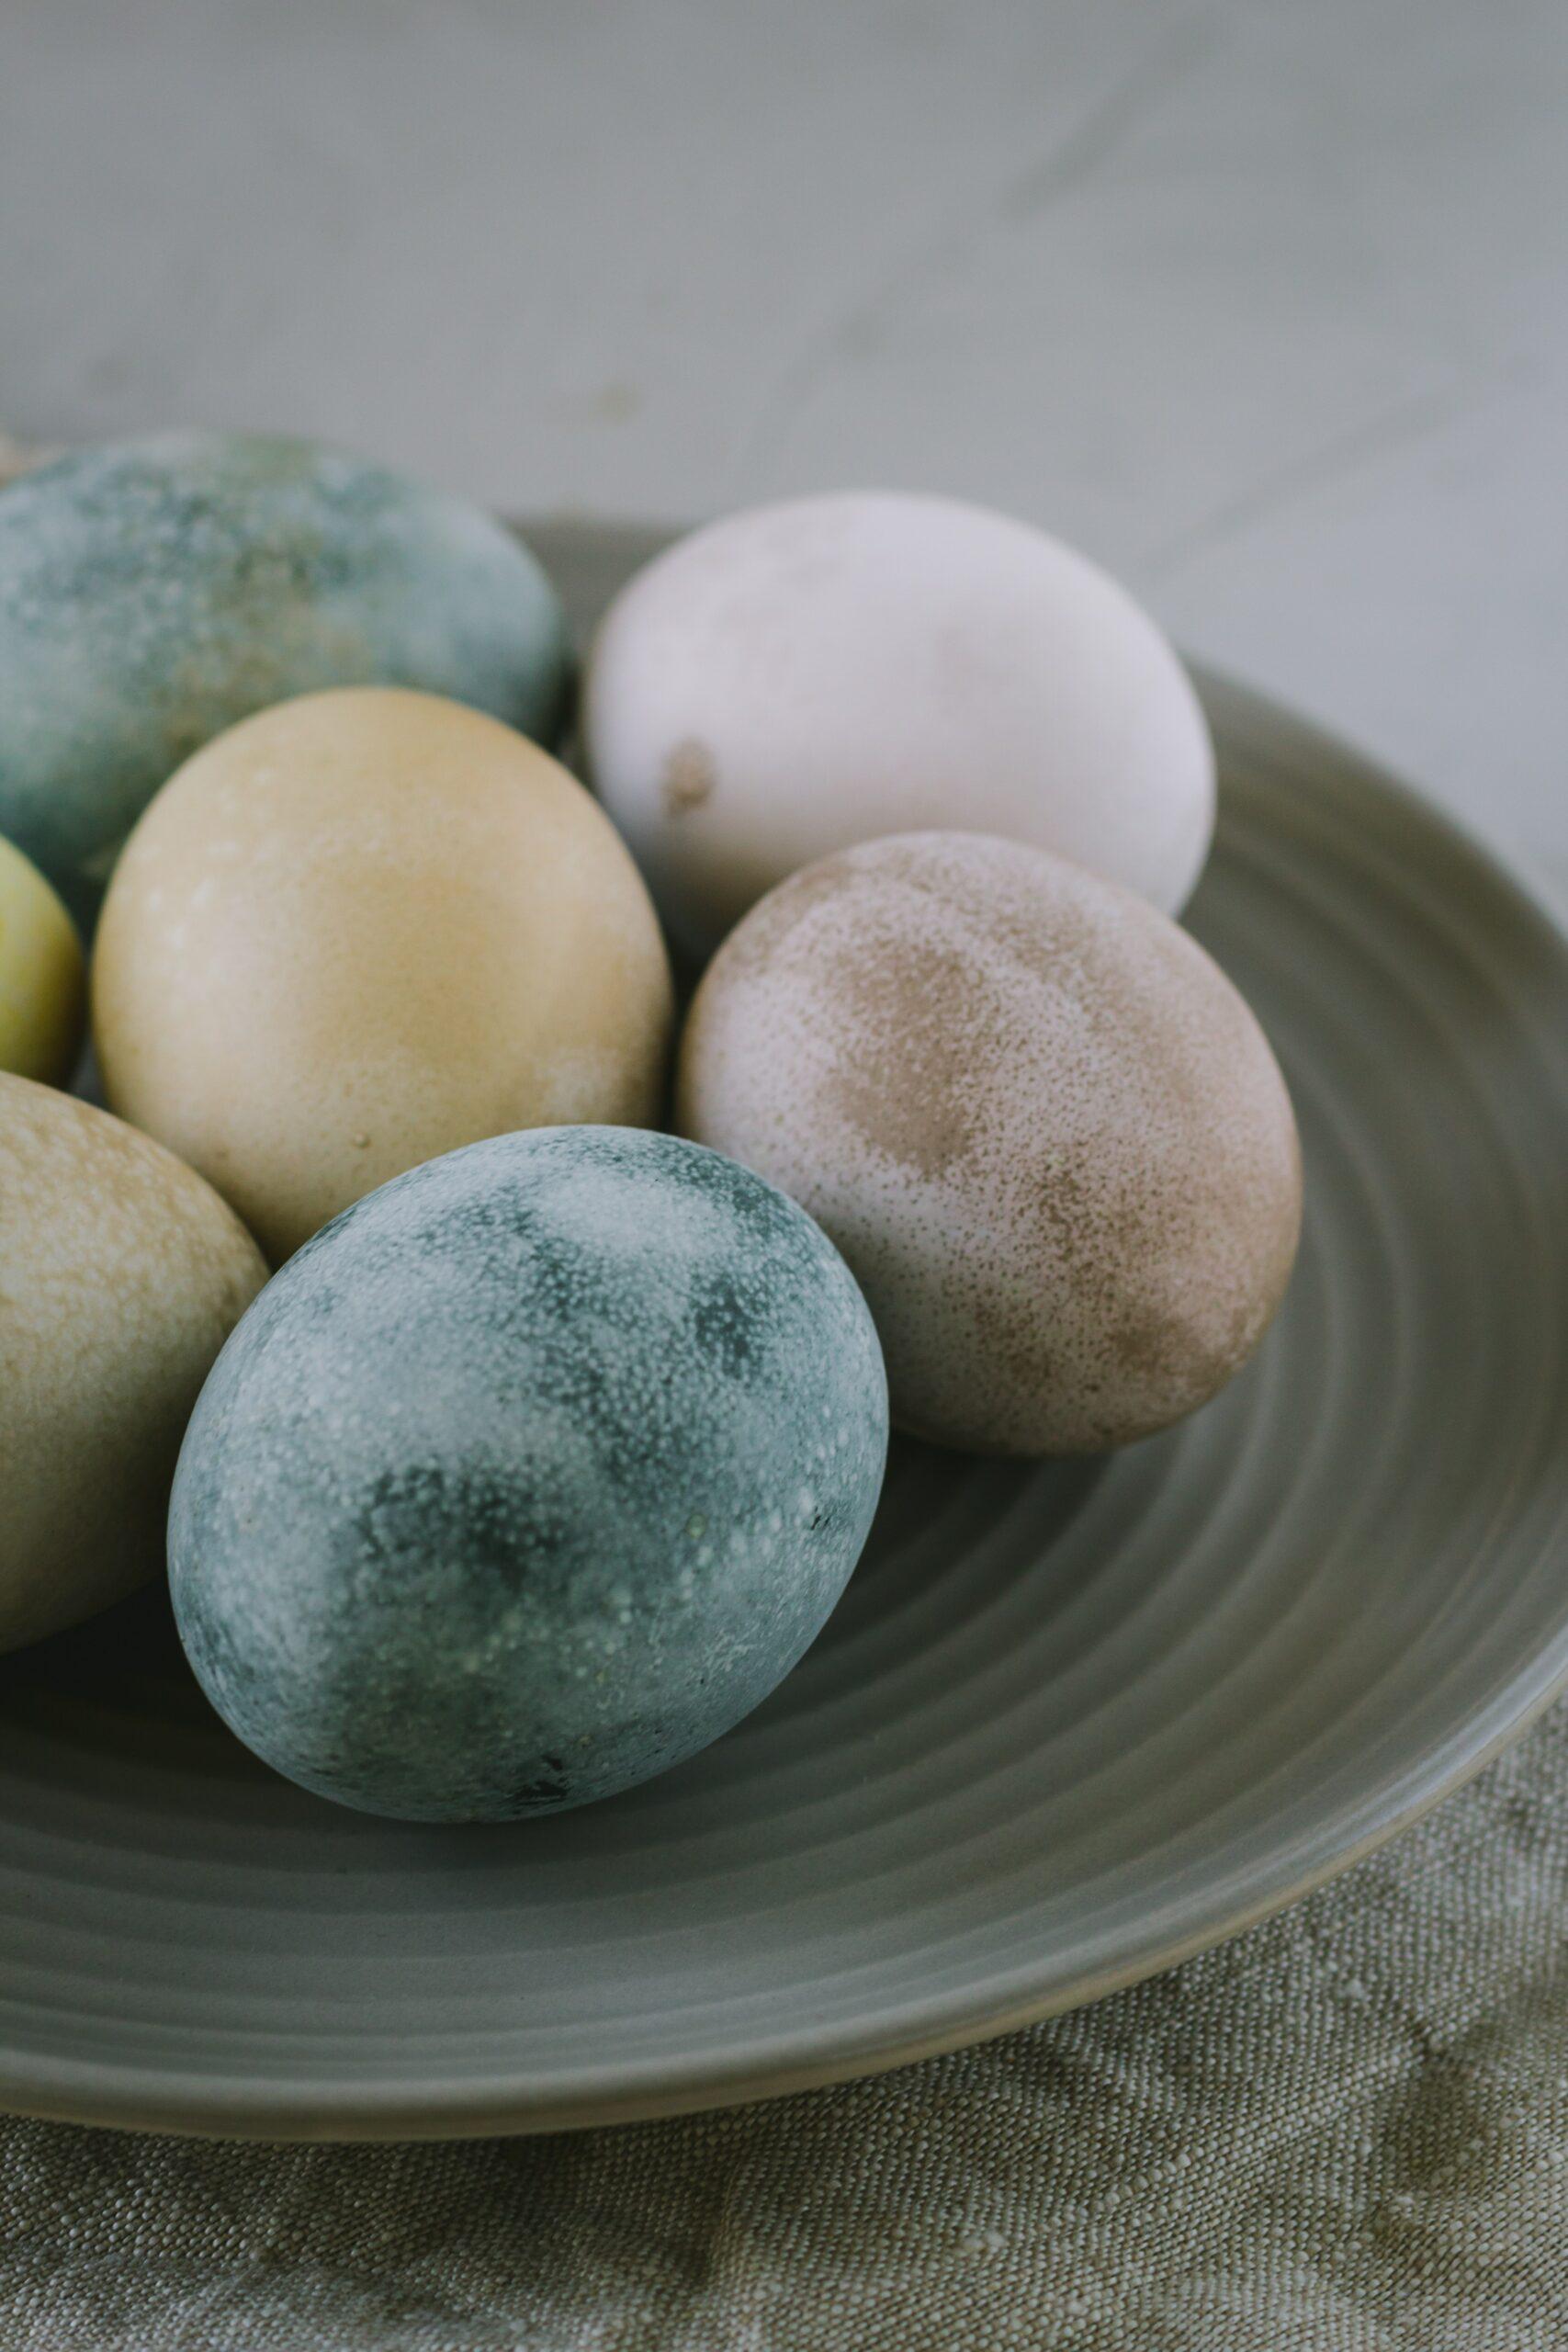
These natural neutral Easter eggs are beautiful and simple. To get the light color, barely leave the egg in the dye.
Drawn On Easter Eggs
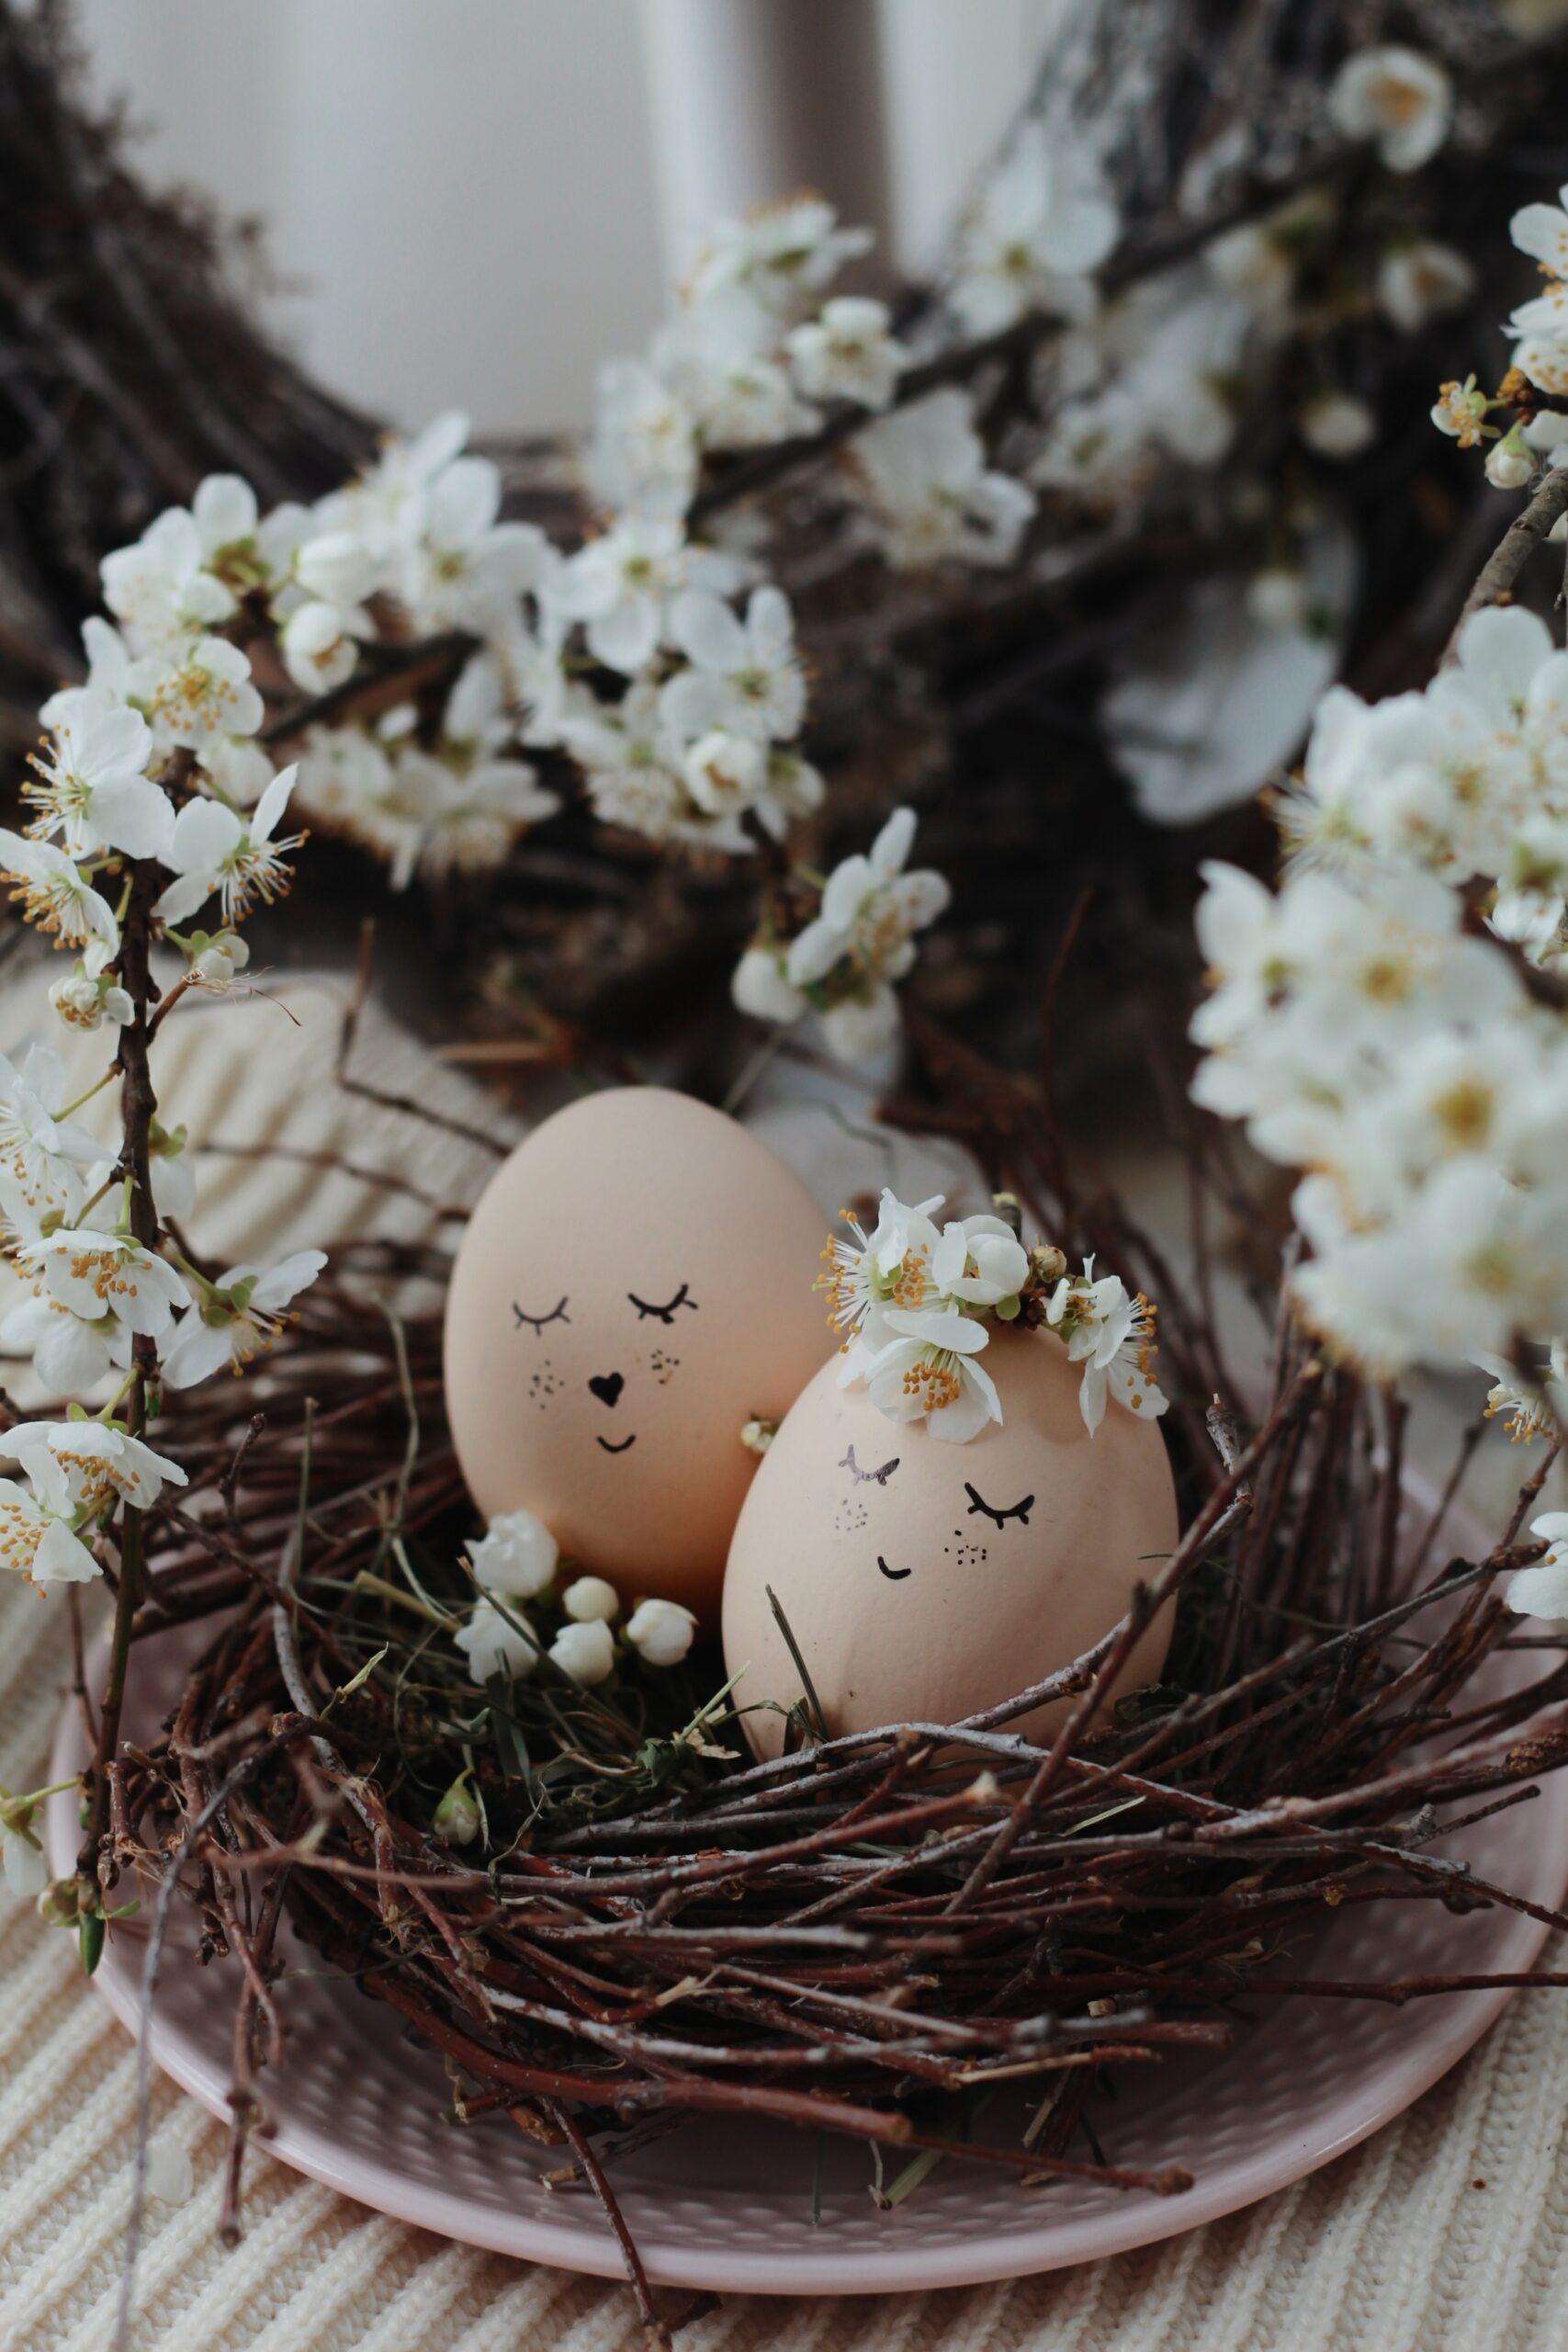
For a simple and cute Easter egg, take a thin marker and draw faces on the eggs. You can add flowers and greenery to dress up the display if you like.
Smiley Face Easter Eggs
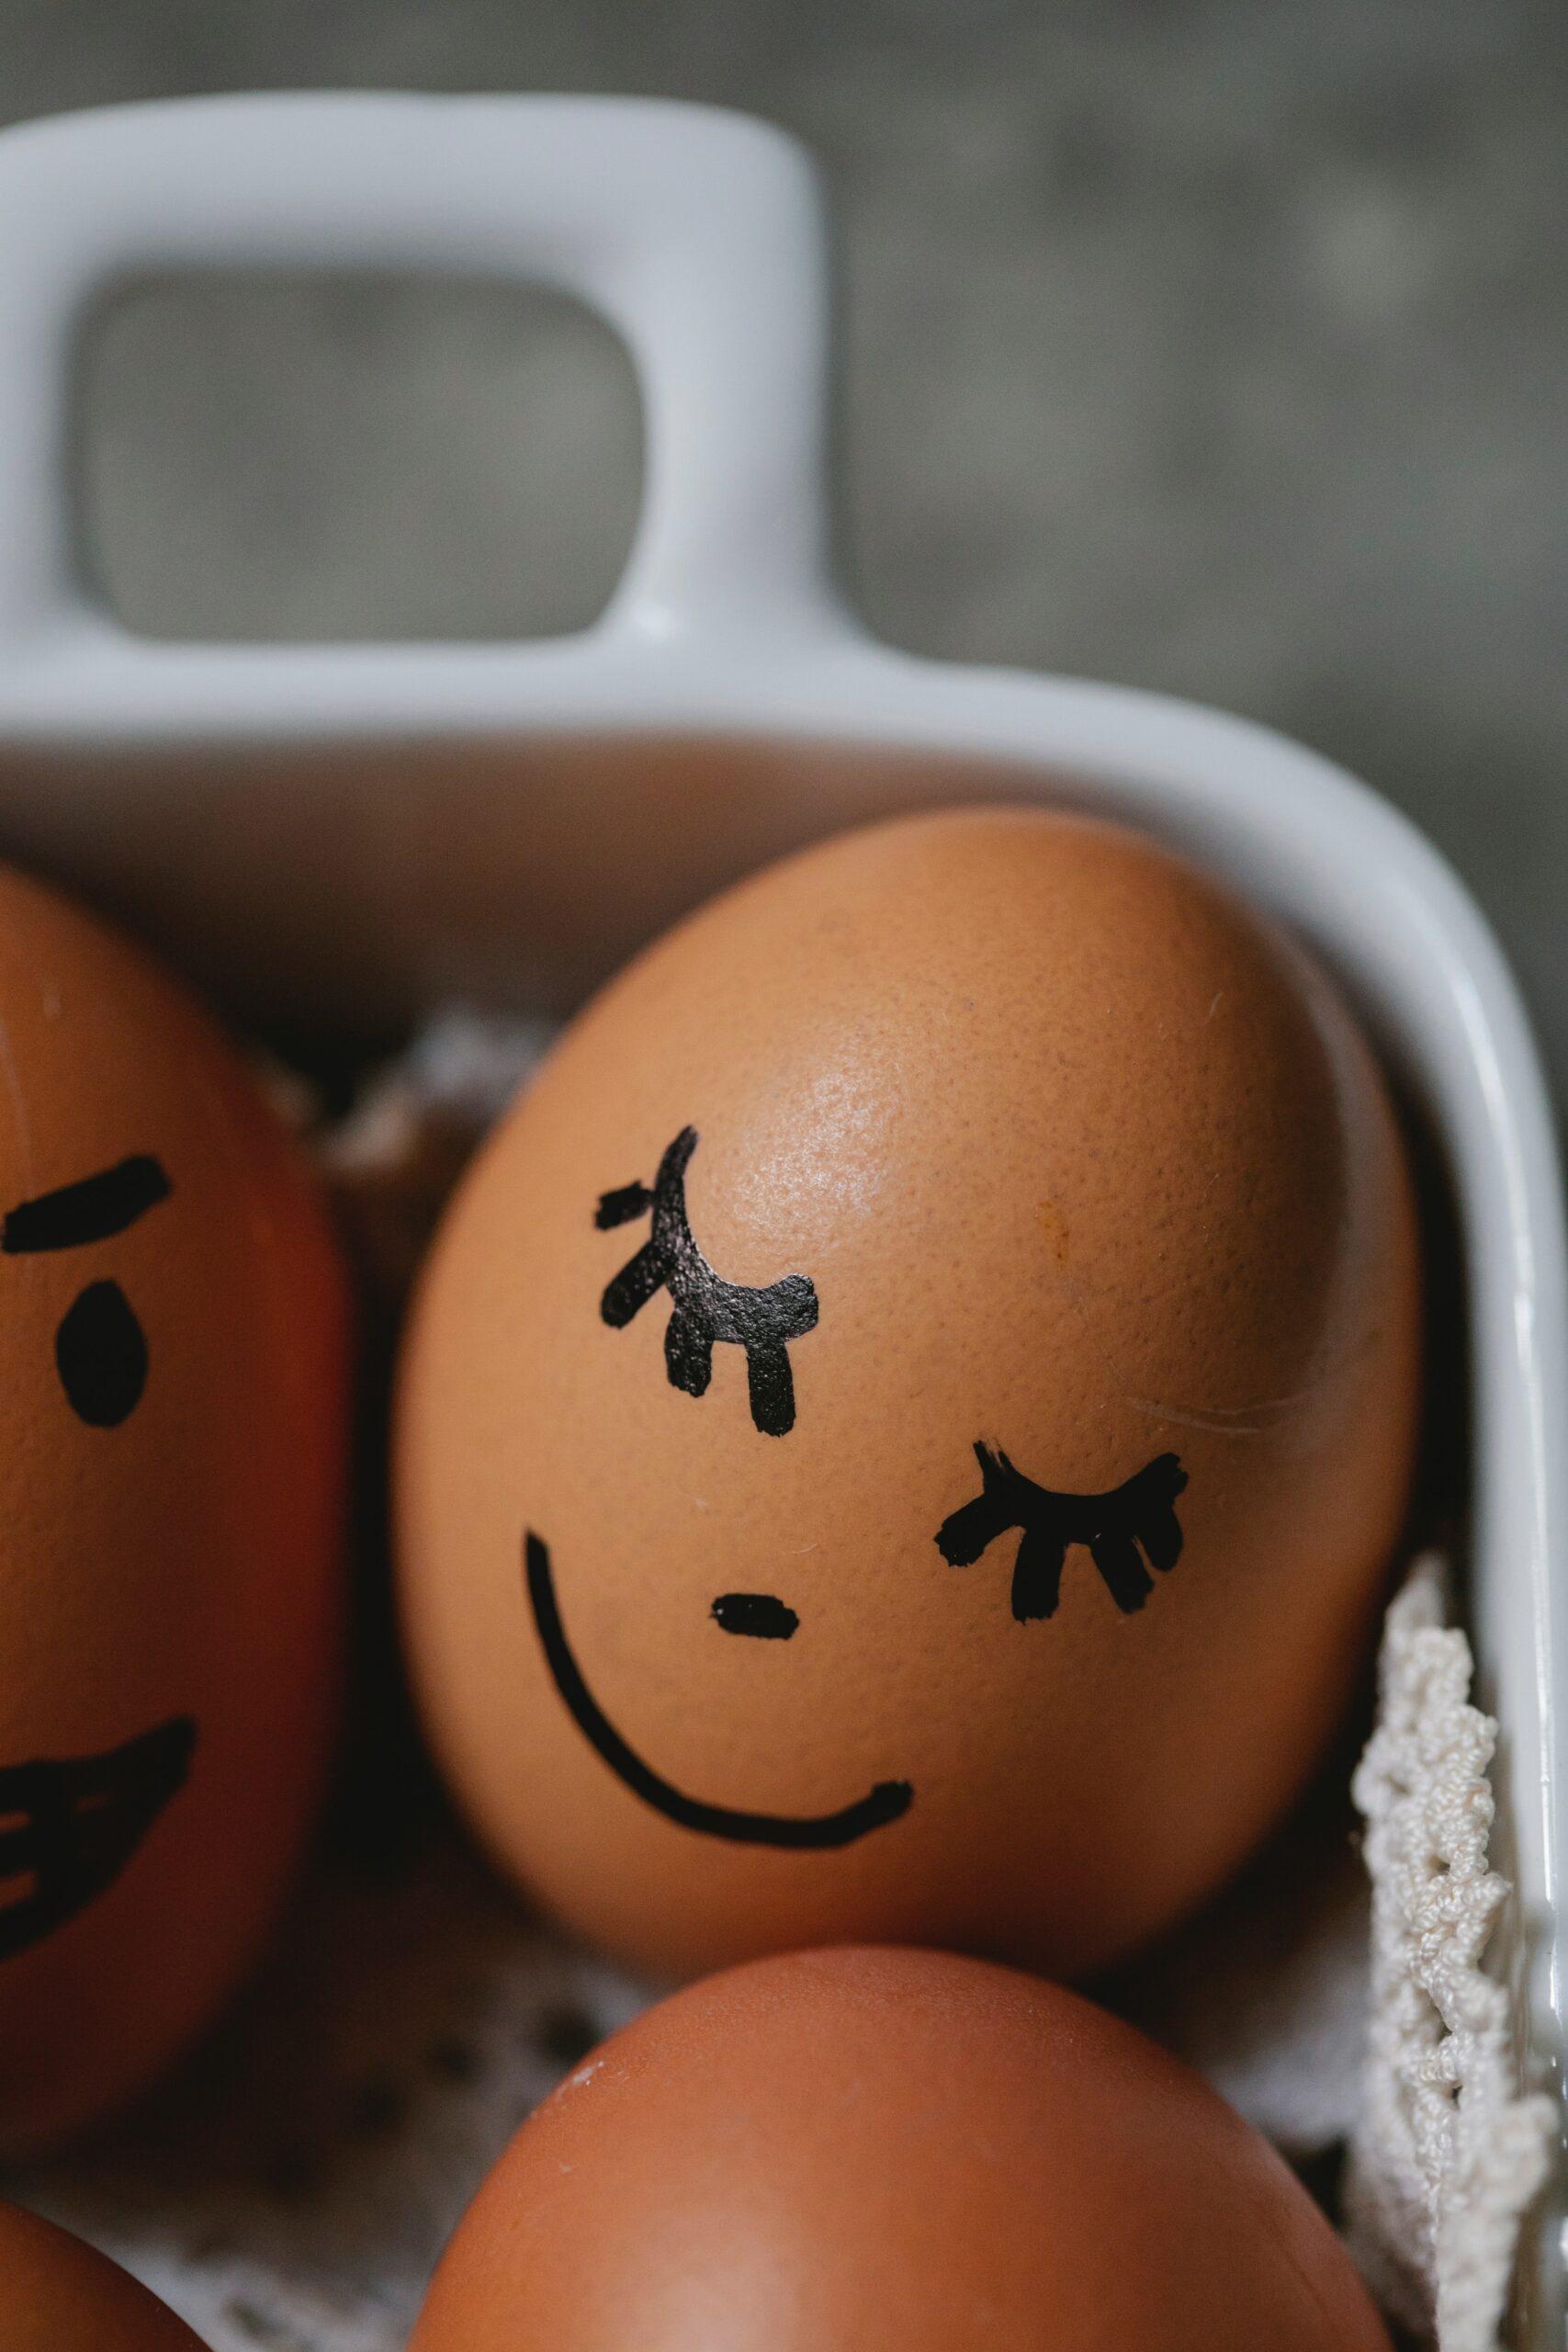
Look how adorable this Easter egg is. It is easy to make and is a unique way to decorate an egg.
Silly Face Easter Eggs
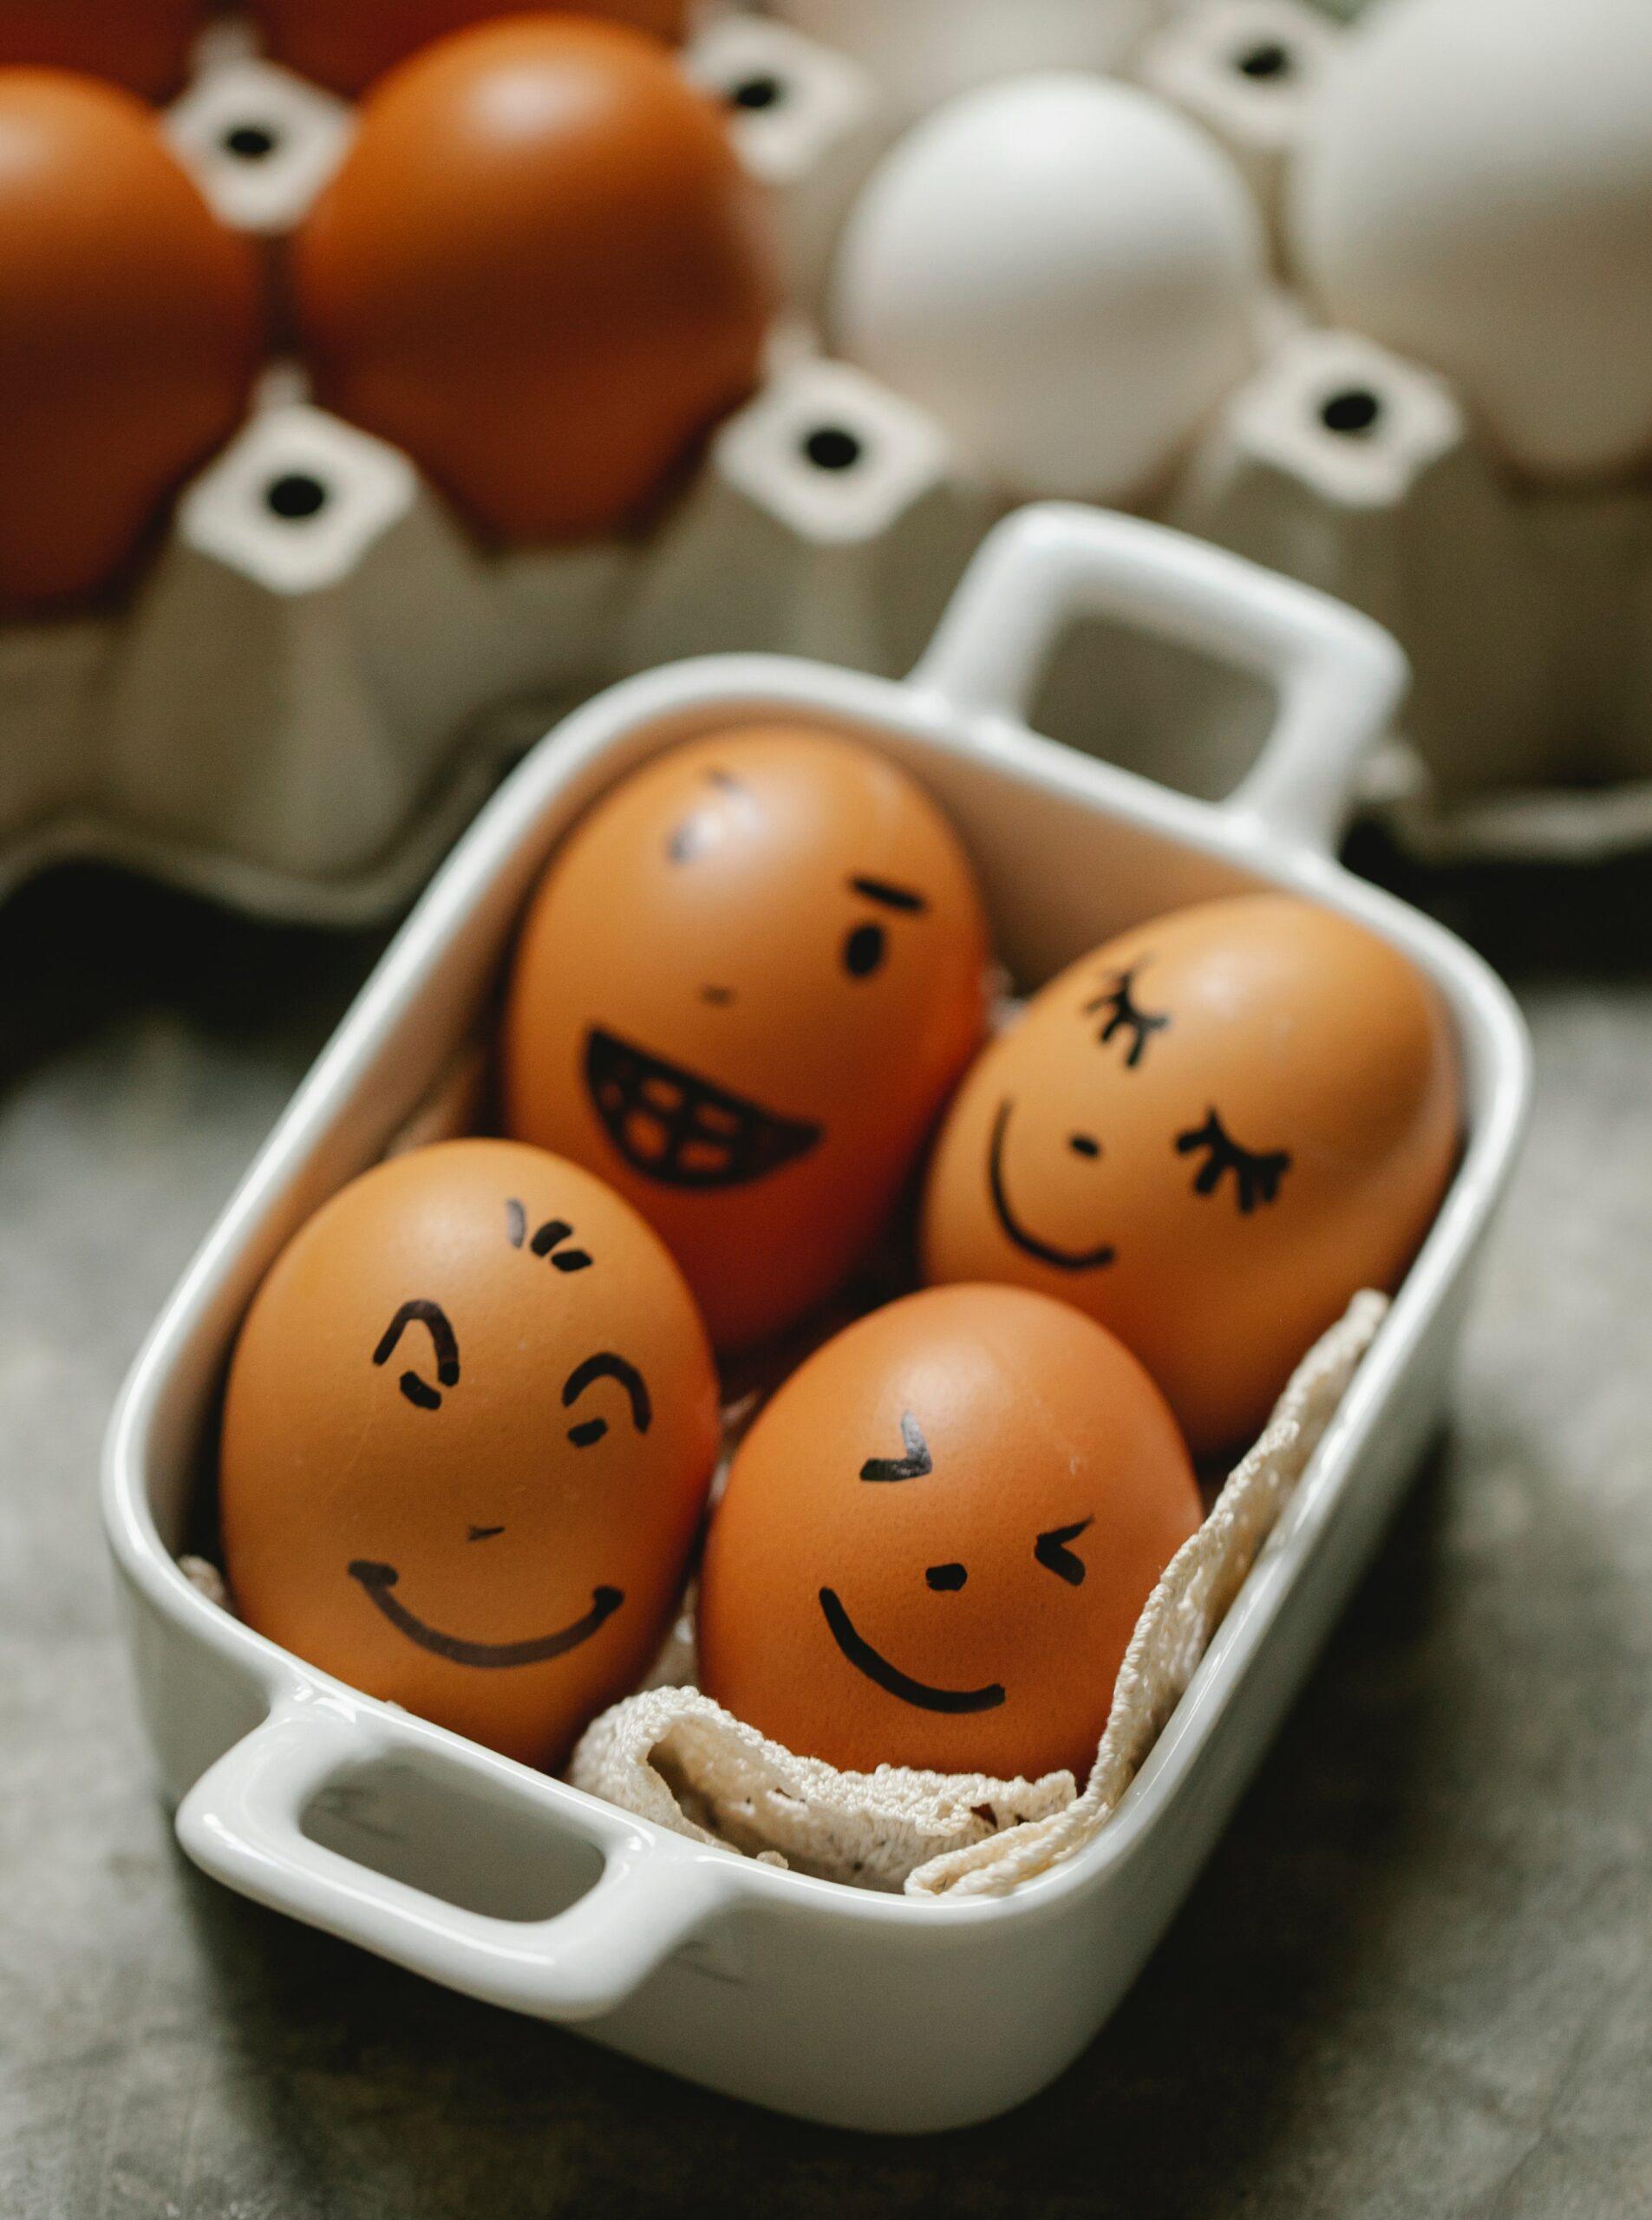
Let your creativity run free and draw on your Easter eggs. You can dye them or leave them as is, but all you need to do is grab a Sharpie and have fun.
Marbled Easter Eggs
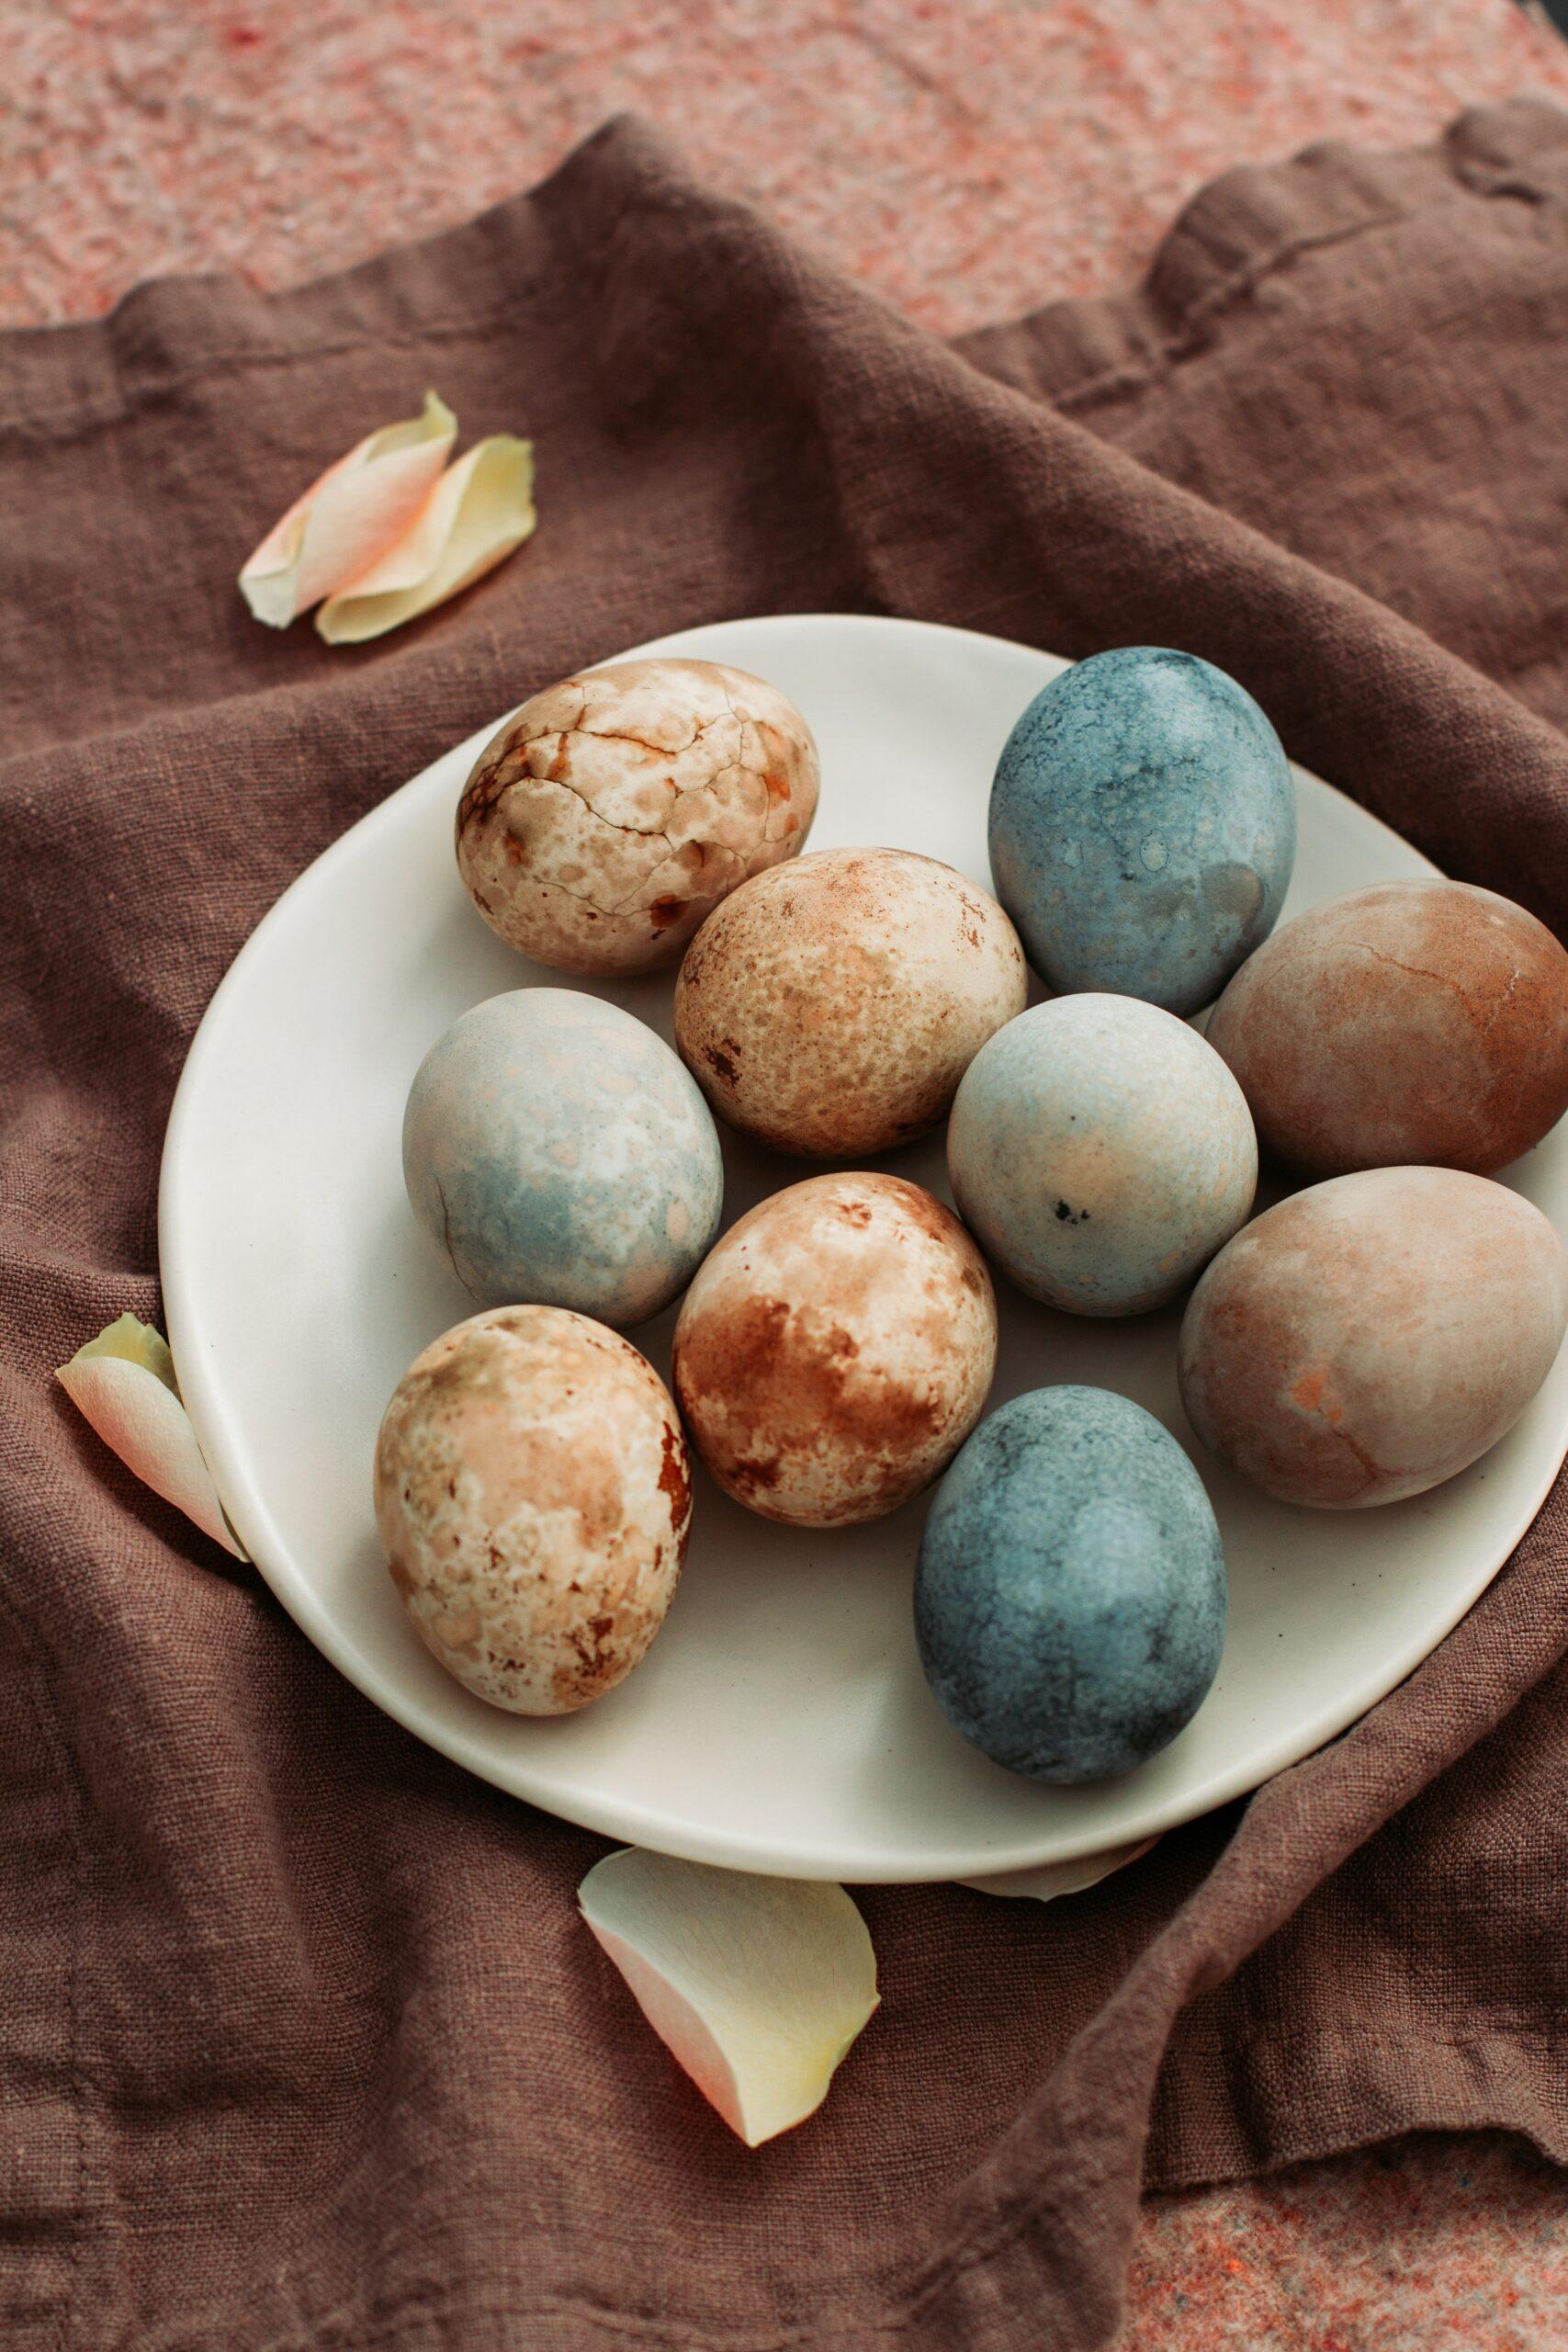
Making these beautiful marbled Easter eggs is easier than you would think. Dip your egg in food coloring like you usually would then dip it in oil and a colored water solution to get that marbled look.
Easy Easter Eggs
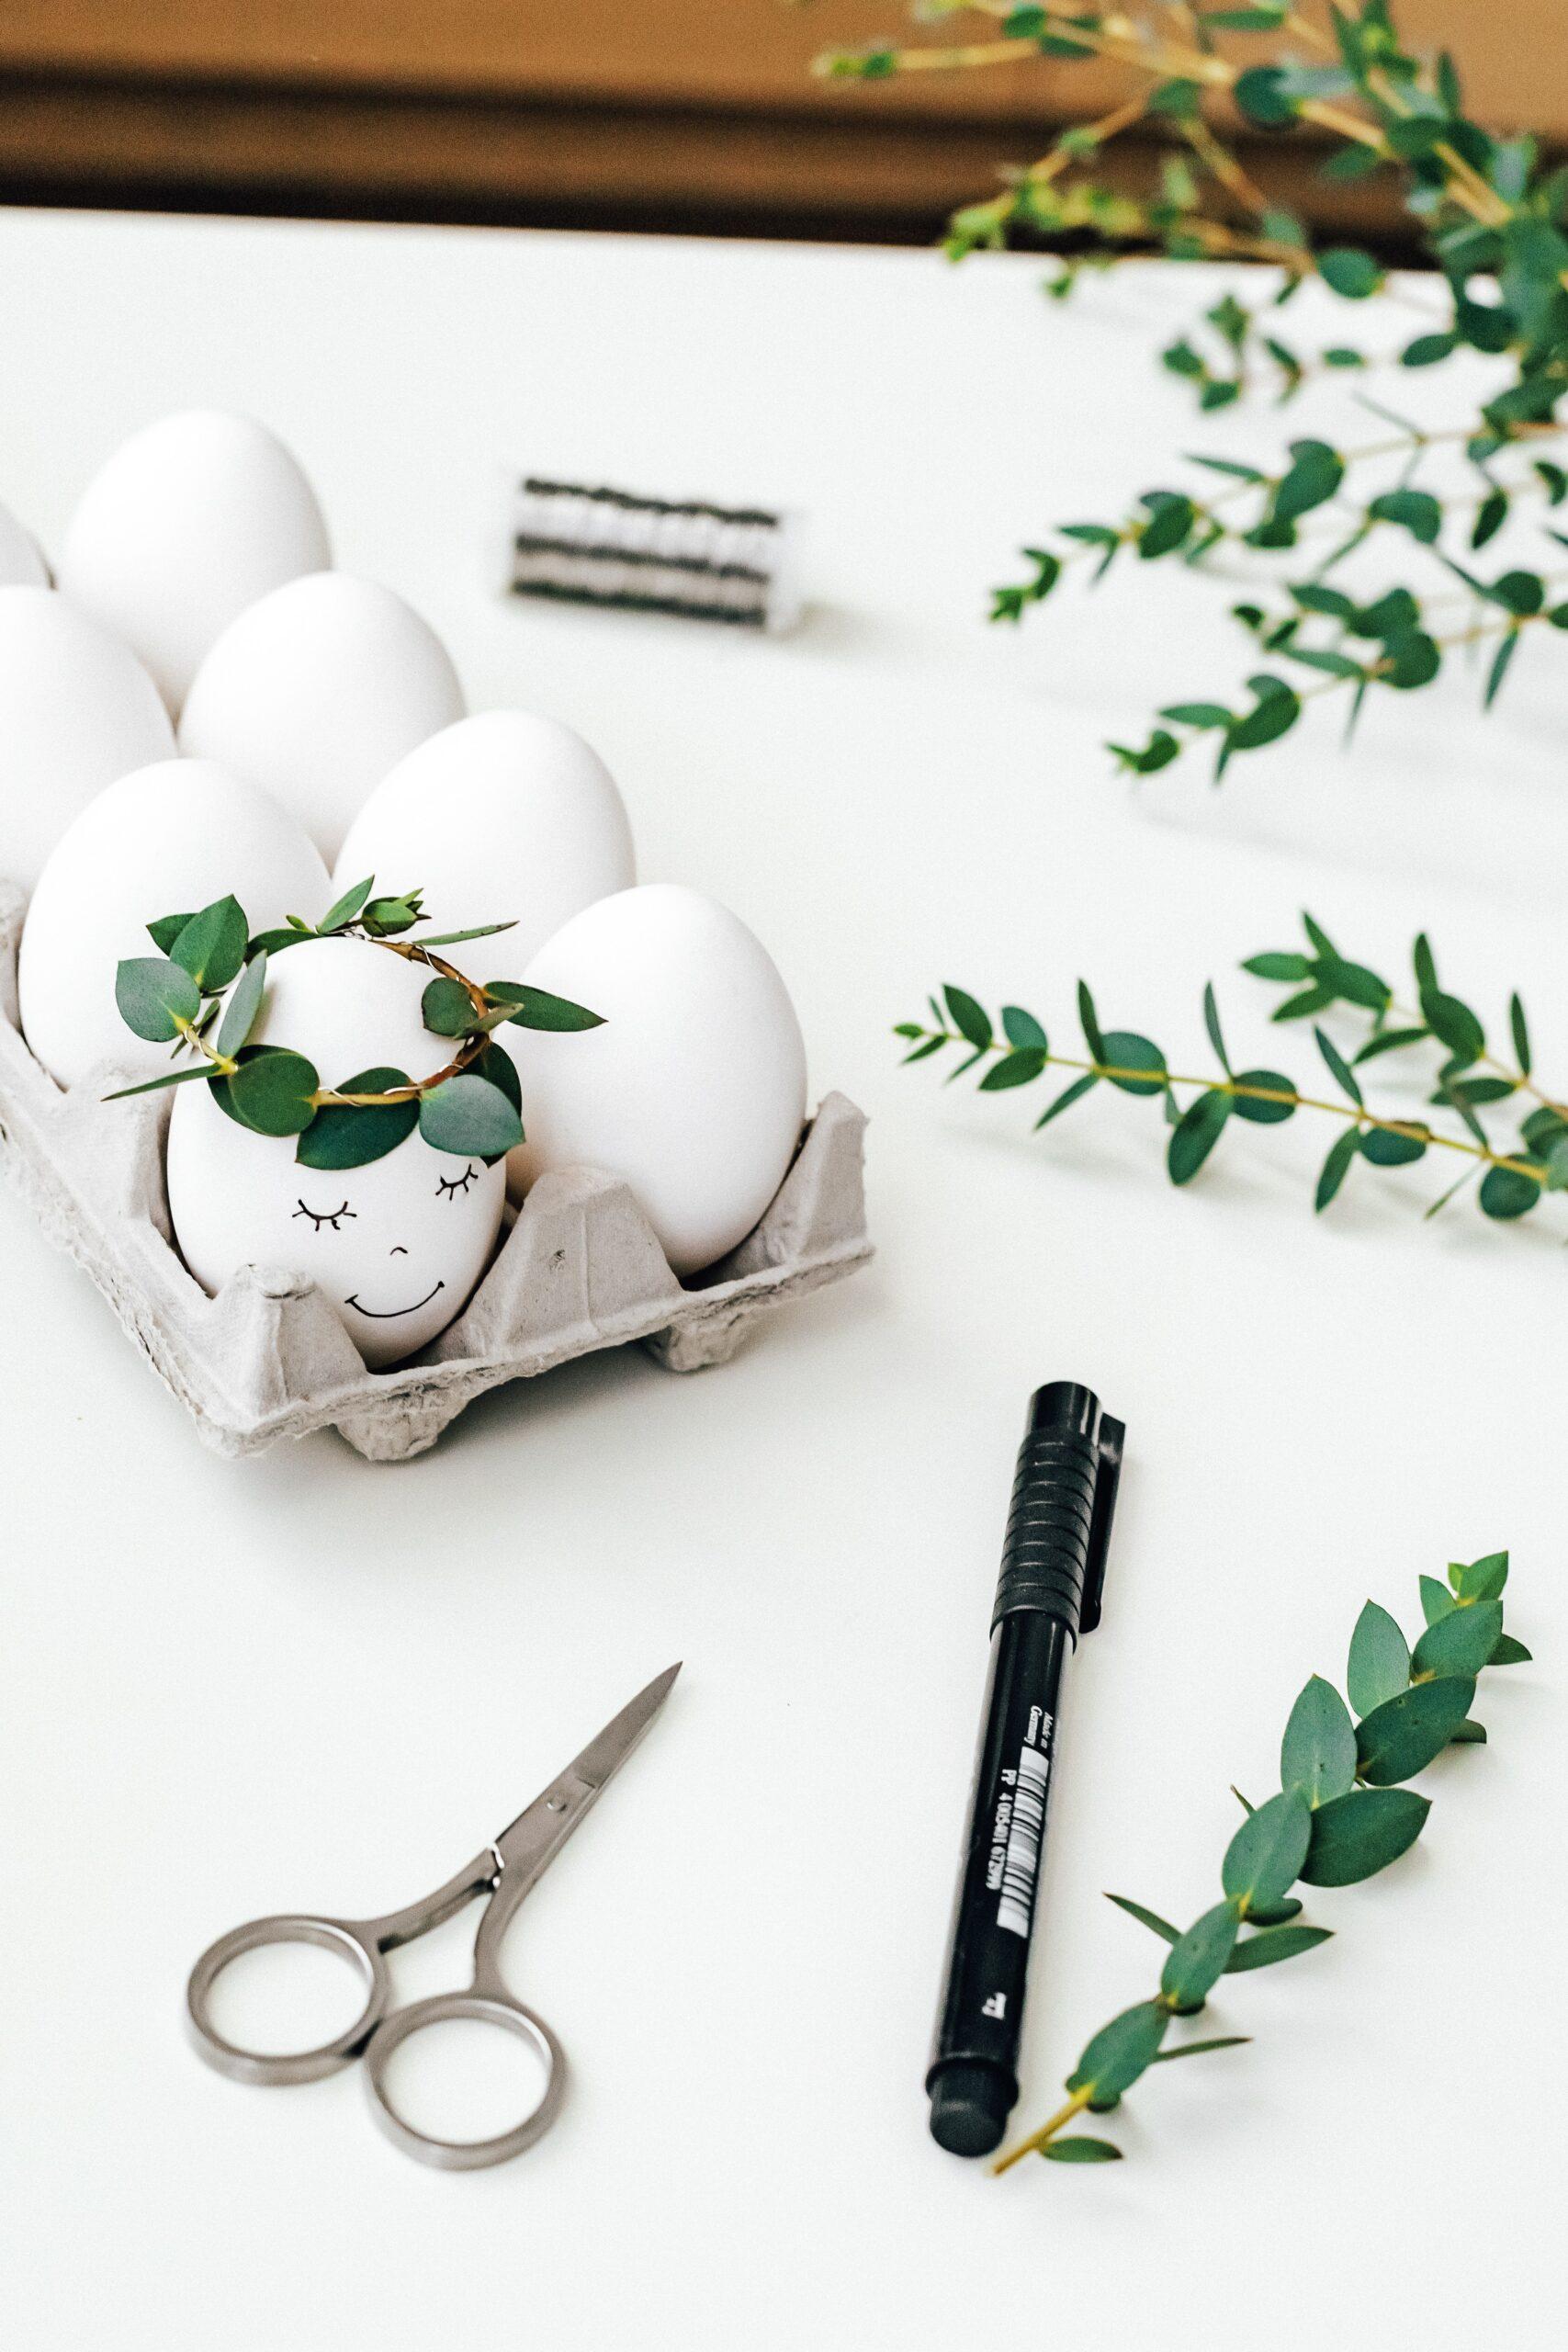
If you are in a rush and do not have a ton of time to decorate Easter eggs, do not even worry about dyeing them. Take a Sharpie and draw cute faces on them.
Simple and Beautiful Easter Eggs
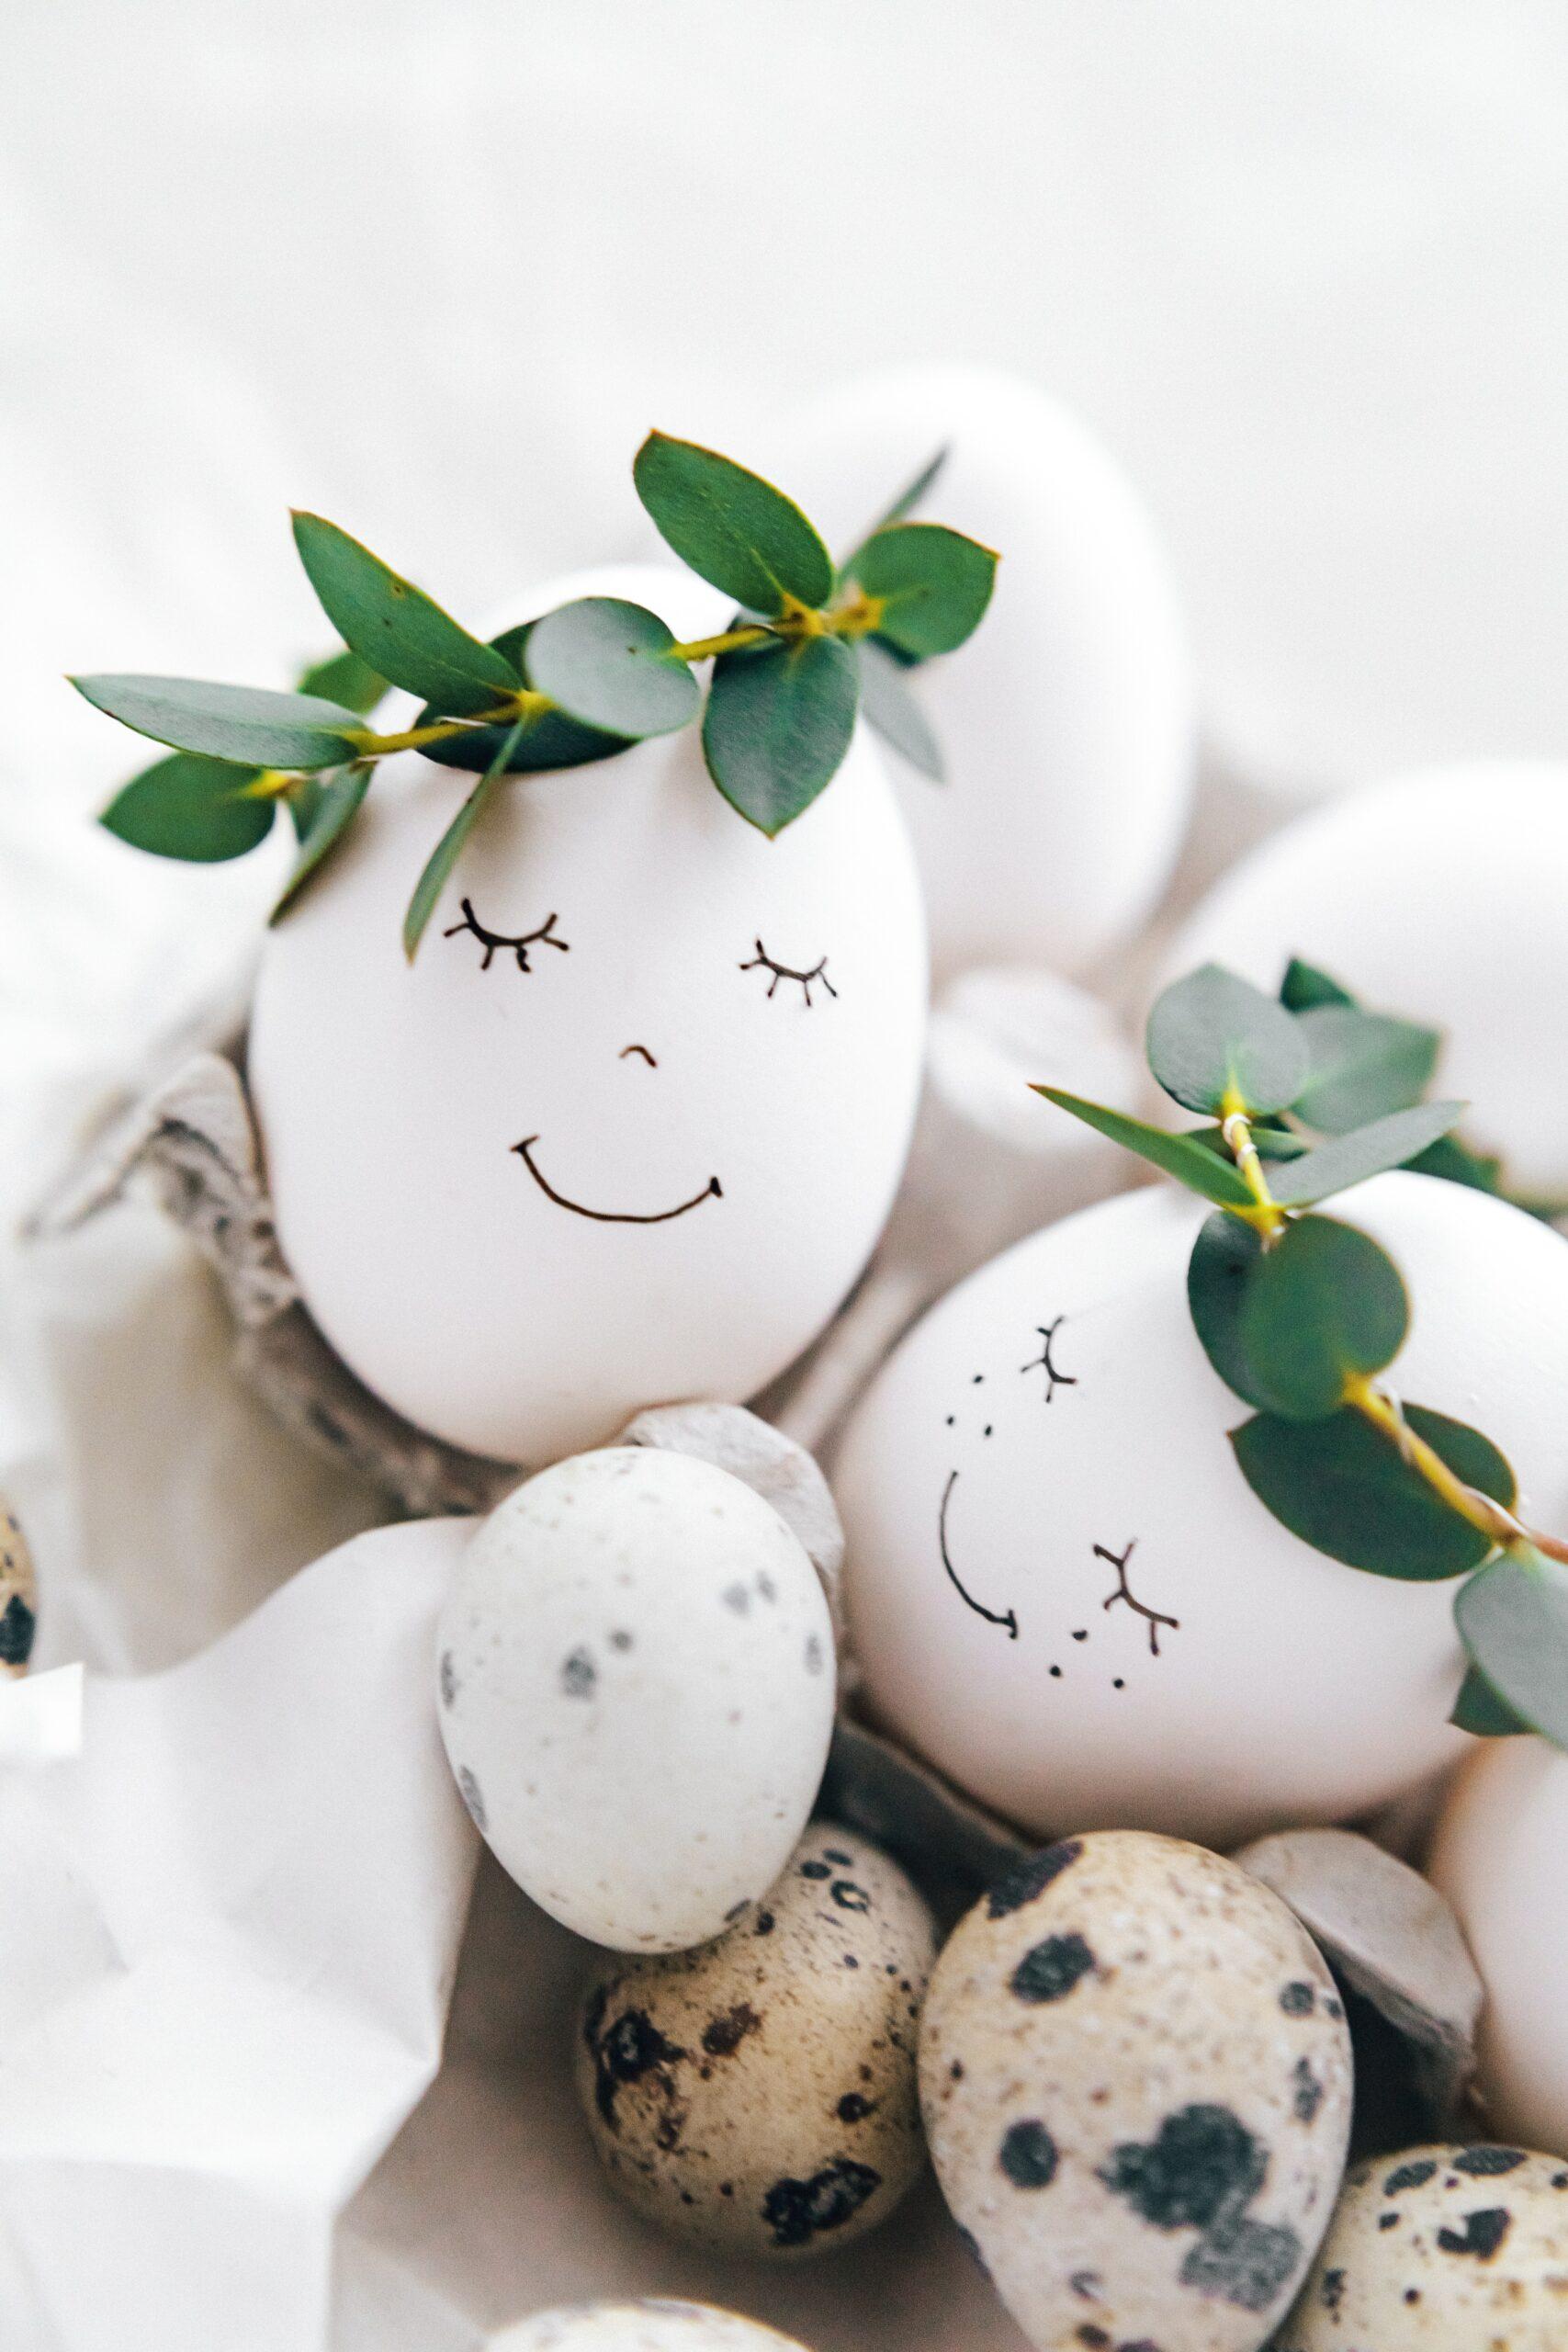
Drawing on Easter eggs is a fun way to decorate eggs, and it is mess-free. Your kids will love drawing funny faces on eggs.
FAQ
Is it better to use warm or cold water when dyeing Easter eggs?
It is best to use warm water. Warm water works better with the dye and will help the color to absorb better.
You also need to use vinegar when dyeing eggs because an acid helps the color stick to the egg.
How can you get the dye off of your hands?
Unfortunately, soap and water do not work when getting Easter egg dye off your hands. Even if you scrub really hard, the dye likes to stay.
Baking soda and vinegar will actually do the trick. Wet your hands with vinegar and scrub with baking soda and water.
How long should the Easter eggs sit in the dye?
It depends on how pigmented you want the color of your egg to be. Usually it takes about 5 minutes to dye the egg.
Leave the egg in for a minute or two if you want a lighter color. For a darker color, allow the egg to soak in the dye for about 10 minutes.
We hope you have a wonderful Easter and enjoy decorating your Easter eggs!


Leave a Reply